Step-by-step instructions for local installation and launch of CosyVoice 3, a free neural network for voice generation and cloning. Main features, examples of voice cloning, and troubleshooting.
- Project page on GitHub: https://github.com/FunAudioLLM/CosyVoice
CosyVoice 3.0 is an advanced LLM-based text-to-speech (TTS) system focused on zero-shot voiceover and voice cloning in real-world conditions. Compared to version 2.0, it preserves the meaning of the text much better, reproduces the speaker’s timbre more accurately, and sounds more natural in terms of intonation and rhythm.
Key features
- Clones a voice, its timbre, and manner of speech in a 3-10 second excerpt.
- The model has only 0.5B parameters, which allows it to run locally even on weak hardware.
- Supports 9 languages: Chinese, English, Japanese, Korean, German, Spanish, French, Italian, and Russian.
- Naturalness and consistency. High scores for preserving meaning, similarity to the original voice, and natural prosody.
- Pronunciation inpainting. Fine-tune pronunciation using Chinese Pinyin and English CMU phonemes.
- Text normalisation without a separate frontend. Correctly reads numbers, special characters, and various text formats ‘out of the box’.
- Supports text streaming and audio output with a delay of ~150 ms while maintaining quality.
- Instruct mode. Control language, dialect, emotions, speed, and volume with a single instruction.
Voice cloning examples
Original voice:
Cloning result:
Original voice:
Cloning results in another language:
Working with CosyVoice 3
Let’s familiarise ourselves with the neural network interface and then move on to the installation.
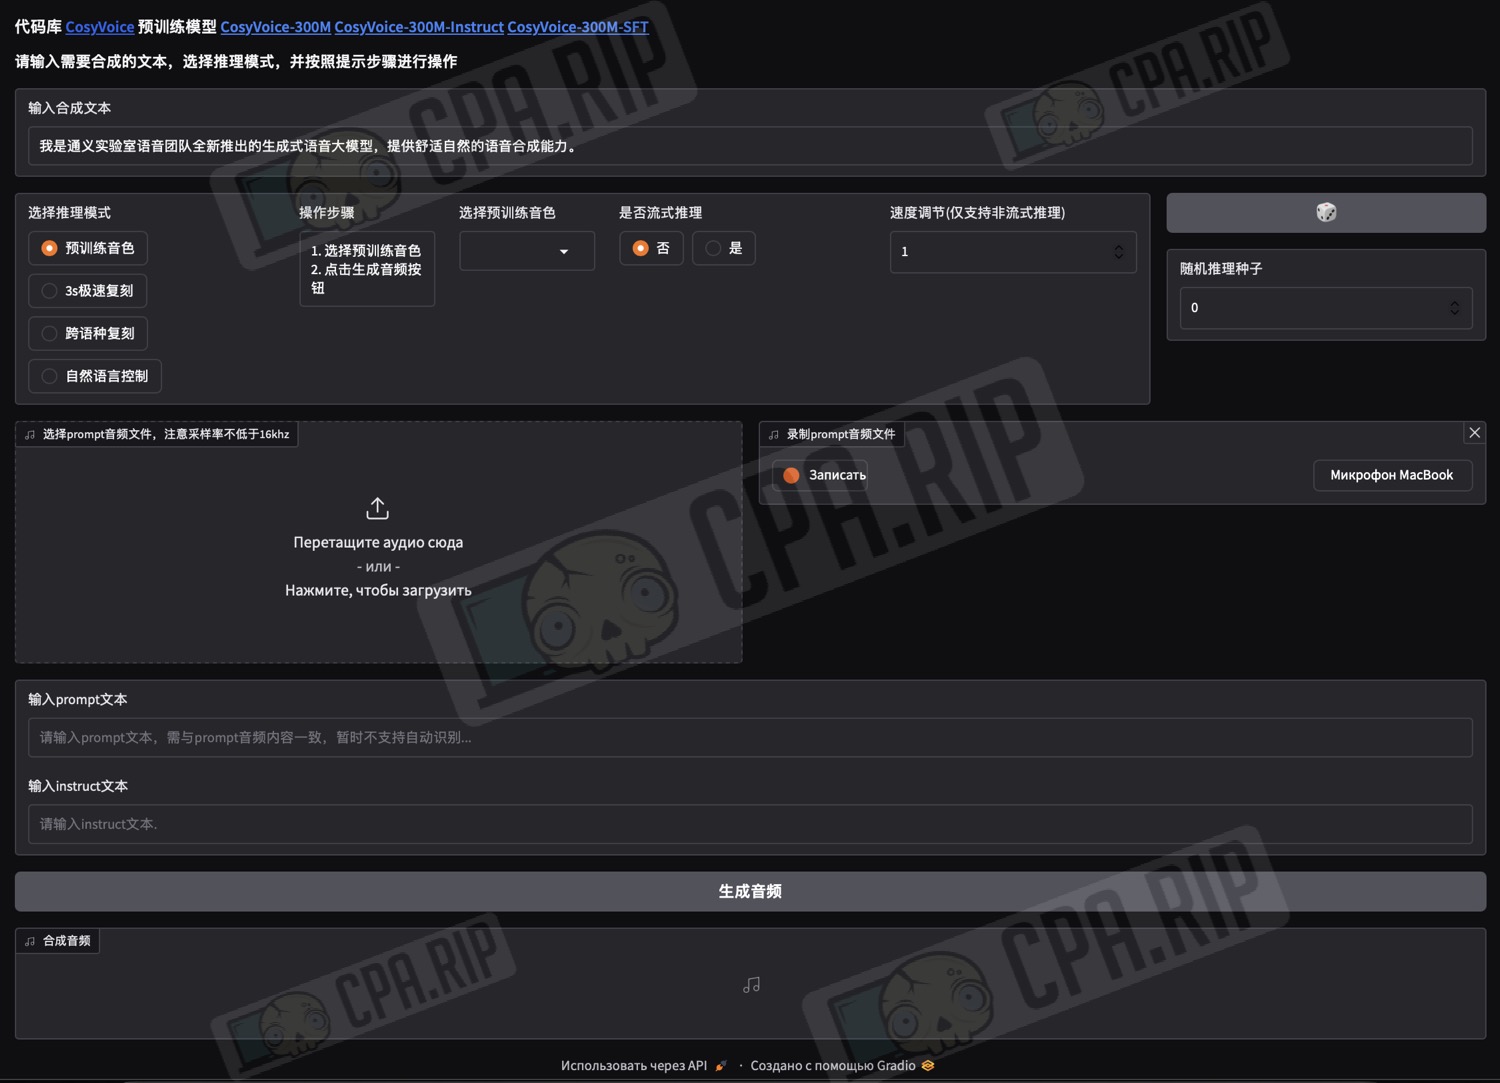
The CosyVoice 3 interface is in Chinese. For convenience, use your browser’s built-in tools to translate it into your preferred language.
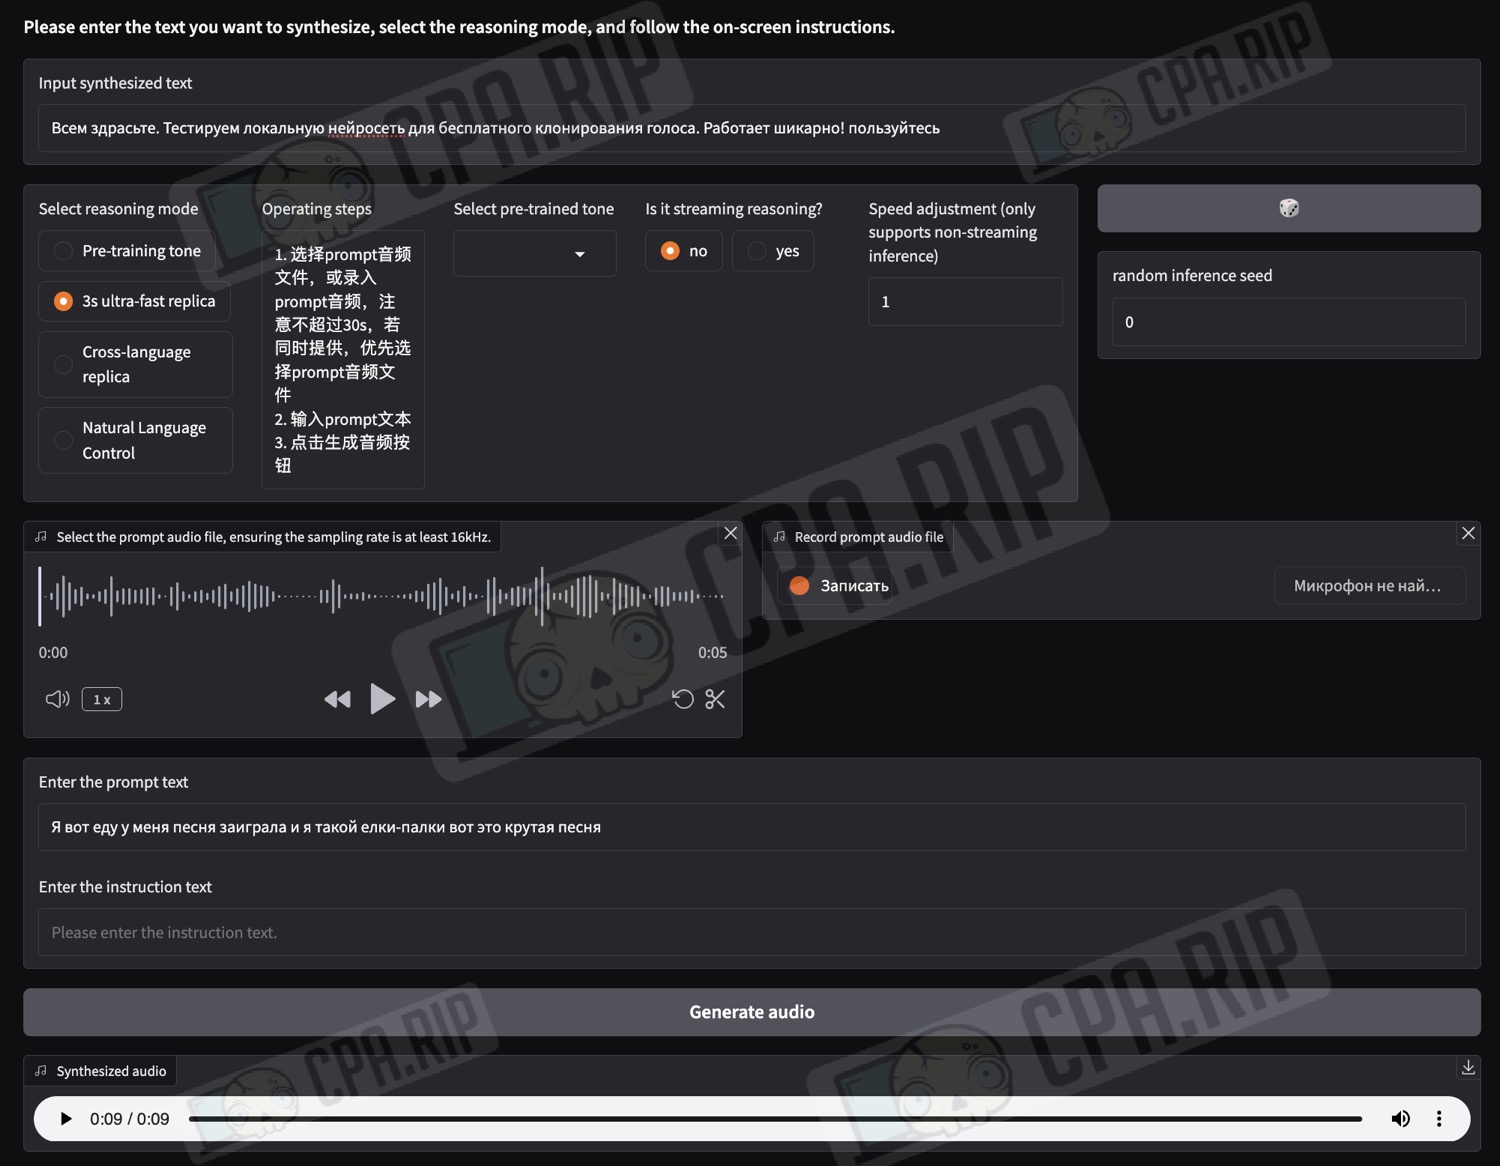
- In the “Input synthesised text” field, enter the text you want to convert to speech:

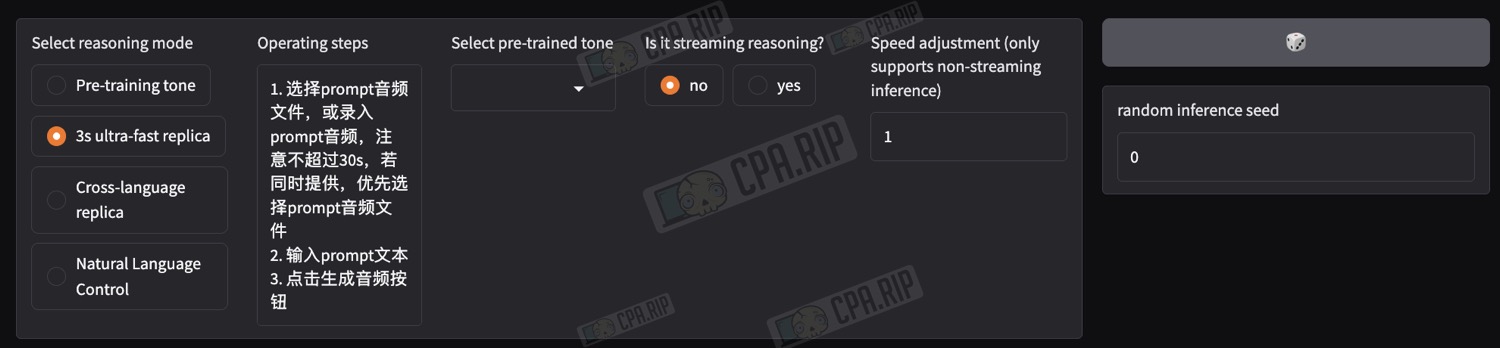
- Below, in the “Select reasoning mode” block, select the mode depending on your tasks:
- “3s ultra-fast replica” – mode for standard voice cloning based on an audio recording and without changing the language
- “Cross-language replica” – mode for cloning a voice based on an audio recording into another language
- Below, upload an audio clip with the desired voice or record your own using a microphone.
Important: the audio clip must be between 3 and 10 seconds long!
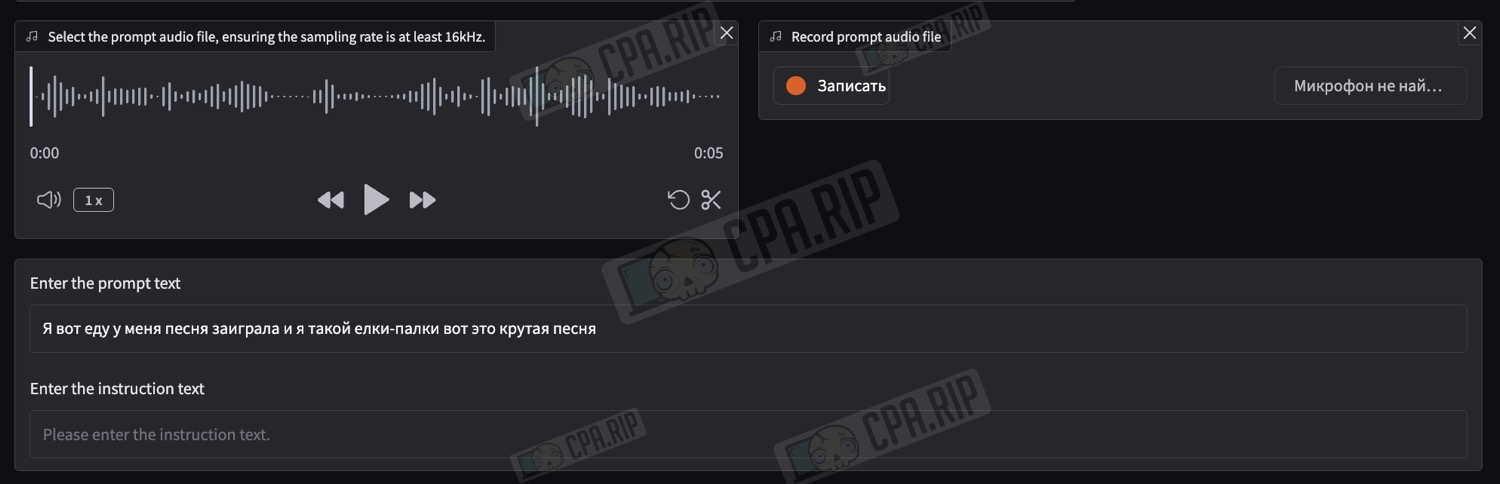
Important! In the “Enter the prompt text” field, you must enter the exact transcription of the uploaded or recorded audio!
Next, click “Generate audio” and wait for the result:

Life hack: if the result in cross-language cloning mode is unclear or resembles Chinese speech, try explicitly specifying the language before the voiceover text. For example, add the phrase “Please speak in English” at the beginning. In most cases, the model will start speaking in the desired language, and the extra line can be cut out.
Installing CosyVoice 3 locally
All the necessary installation instructions are available on the official project page https://github.com/FunAudioLLM/CosyVoice. Based on this, we will walk through the installation and launch step by step with screenshots. We will install it via the terminal using macOS as an example. On Windows, the installation and launch are similar to macOS via Miniconda, which must be installed as the first step before cloning the repository. The differences are that the commands are executed in Anaconda Prompt or PowerShell, and ffmpeg is installed via conda.
Life hack for those who are not familiar with the terminal and console: Use ChatGPT, Gemini, or Grok – send the neural network a link to the installation instructions page and ask it to guide you step by step to the result. Along the way, you can resolve any errors that arise by sending the logs to the chatbot.
Repository cloning
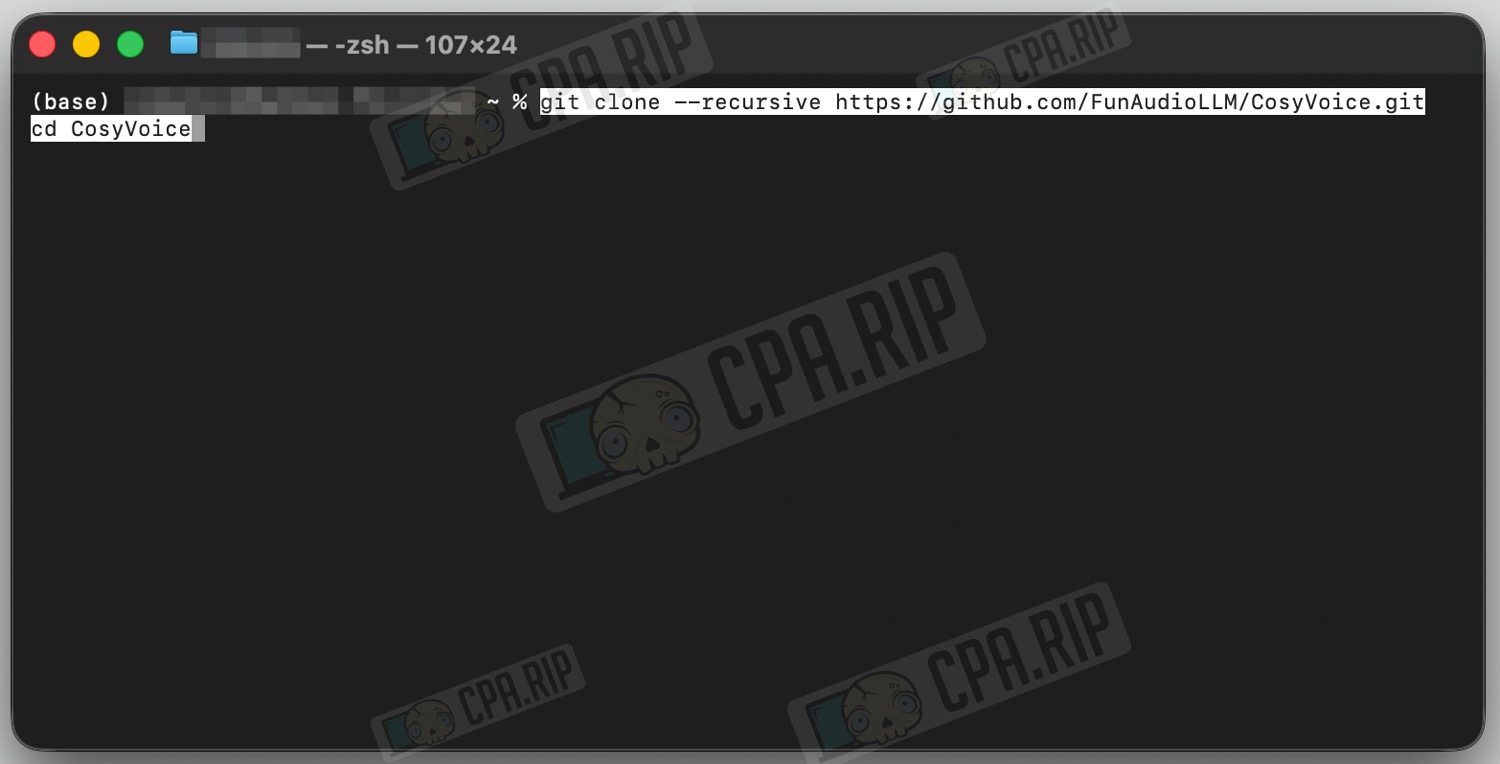
- Open the terminal and execute the following command:
git clone --recursive https://github.com/FunAudioLLM/CosyVoice.git
cd CosyVoice
- If some dependencies have not been loaded, perform the following:
git submodule update --init --recursive
Installing Miniconda
More detailed instructions on installing Miniconda can be found in the official documentation: https://www.anaconda.com/docs/getting-started/miniconda/install
- In the terminal, run the command
For Apple Silicon:
curl -O https://repo.anaconda.com/miniconda/Miniconda3-latest-MacOSX-arm64.sh
For Intel-Mac:
curl -O https://repo.anaconda.com/miniconda/Miniconda3-latest-MacOSX-x86_64.sh
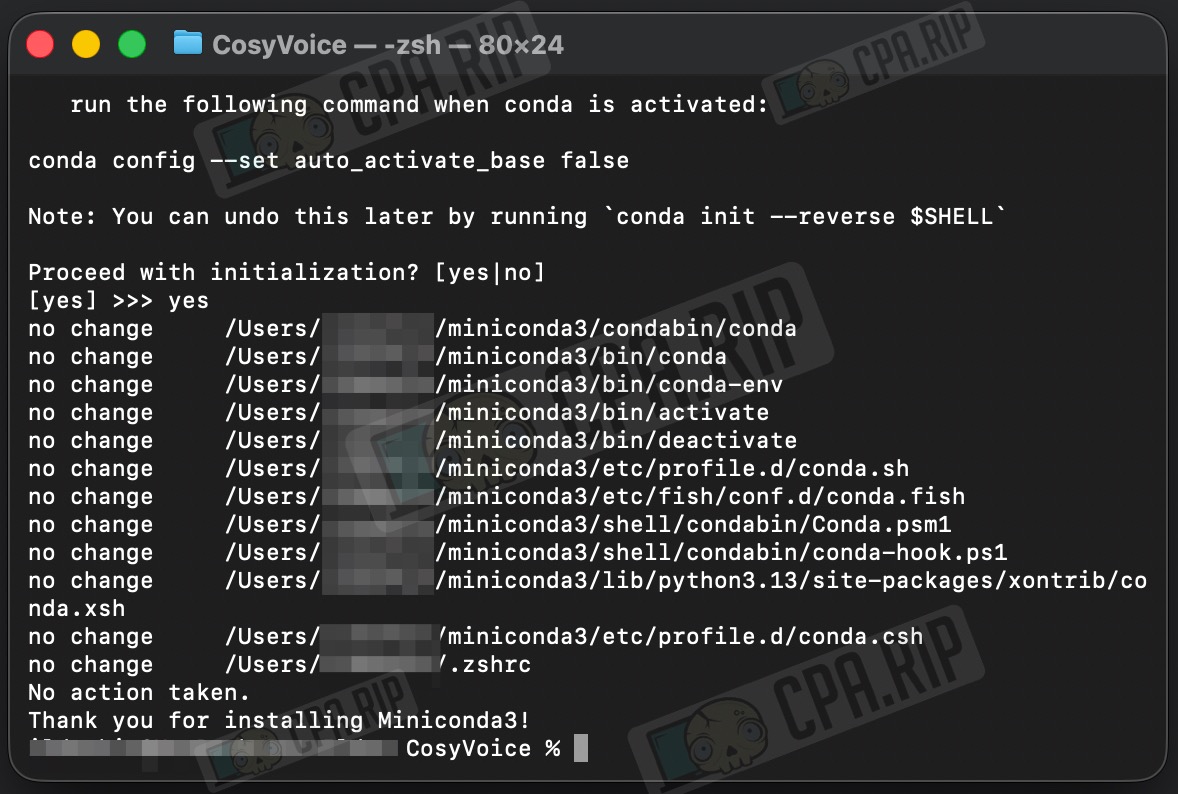
- Run the installer:
bash Miniconda3-latest-MacOSX-*.sh
During the process, you will need to:
- press Enter
- scroll through the licence (q)
- type yes
- confirm the path (Enter)
- answer yes to the question about conda init
- Restart the terminal or execute:
source ~/.zshrc
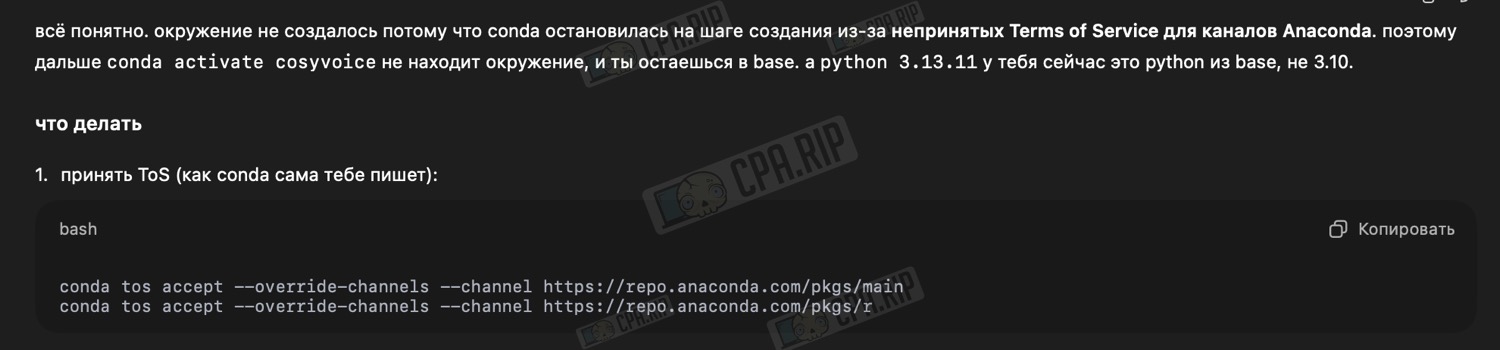
- Next, you need to accept the Anaconda ToS by executing the command:
conda tos accept --override-channels --channel https://repo.anaconda.com/pkgs/main
conda tos accept --override-channels --channel https://repo.anaconda.com/pkgs/r
-
After restarting the terminal, you will find yourself in your home directory. Return to the CosyVoice project folder::
cd CosyVoice
All further commands must be executed from the CosyVoice folder.
Virtual environment creation
- Create a separate environment with Python 3.10. Using newer versions of Python will result in dependency errors.
conda create -n cosyvoice -y python=3.10
conda activate cosyvoice
python -V
which python
- It should be like this:
- (cosyvoice) at the beginning of the line
- Python 3.10.x
- a path like /Users/username/miniconda3/envs/cosyvoice/bin/python
Updating pip and auxiliary packages
-
Before installing dependencies, let’s update pip and auxiliary packages:
python -m pip install -U pip setuptools wheel
Installing ffmpeg system dependency
FFmpeg is required for correct audio generation and output.
- Check if Homebrew is installed by running the command:
brew --version
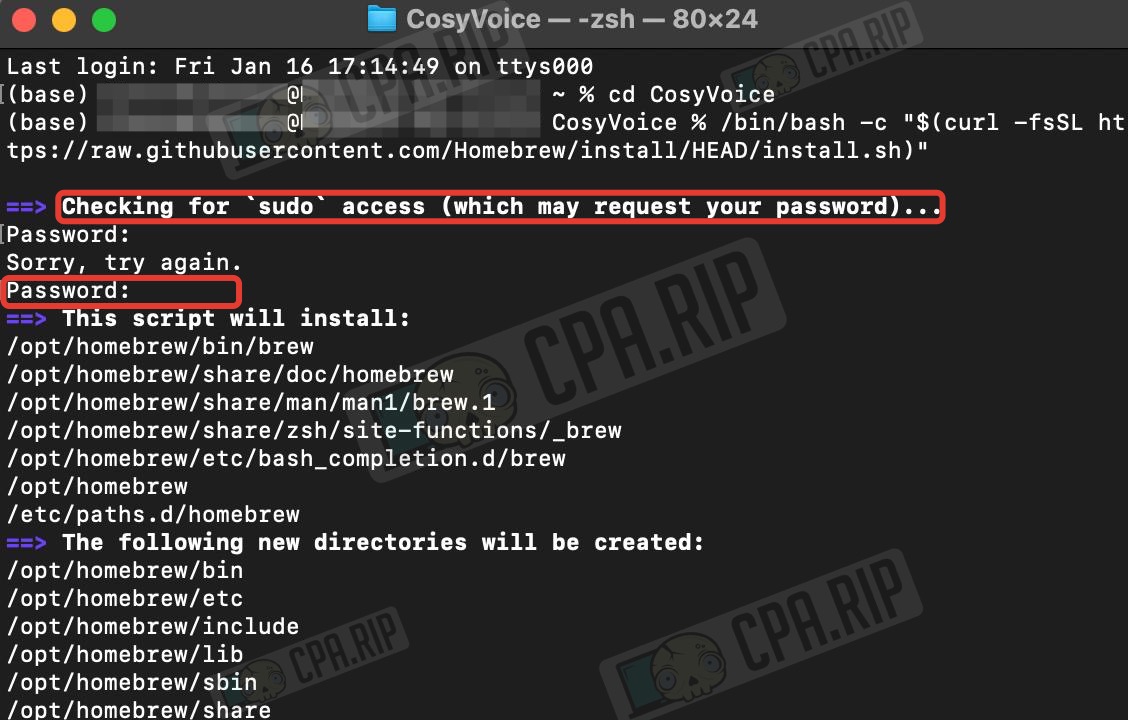
- If the brew command is not found, install Homebrew:
/bin/bash -c "$(curl -fsSL https://raw.githubusercontent.com/Homebrew/install/HEAD/install.sh)"
- When prompted, enter your password (it will not be displayed in the terminal as you type) and press Enter:
- Once the installation is complete, restart the terminal or run:
source ~/.zshrc
- After restarting the terminal, you will find yourself in your home directory without an active environment. Return to the project folder and activate the environment:
cd CosyVoice
conda activate cosyvoice
- Install ffmpeg with the command:
brew install ffmpeg
Installing project dependencies
- Execute the command:
pip install -r requirements.txt
- Execute the command:
pip install "ruamel.yaml==0.17.32" "ruamel.yaml.clib==0.2.8"
Without this, WebUI will crash on startup with a Loader.max_depth error.
Model download
- Execute the command:
pip install "huggingface_hub>=0.30,<1.0"
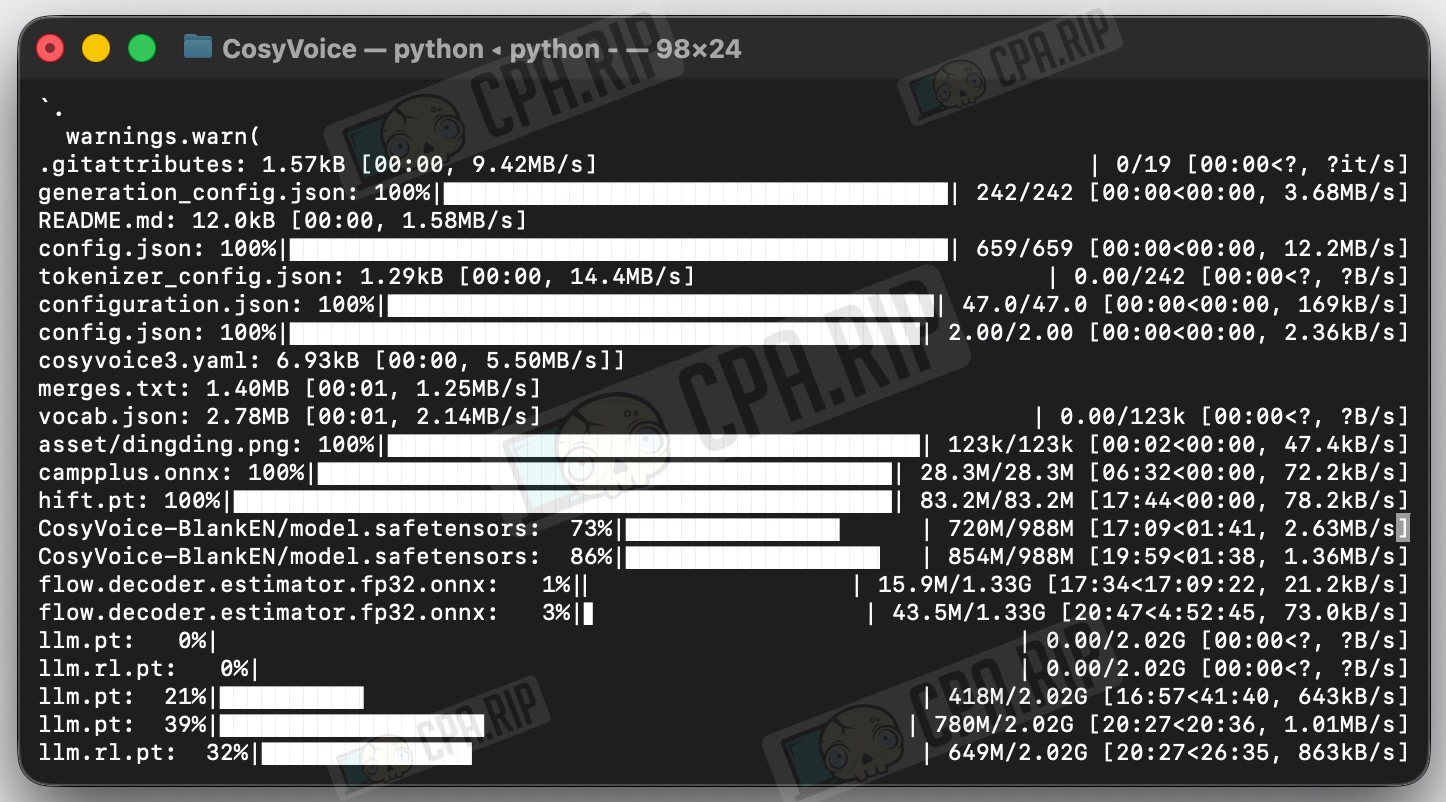
- Next, execute the command that will launch Python and start downloading CosyVoice3-0.5B via heredoc:
python - << 'PY'
from huggingface_hub import snapshot_download

snapshot_download(
    'FunAudioLLM/Fun-CosyVoice3-0.5B-2512',
    local_dir='pretrained_models/Fun-CosyVoice3-0.5B-2512'
)
PY
Downloading may take a long time, as the model size is ~6–7 GB.
Launching webui
- To launch webui and continue using the neural network interface in your browser, run the following command in the terminal:
python webui.py --port 50000 --model_dir pretrained_models/Fun-CosyVoice3-0.5B-2512
For the neural network to work, the terminal must remain running!
- Open the link http://127.0.0.1:50000/ in your browser to access the neural network’s web interface:
Restarting
To restart CosyVoice 3, enter the following commands in the terminal:
cd ~/CosyVoice
conda activate cosyvoice
python webui.py --port 50000 --model_dir pretrained_models/Fun-CosyVoice3-0.5B-2512
Troubleshooting
Various problems may arise during installation, which we cannot cover in this article. Therefore, we have tried to supplement the official instructions with steps that will prevent you from making the mistakes we encountered. However, we also recommend contacting chatbots to resolve any issues that arise.