Some websites may be blocked in a particular country, so you might want to have a proxy/VPN at hand to restore access to the resource.
You’ll require the cheapest cloud server for the price of $2-5 and your paws, of course.
How to Prepare a Server?
Since this article is for basic users, we will opt for a virtual Digital Ocean Server, which installs the Docker required for the task out of the box.
If you do not have a DO account, you can use my referral link, which implies a few perks.
Create an account at digitalocean.com

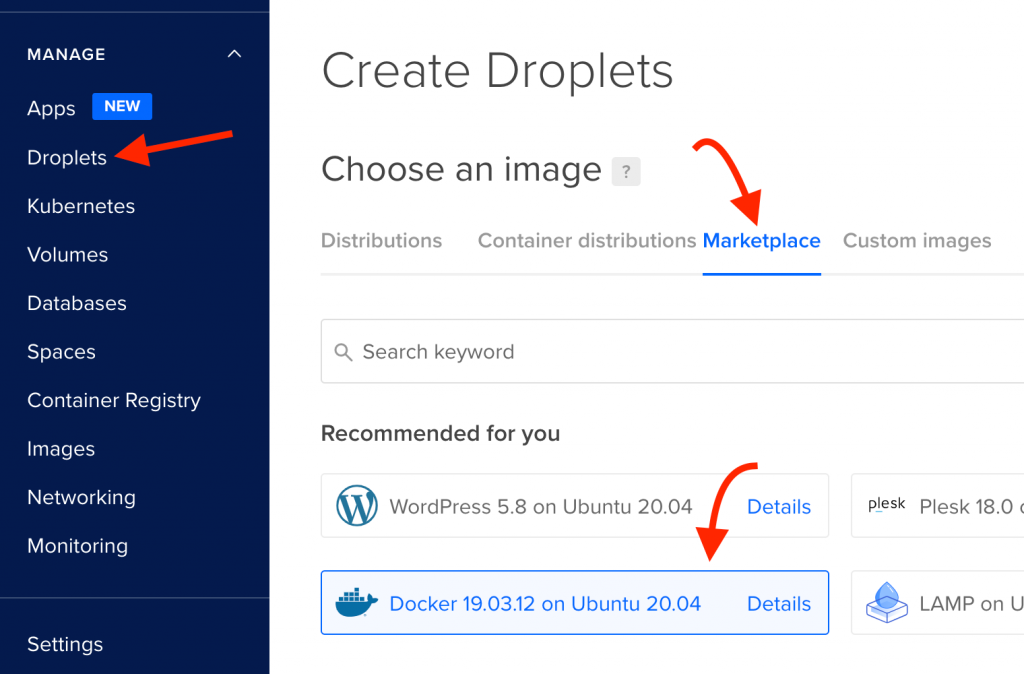
Select “Droplets” in the menu, “Create Droplets”, then select the “Marketplace” tab → “Docker …”
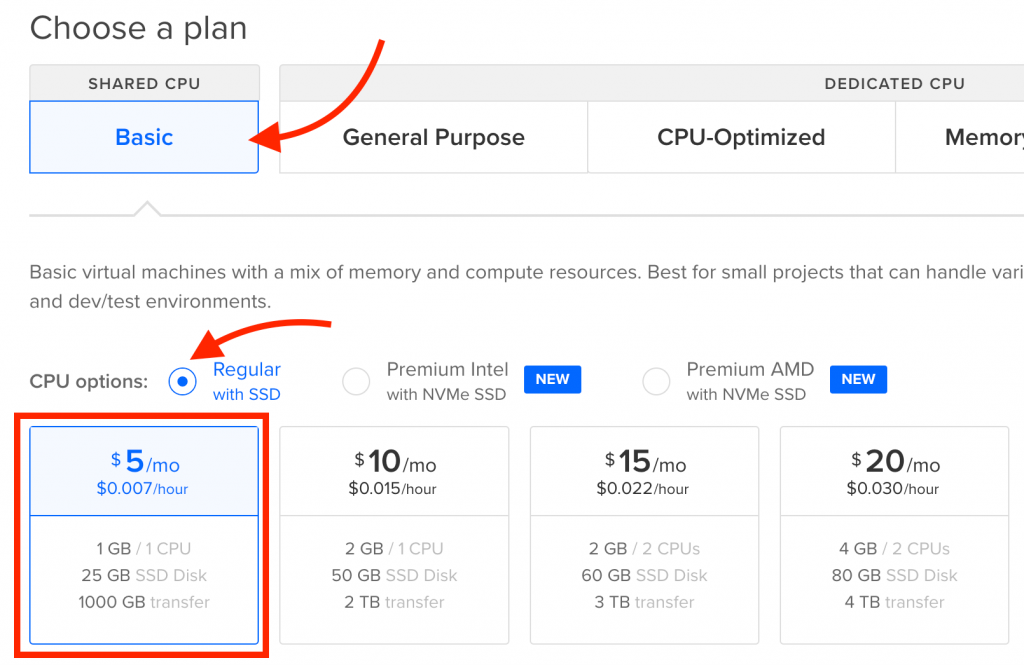
Next, select the “Basic” plan, “CPU options” → “Regular with SSD”, and “$5/mo” tariff
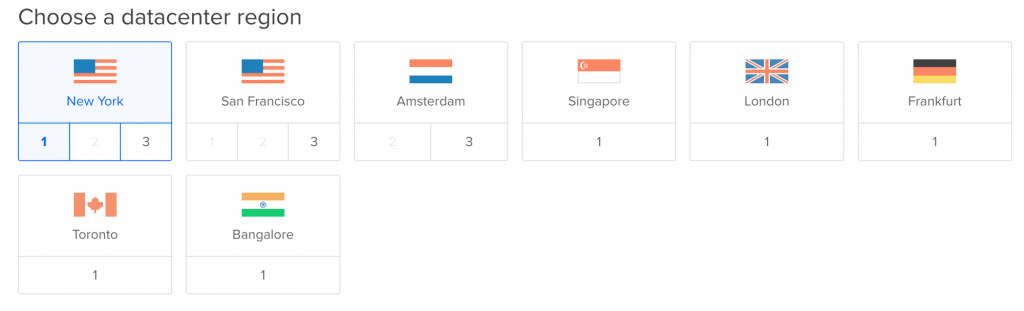
Select the proxy/VPN country.
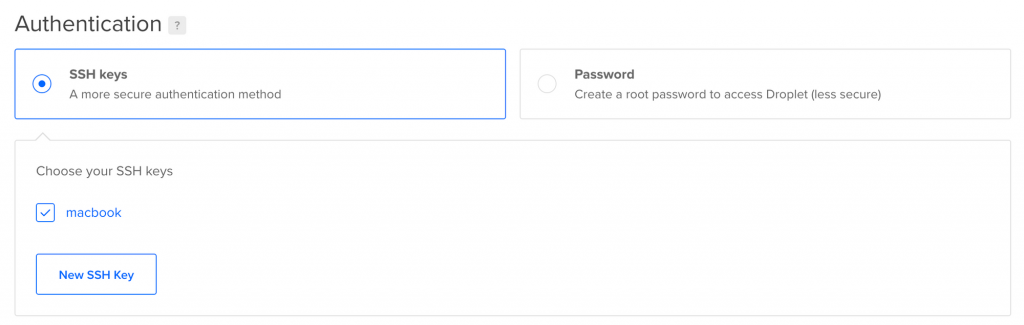
If you are an advanced user, you can log in to the server with SSH keys. If not – then you can read the manual by clicking on the “New SSH Key” button, or selecting “Password” and setting your password, which is much easier.
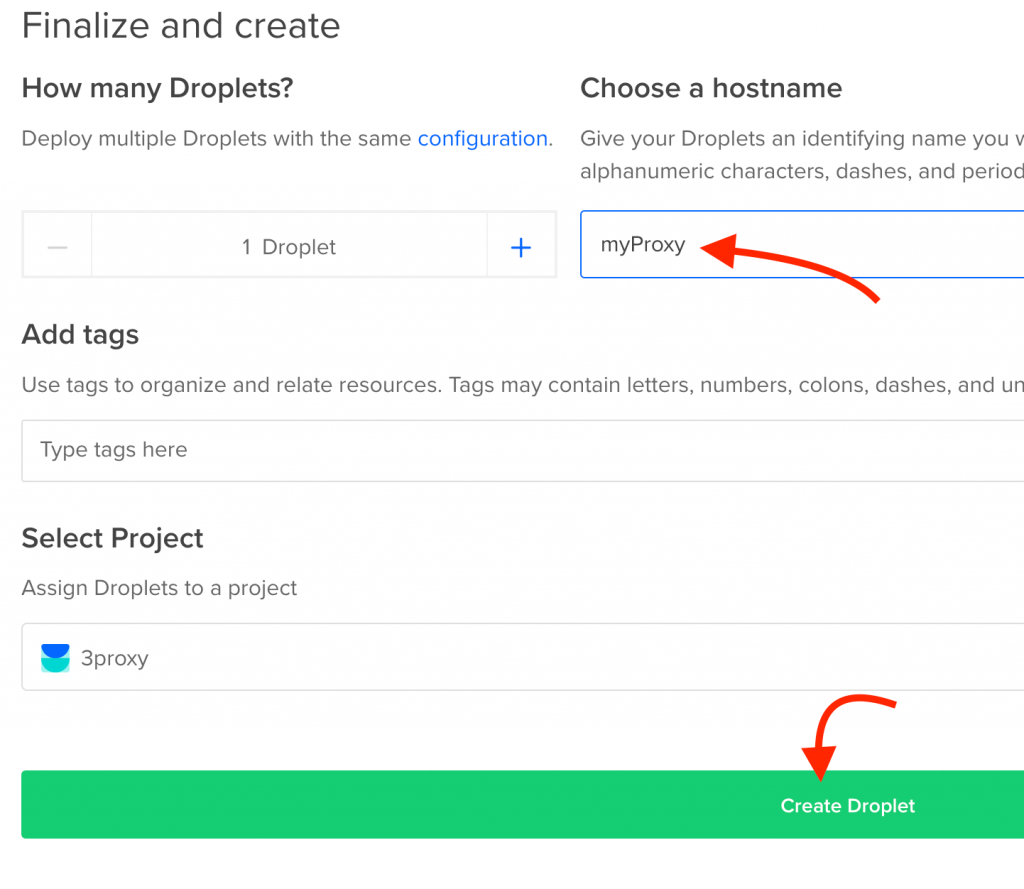
If you want to, you can specify the name of your server at the last step and then click “Create Droplet”.
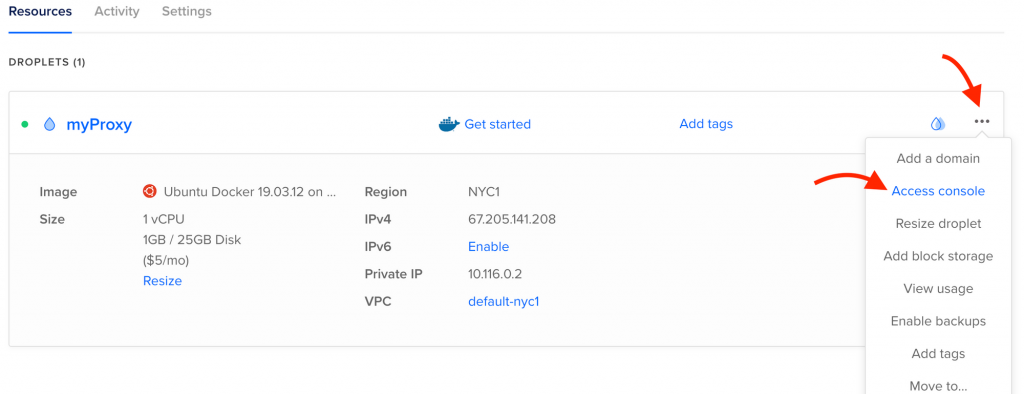
Wait a couple of minutes until the server is created successfully! Now you need to access the server console. To do this, go to the “Access console” menu.
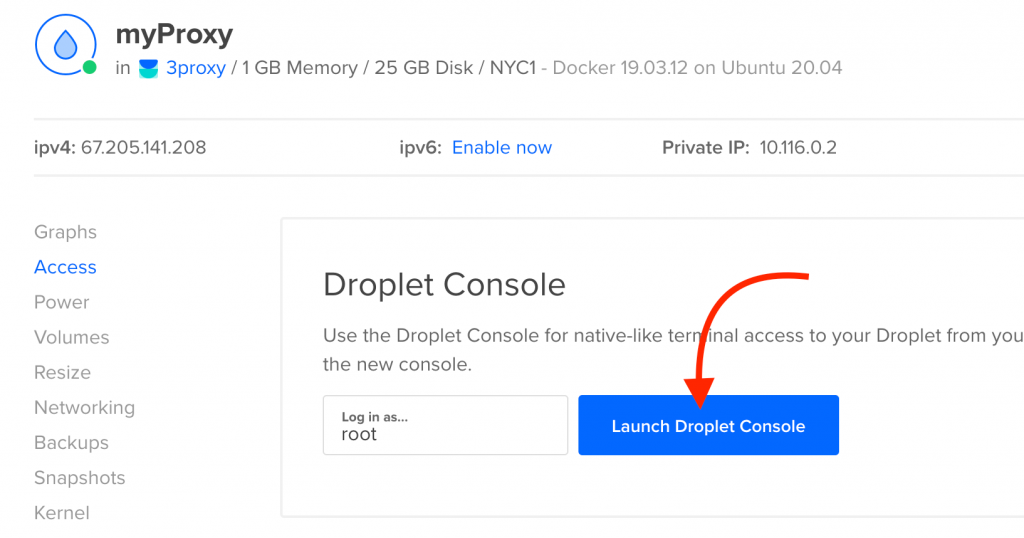
Click “Launch Droplet Console” and your console will load in a new tab, where you’ll install proxies.
How to Enable Proxy?
docker run --rm -d --name 3proxy \

-p "3128:3128/tcp" \

-p "1080:1080/tcp" \

-e "PROXY_LOGIN=rkn" \

-e "PROXY_PASSWORD=5555" \

tarampampam/3proxy:latest && docker ps
Source: https://hub.docker.com/r/tarampampam/3proxy/
| Port | Description |
|---|---|
| 3128 | HTTP proxy |
| 1080 | SOCKS proxy |
| Variable Name | Description | Sample |
|---|---|---|
| PROXY_LOGIN | Login for your proxies | rkn |
| PROXY_PASSWORD | Password for your proxies | 5555 |
Copy the command above and edit your proxy’s login and password in it. Then, paste it into the server console and press “Enter”.
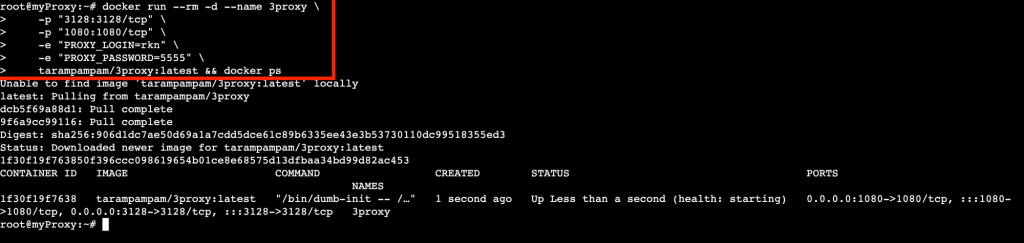
Upon successful installation, a “3proxy” Docker bucket will be created.
That’s it, the proxies are ready to go!
The Proxy SwitchyOmega Browser Extension is very convenient to manage your proxies.
After installing the extension, create a Proxy Profile with your proxy data, server IP, and login/password.
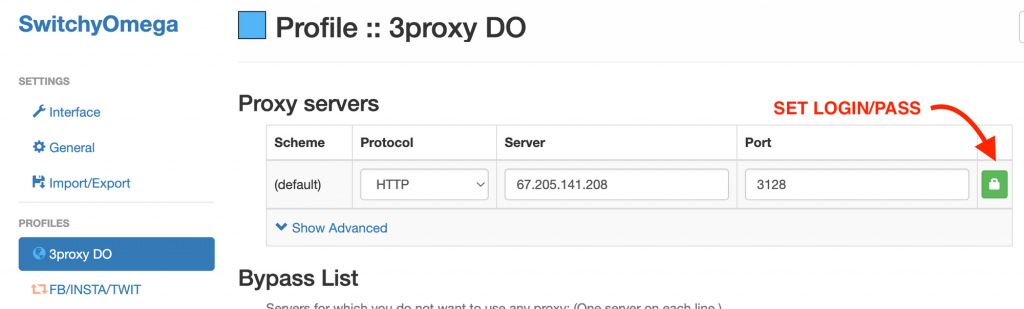
You can enable a switch profile that will use a proxy to request certain URLs.
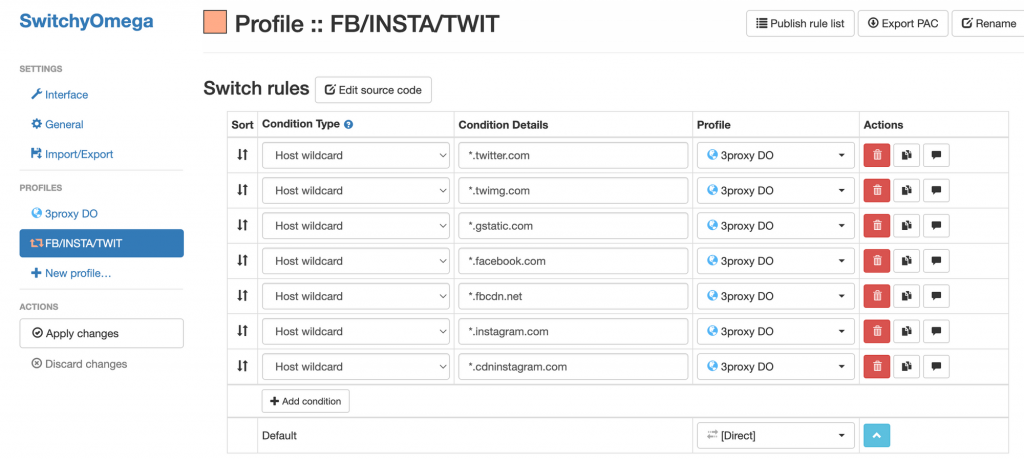
I have exported the extension settings, you can use them, but don’t forget to replace my proxy access data with yours.
You can check the proxy performance and speed with Yandex.Internetometer – check your data speed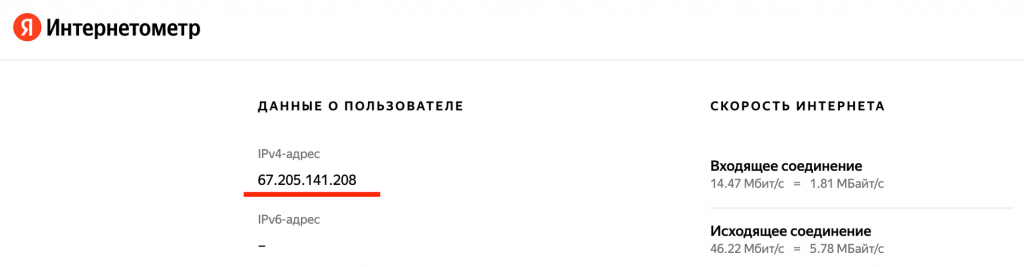
How to Enable VPN?
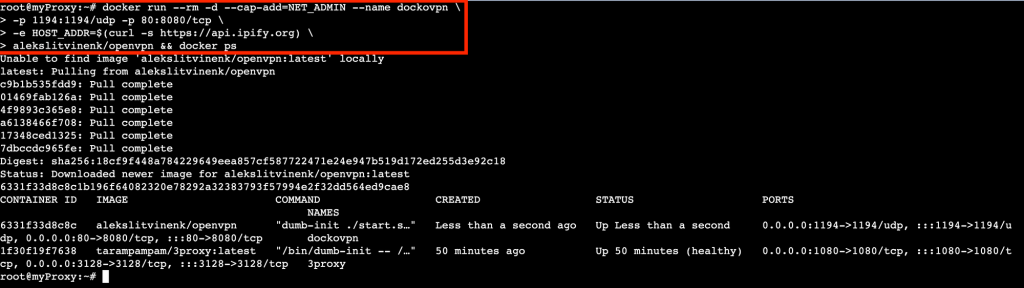
docker run --rm --cap-add=NET_ADMIN -d --name dockovpn \

-p 1194:1194/udp -p 80:8080/tcp \

-e HOST_ADDR=$(curl -s https://api.ipify.org) \

alekslitvinenk/openvpn && docker ps
Source: https://hub.docker.com/r/alekslitvinenk/openvpn
It’s very simple: copy the command above, paste it into the console and press “Enter”.
In the browser, go to the IP address of your server, for example: http://67.205.141.208/
The client.ovpn profile will be downloaded, which you must then add to the VPN client.
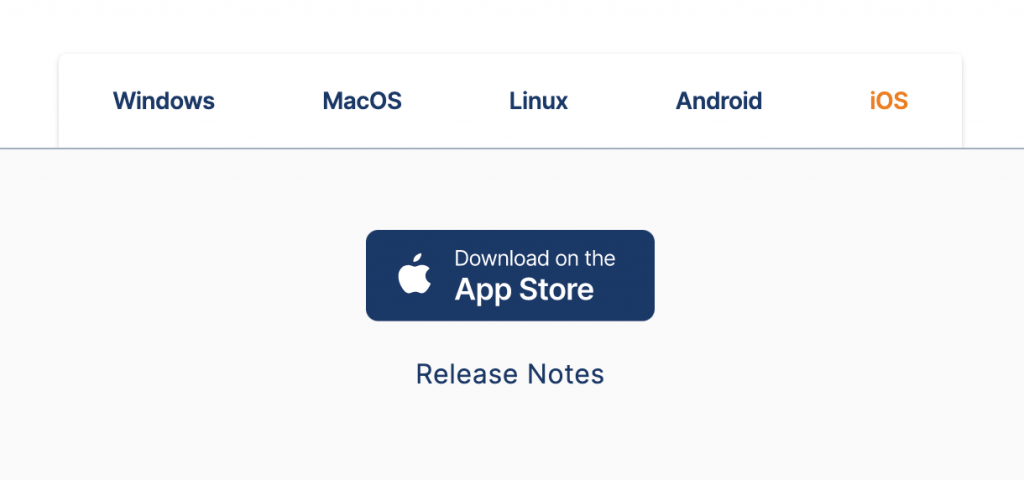
Download OpenVPN Client to the required device here: OpenVPN Connect Client | Our Official VPN Client | OpenVPN
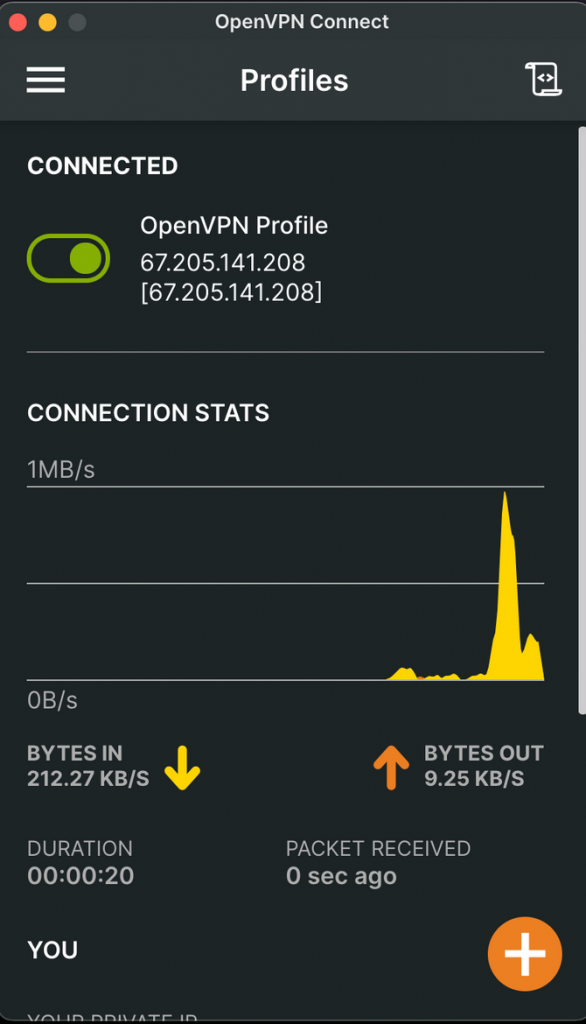
I installed the VPN client on a MacBook. Double click on the client.ovpn file, and in the app that opens, add a profile and successfully connect to VPN.
How to Disable Proxy/VPN?
If you want to change the login/password of the proxy, then you must first delete it and restart the proxy bucket via the command with new data.
docker stop 3proxy && docker ps
Enter the command above in the server console. As a result, the proxy will be deleted and a list of running buckets will be displayed so you can make sure that 3proxy has been deleted.

To remove the VPN and deactivate the OpenVPN Profile, use the following command:
docker stop dockovpn && docker ps
As a result, the dockovpn bucket will be deleted and the VPN will stop working.

Summary
If you have any issues with the proxy/VPN configuration described in this article, you can contact me in Telegram, and I’ll try to help: @doroved
You’re also welcome to subscribe to my TG channel, where I share my developments, and services I discovered, and talk about my web experience in general.