


Review and step-by-step instructions on how to work with the Vision antidetect browser: how to download and install, how to create your first profile, and start working in a team. We’ll check fingerprints, look inside, and learn about pricing. There is a trial period of 4 days with access to all functionality.
Official site: https://browser.vision/
With the CPARIP promo code you can get a 22% discount on any tariff plan.
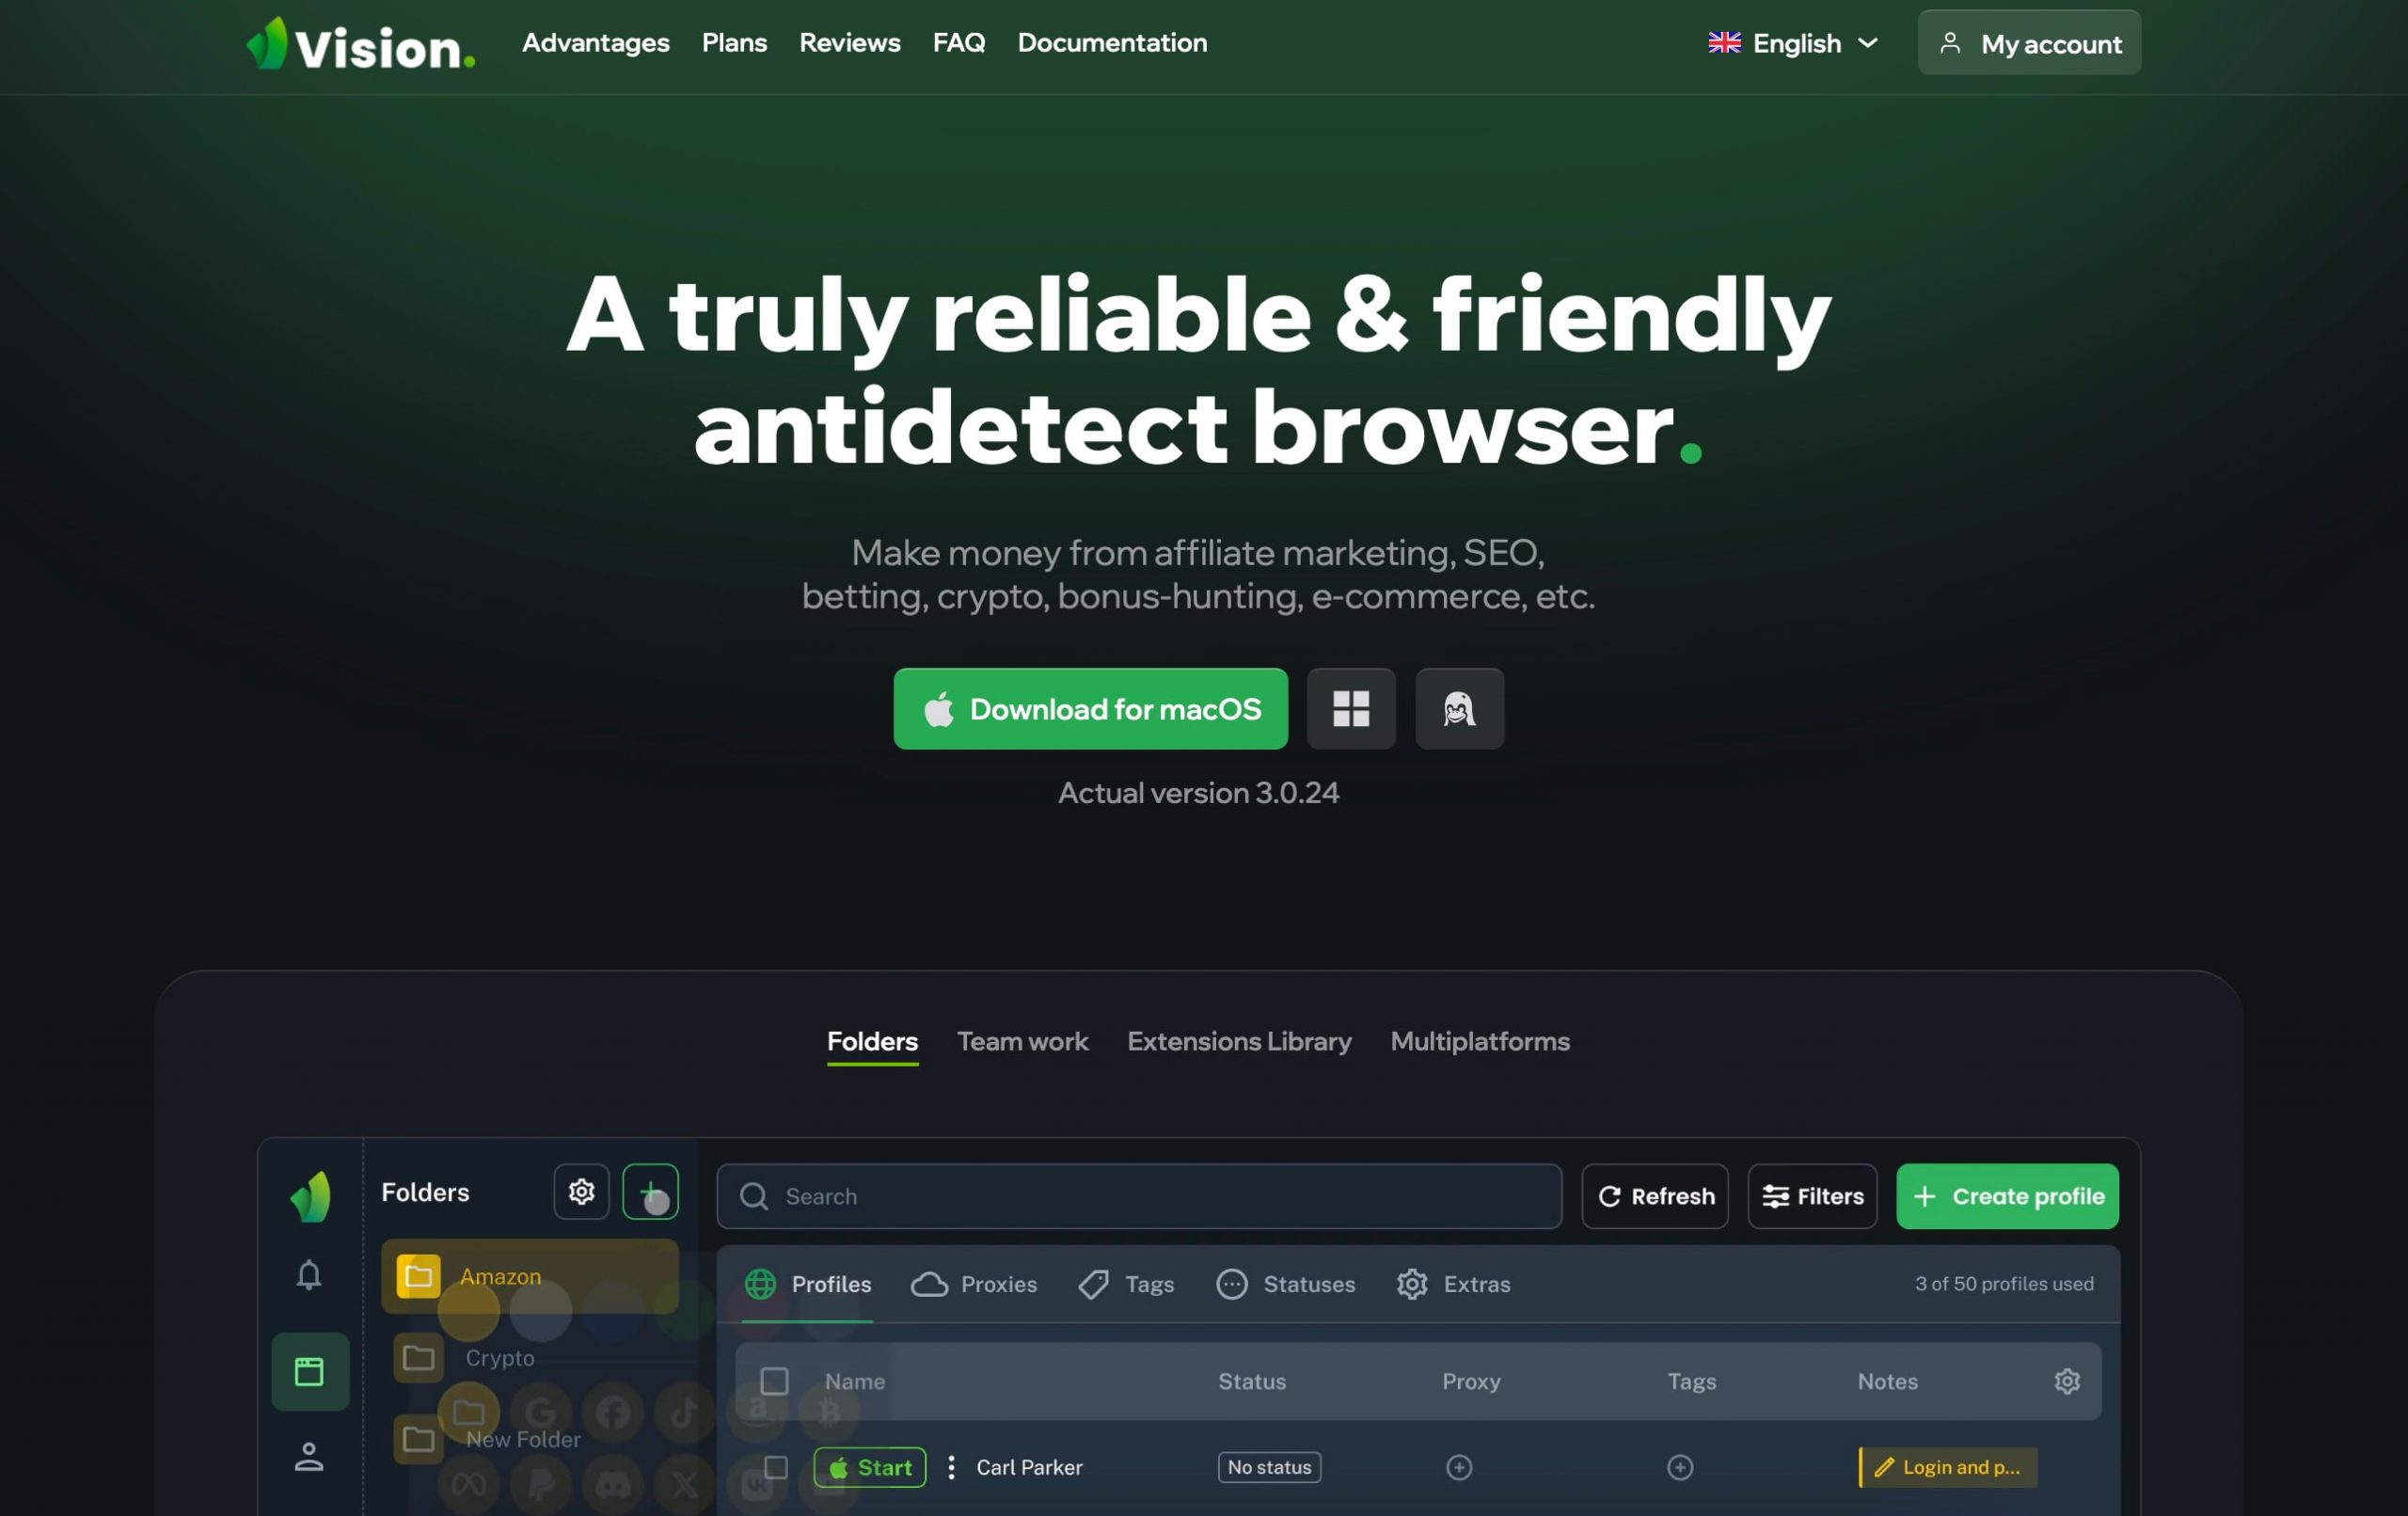
Vision antidetect browser
Vision is an antidetect browser for arbitrage teams and solo specialists. It is used for the safe substitution of real data with qualitatively generated fingerprints and working with multi-accounts from a single window.
The solution is suitable for working with advertising campaigns on Facebook, TikTok, Amazon, Google, Yandex advertising system, and eBay. It can also be used for work in such niches as:
- Token Sale;
- Airdrop;
- Arbitrage, surebet and others
Vision has been in development since December 2022. On September 1, 2023, a free beta test became available for everyone. Now the beta test is over, we will consider the available tariff plans below.
Overview of the main features of the Vision antidetect browser:
- platforms – Windows, macOS (Intel/Apple Silicon), and Linux;
- languages – English, Russian, Portuguese, Chinese (application) and Russian, English, Ukrainian (interface on the site);
- themes – choice of dark or light;
- core – Chromium;
- fingerprints generation – substitution of dozens of parameters;
- Vision is suitable for both solo and team use;
- automation is available.
How much does the Vision antidetect browser cost? Prices, tariff plans, terms and conditions
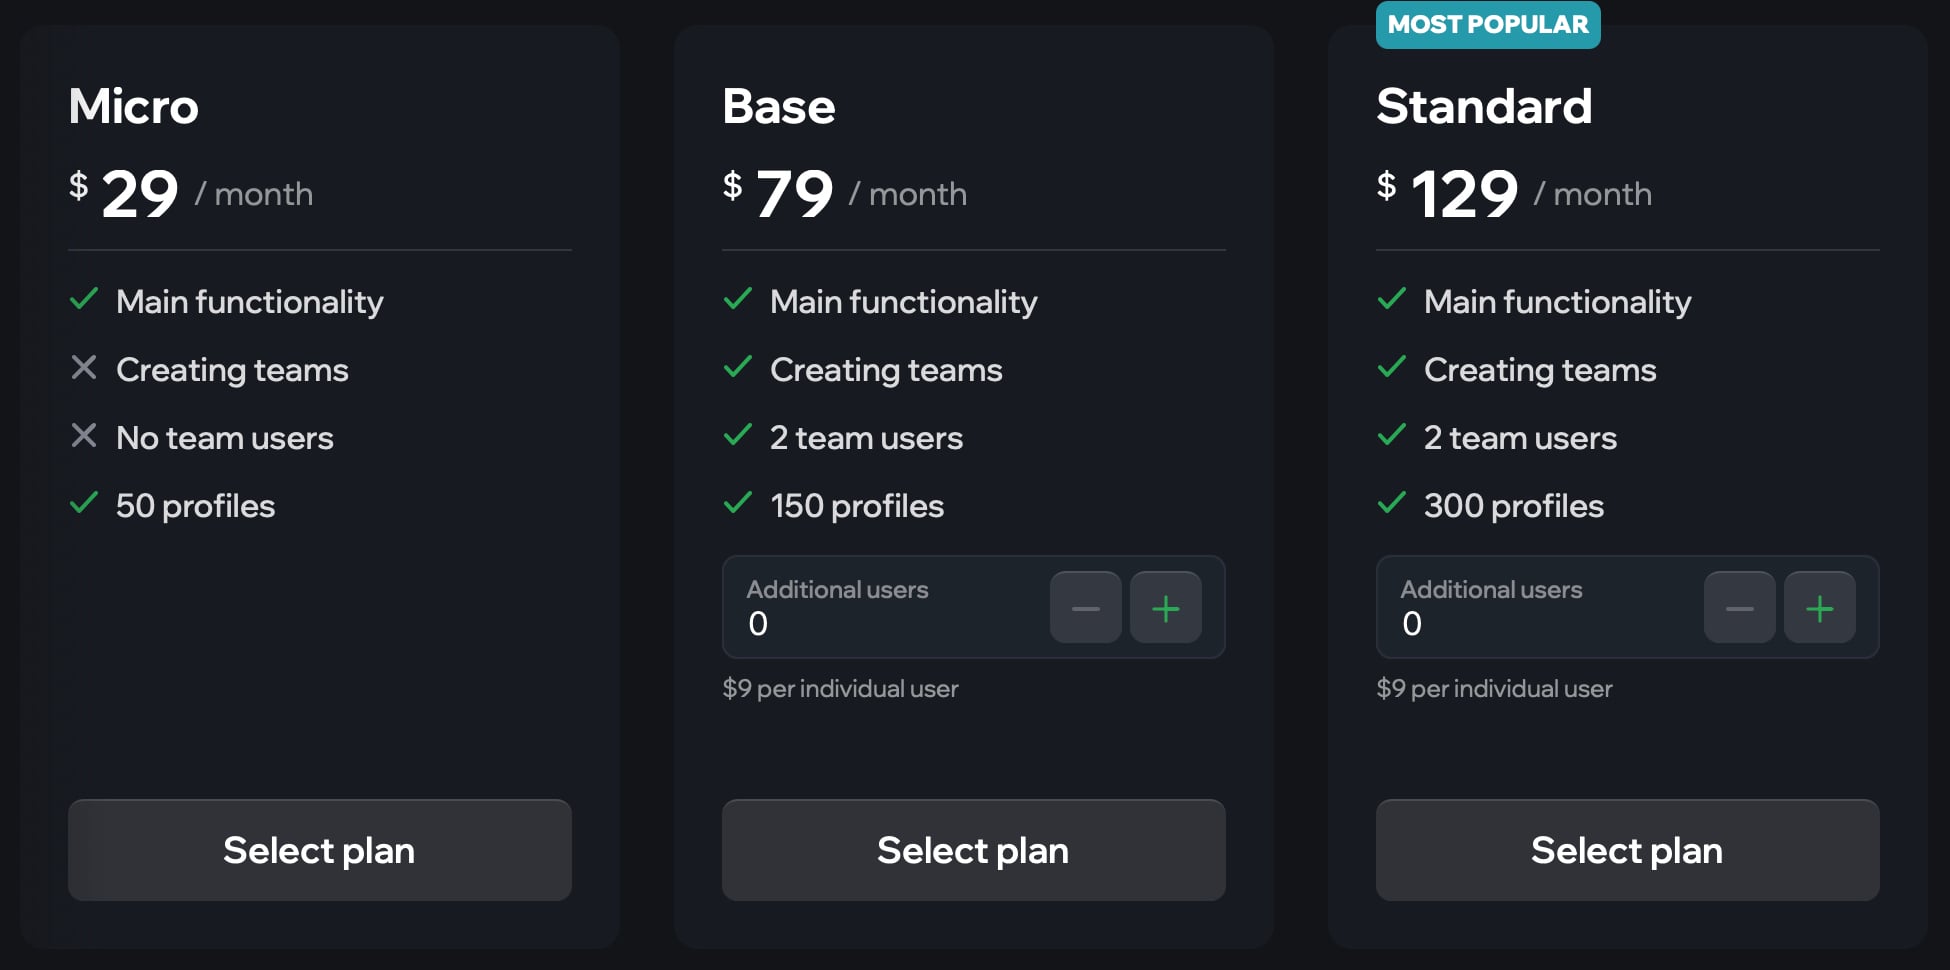
- Micro tariff plan – $29/month. (50 profiles).
- Base tariff plan – $79/month. (150 profiles, 2 users in a team).
- Standard tariff plan – $129/month. (300 profiles, 2 users in a team).
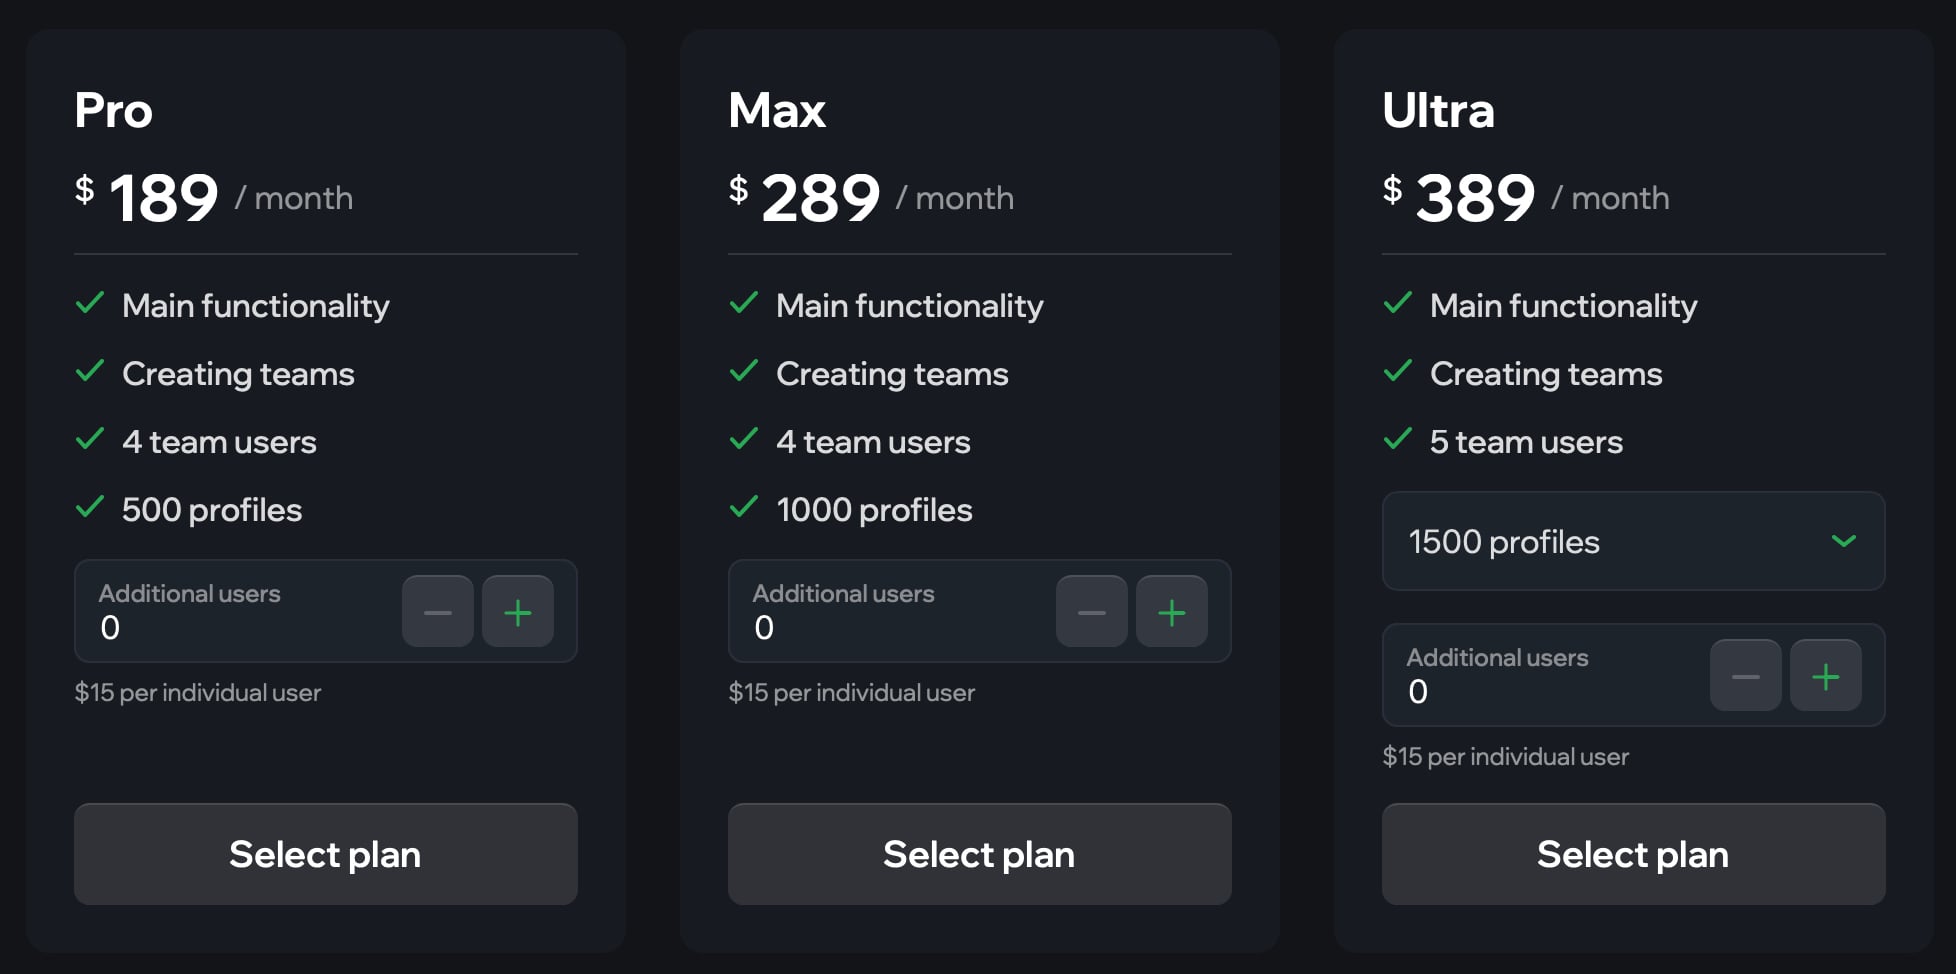
- Pro tariff plan – $189/month. (500 profiles, 4 users in a team).
- Max tariff plan – $289/month. (1000 profiles, 4 users in a team).
- Ultra tariff plan – $389/month. (1500+ profiles, 5 users in a team).
Profiles and team members can be added for an additional fee. You can also get a custom tariff plan with individual conditions on request.
The CPARIP promo code gives a 22% discount on any tariff plan.
How to download and install Vision antidetect browser
You need to visit the browser.vision site and download the Vision antidetect browser for your system:

- Windows;
- MacOS (Intel);
- MacOS (M1);
- Linux.
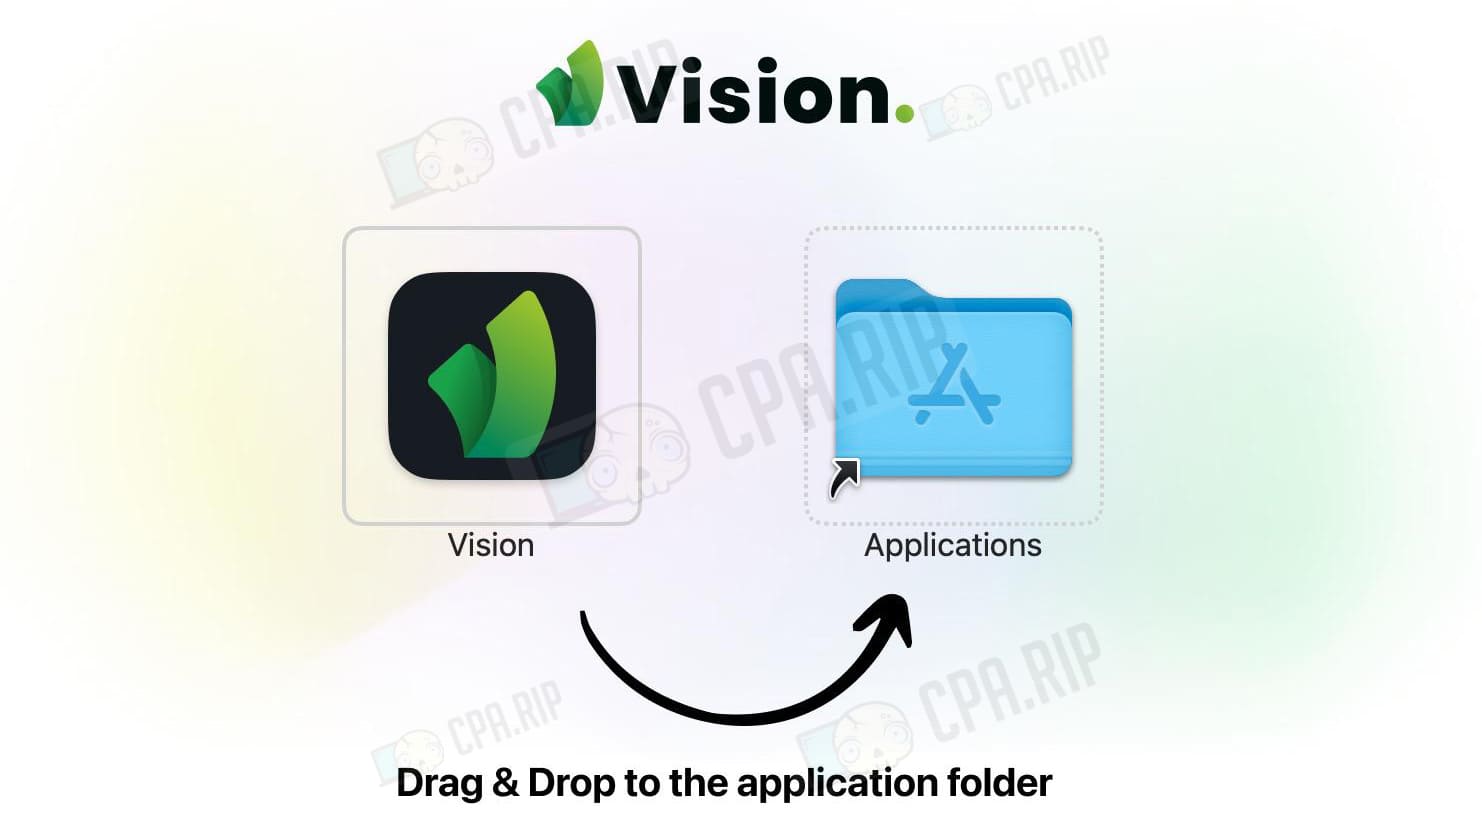
For macOS, wait until the disk image is downloaded. Click on the disk image and start the installation. You will see a message that you need to drag and drop Vision into the “Applications” folder. On Windows, run the standard installer.
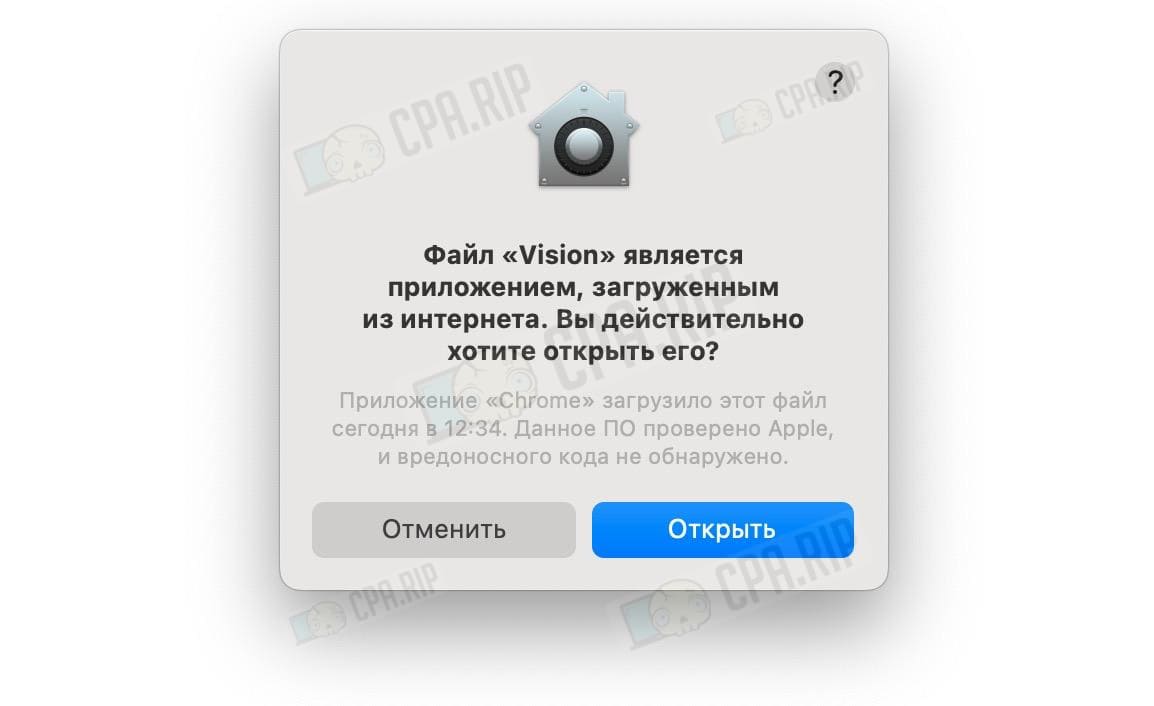
Click on the icon to launch the antidetect browser. On macOS, a notification appears that the Vision file is an application downloaded from the internet. The system asks if we really want to open it (and also provides additional information about when the software was downloaded). Click “Open.”
A window for entering login and password appears. There is no registration in the browser.
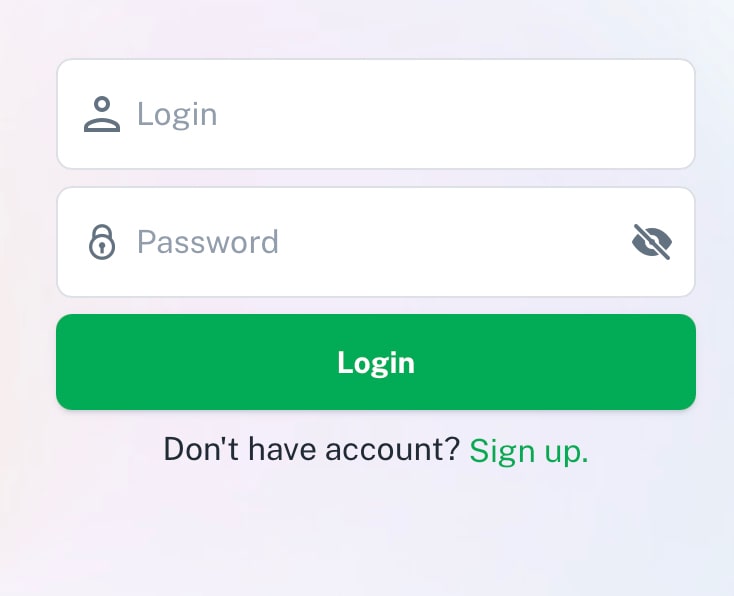
How to sign in Vision
You can open an account only on the website. Therefore, go to browser.vision and click the “Register” button.

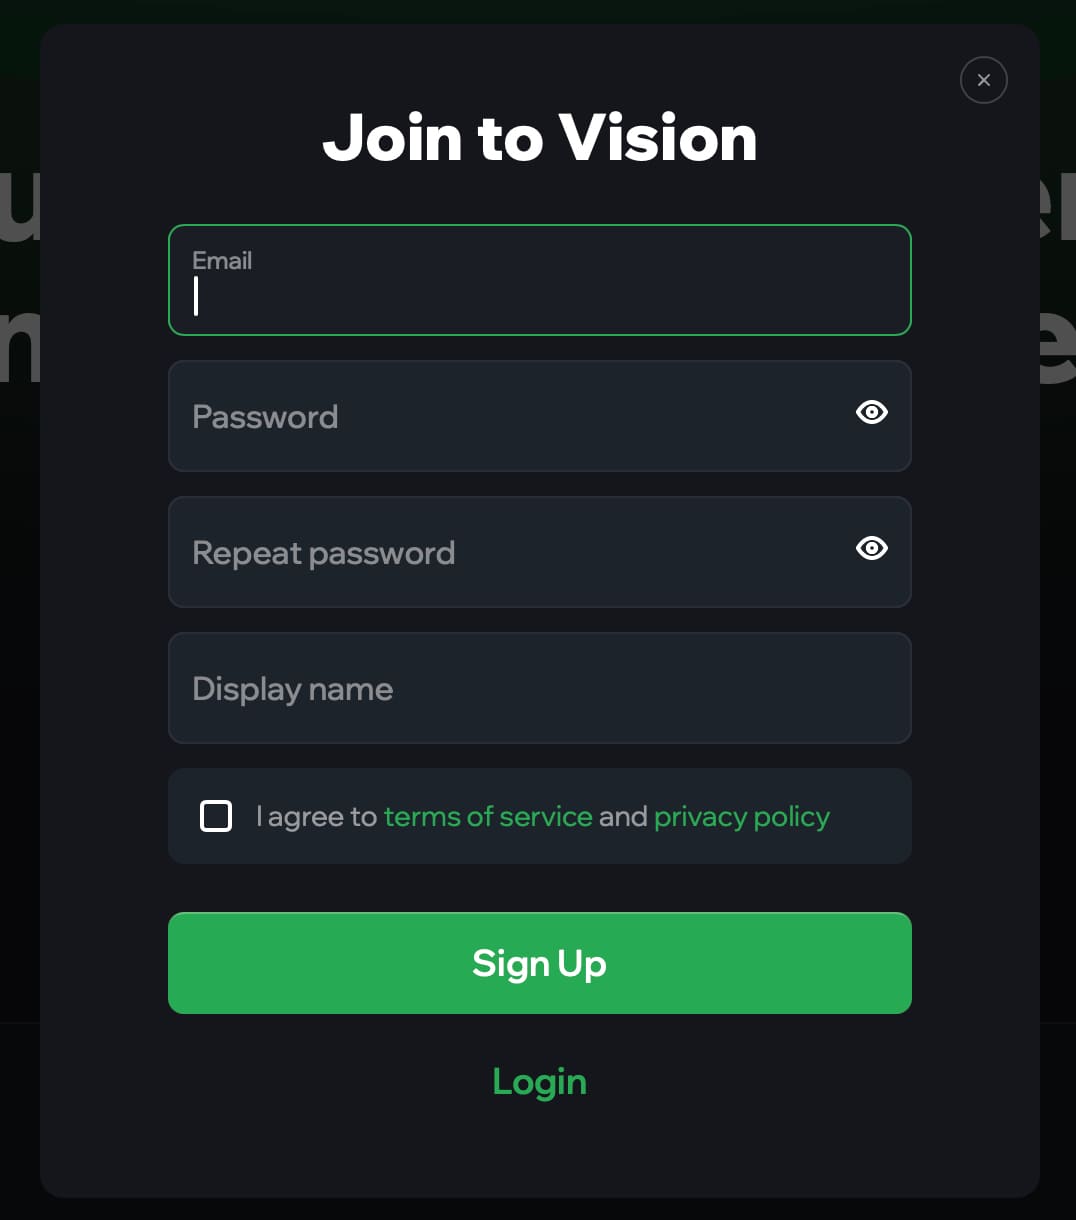
A form appears in which you need to enter the following data:
- Email address;
- Password;
- Confirm (repeat) password;
- Display name.
To sign up, you need to check the box agreeing to the privacy policy and processing of personal data. When you have filled in all the fields, it remains to click “Sign up”.
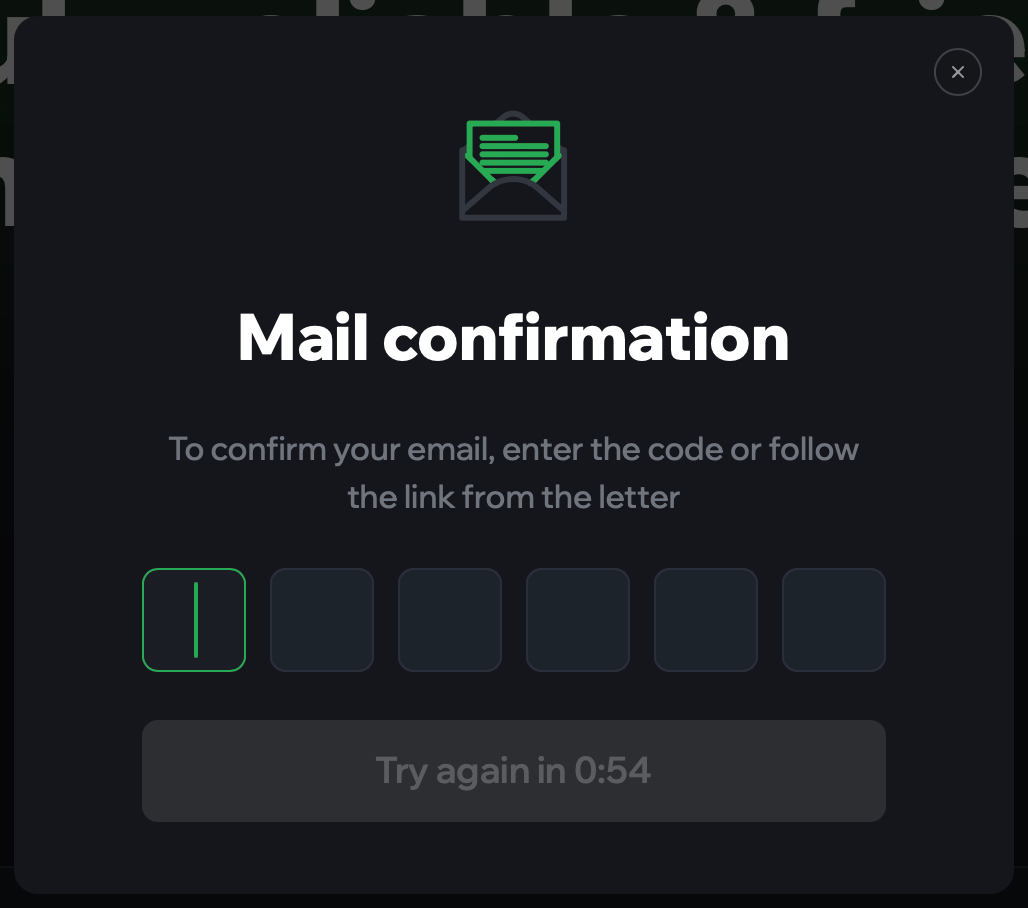
Then you will receive a notification that a letter with a confirmation code (link) has been sent to your email address. You need to follow the link in the mail or enter the code.
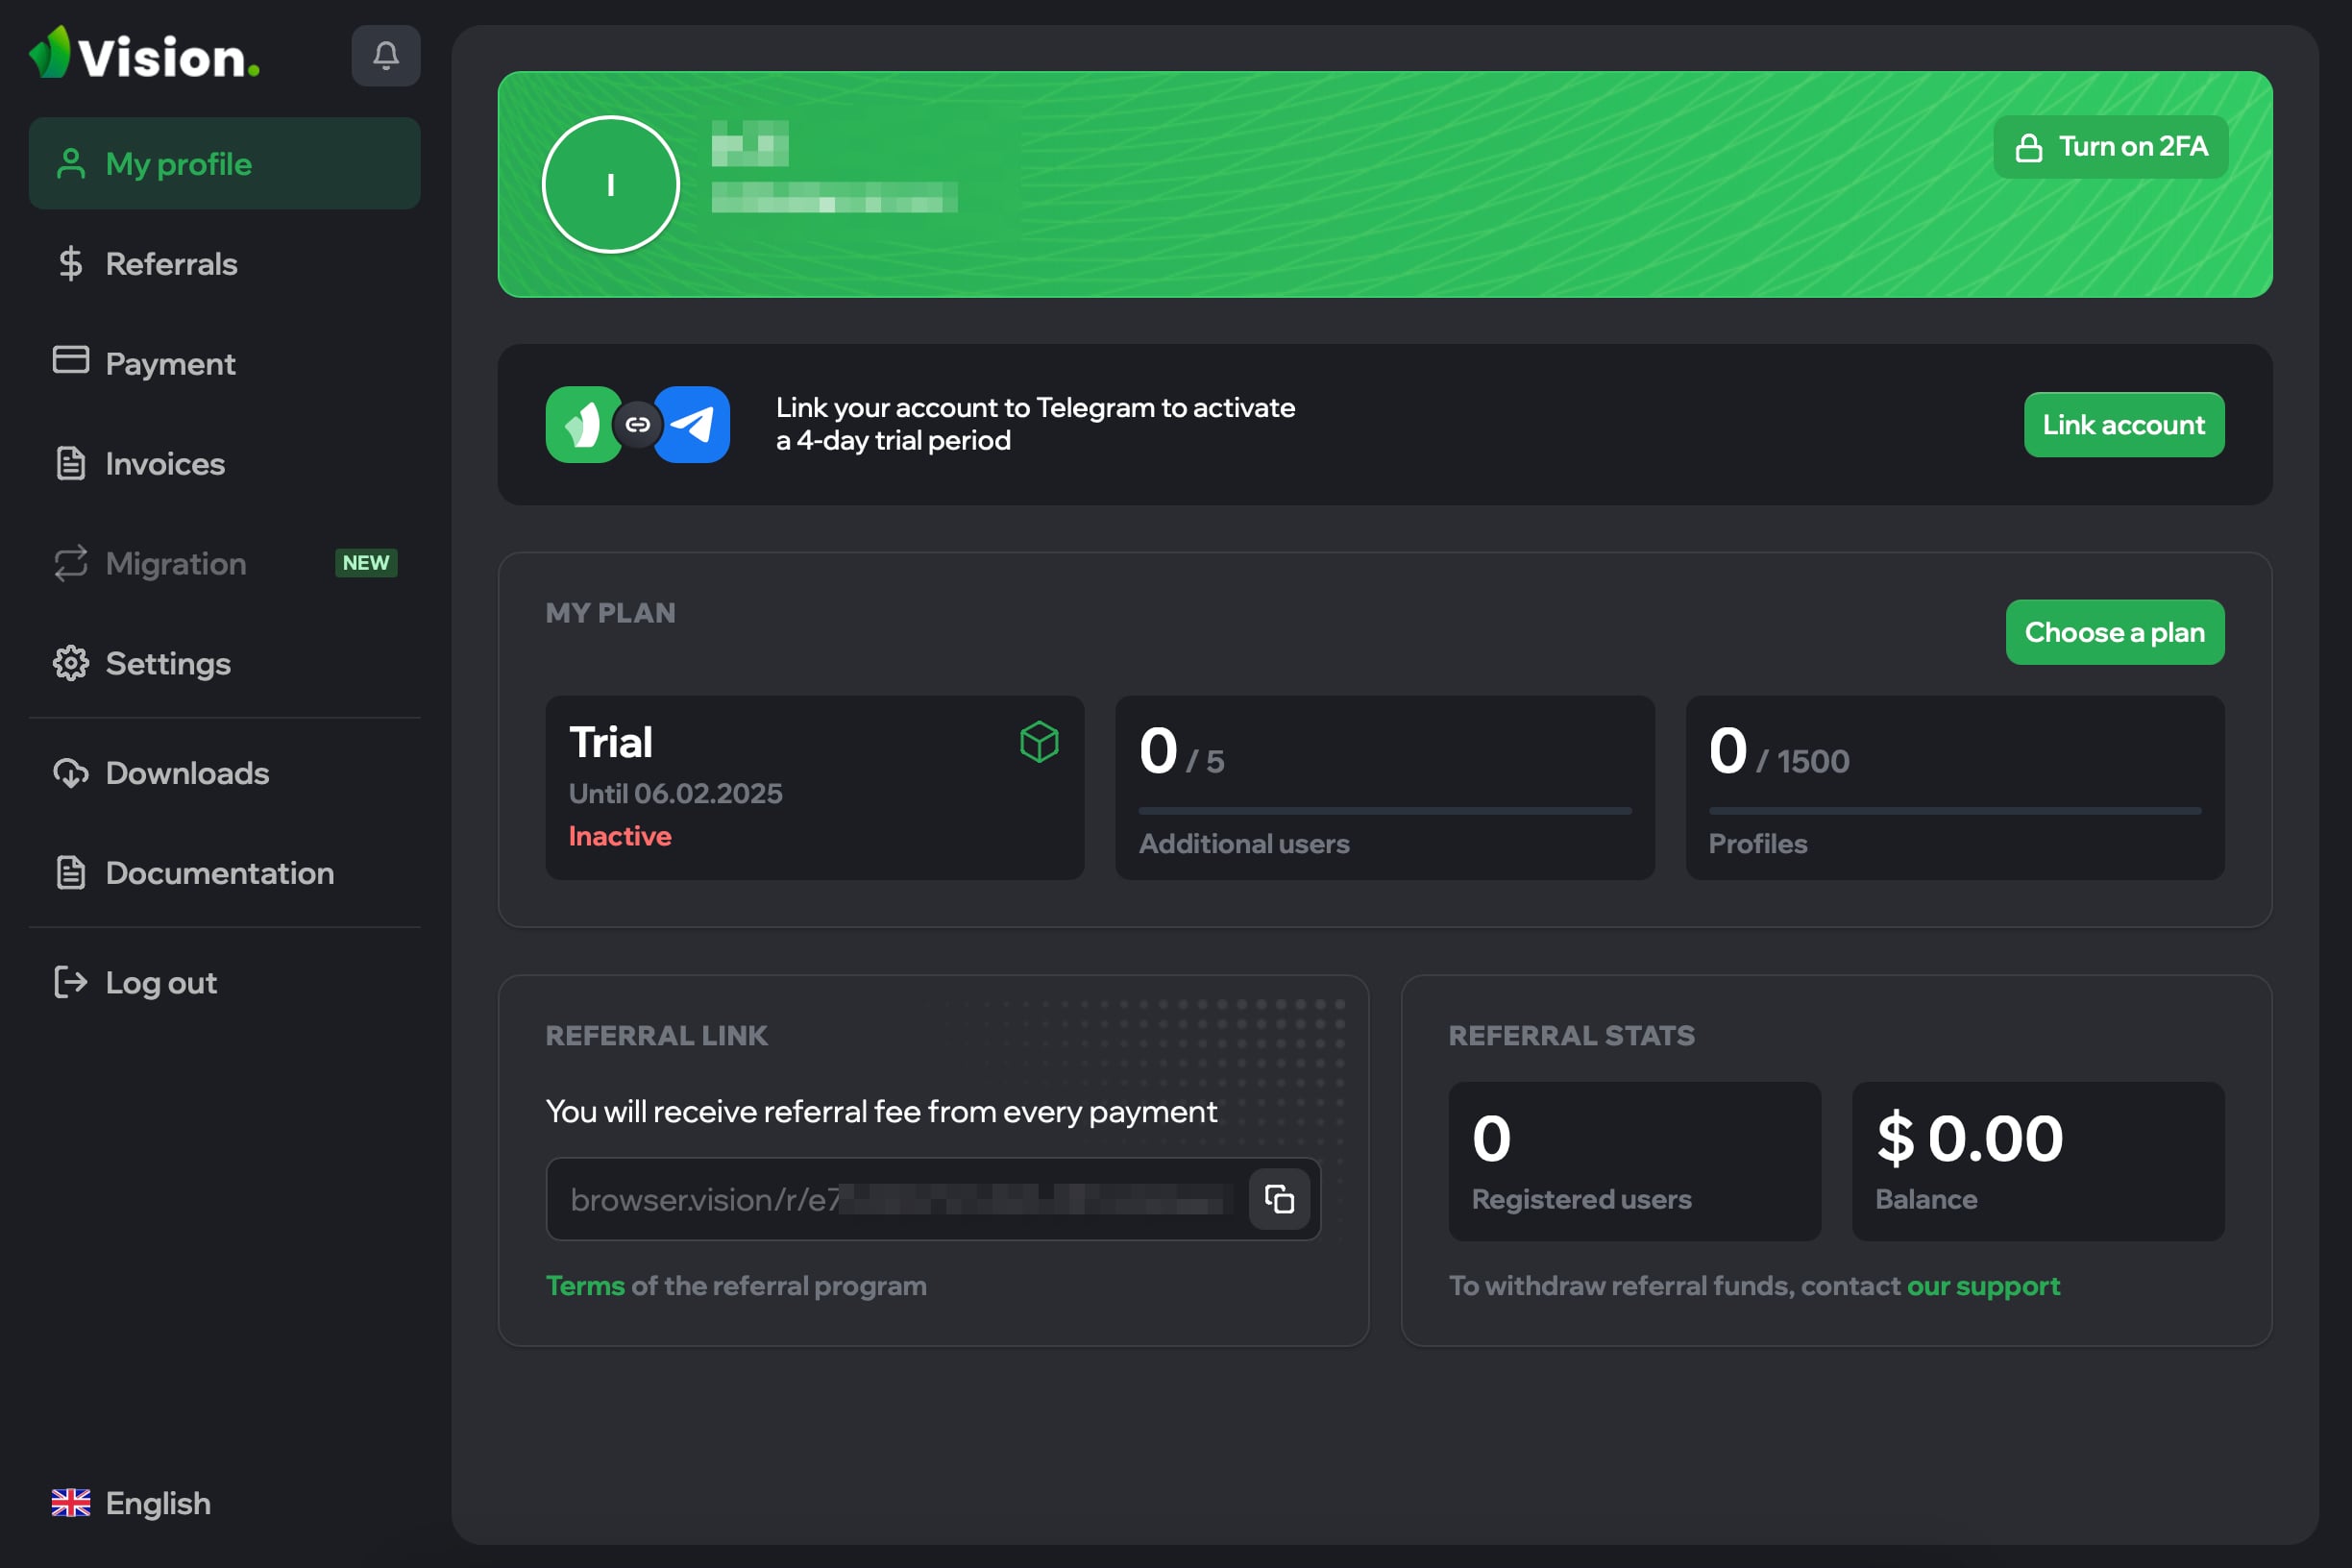
After registration on browser.vision you can authorize on the site and open your account. The interface languages are Russian, English, Ukrainian, Vietnamese, Chinese, and Portuguese. Here you can see the basic information, pay the tariff plan, find the referral link, go to the documentation, etc.
Now with the help of login and password from the site, you can authorize in the application.
Overview of the interface and functionality of the Vision antidetect browser
Let’s look at the main tabs offered by the program:
- “Browsers” – this is where your profiles are located. The antidetect browser immediately offers to organize profiles into folders.
- “Commands” – allows you to collaborate with other users (launching, editing browser profiles, etc.).
- “Automation” – not available yet but they promise to add API documentation.
- “Settings” – avatar, username and password, application version, browser version, Local Storage (cached profiles, HTTP server port, User-Agent auto-update (activated by default), screen resolution (real / from fingerprint).
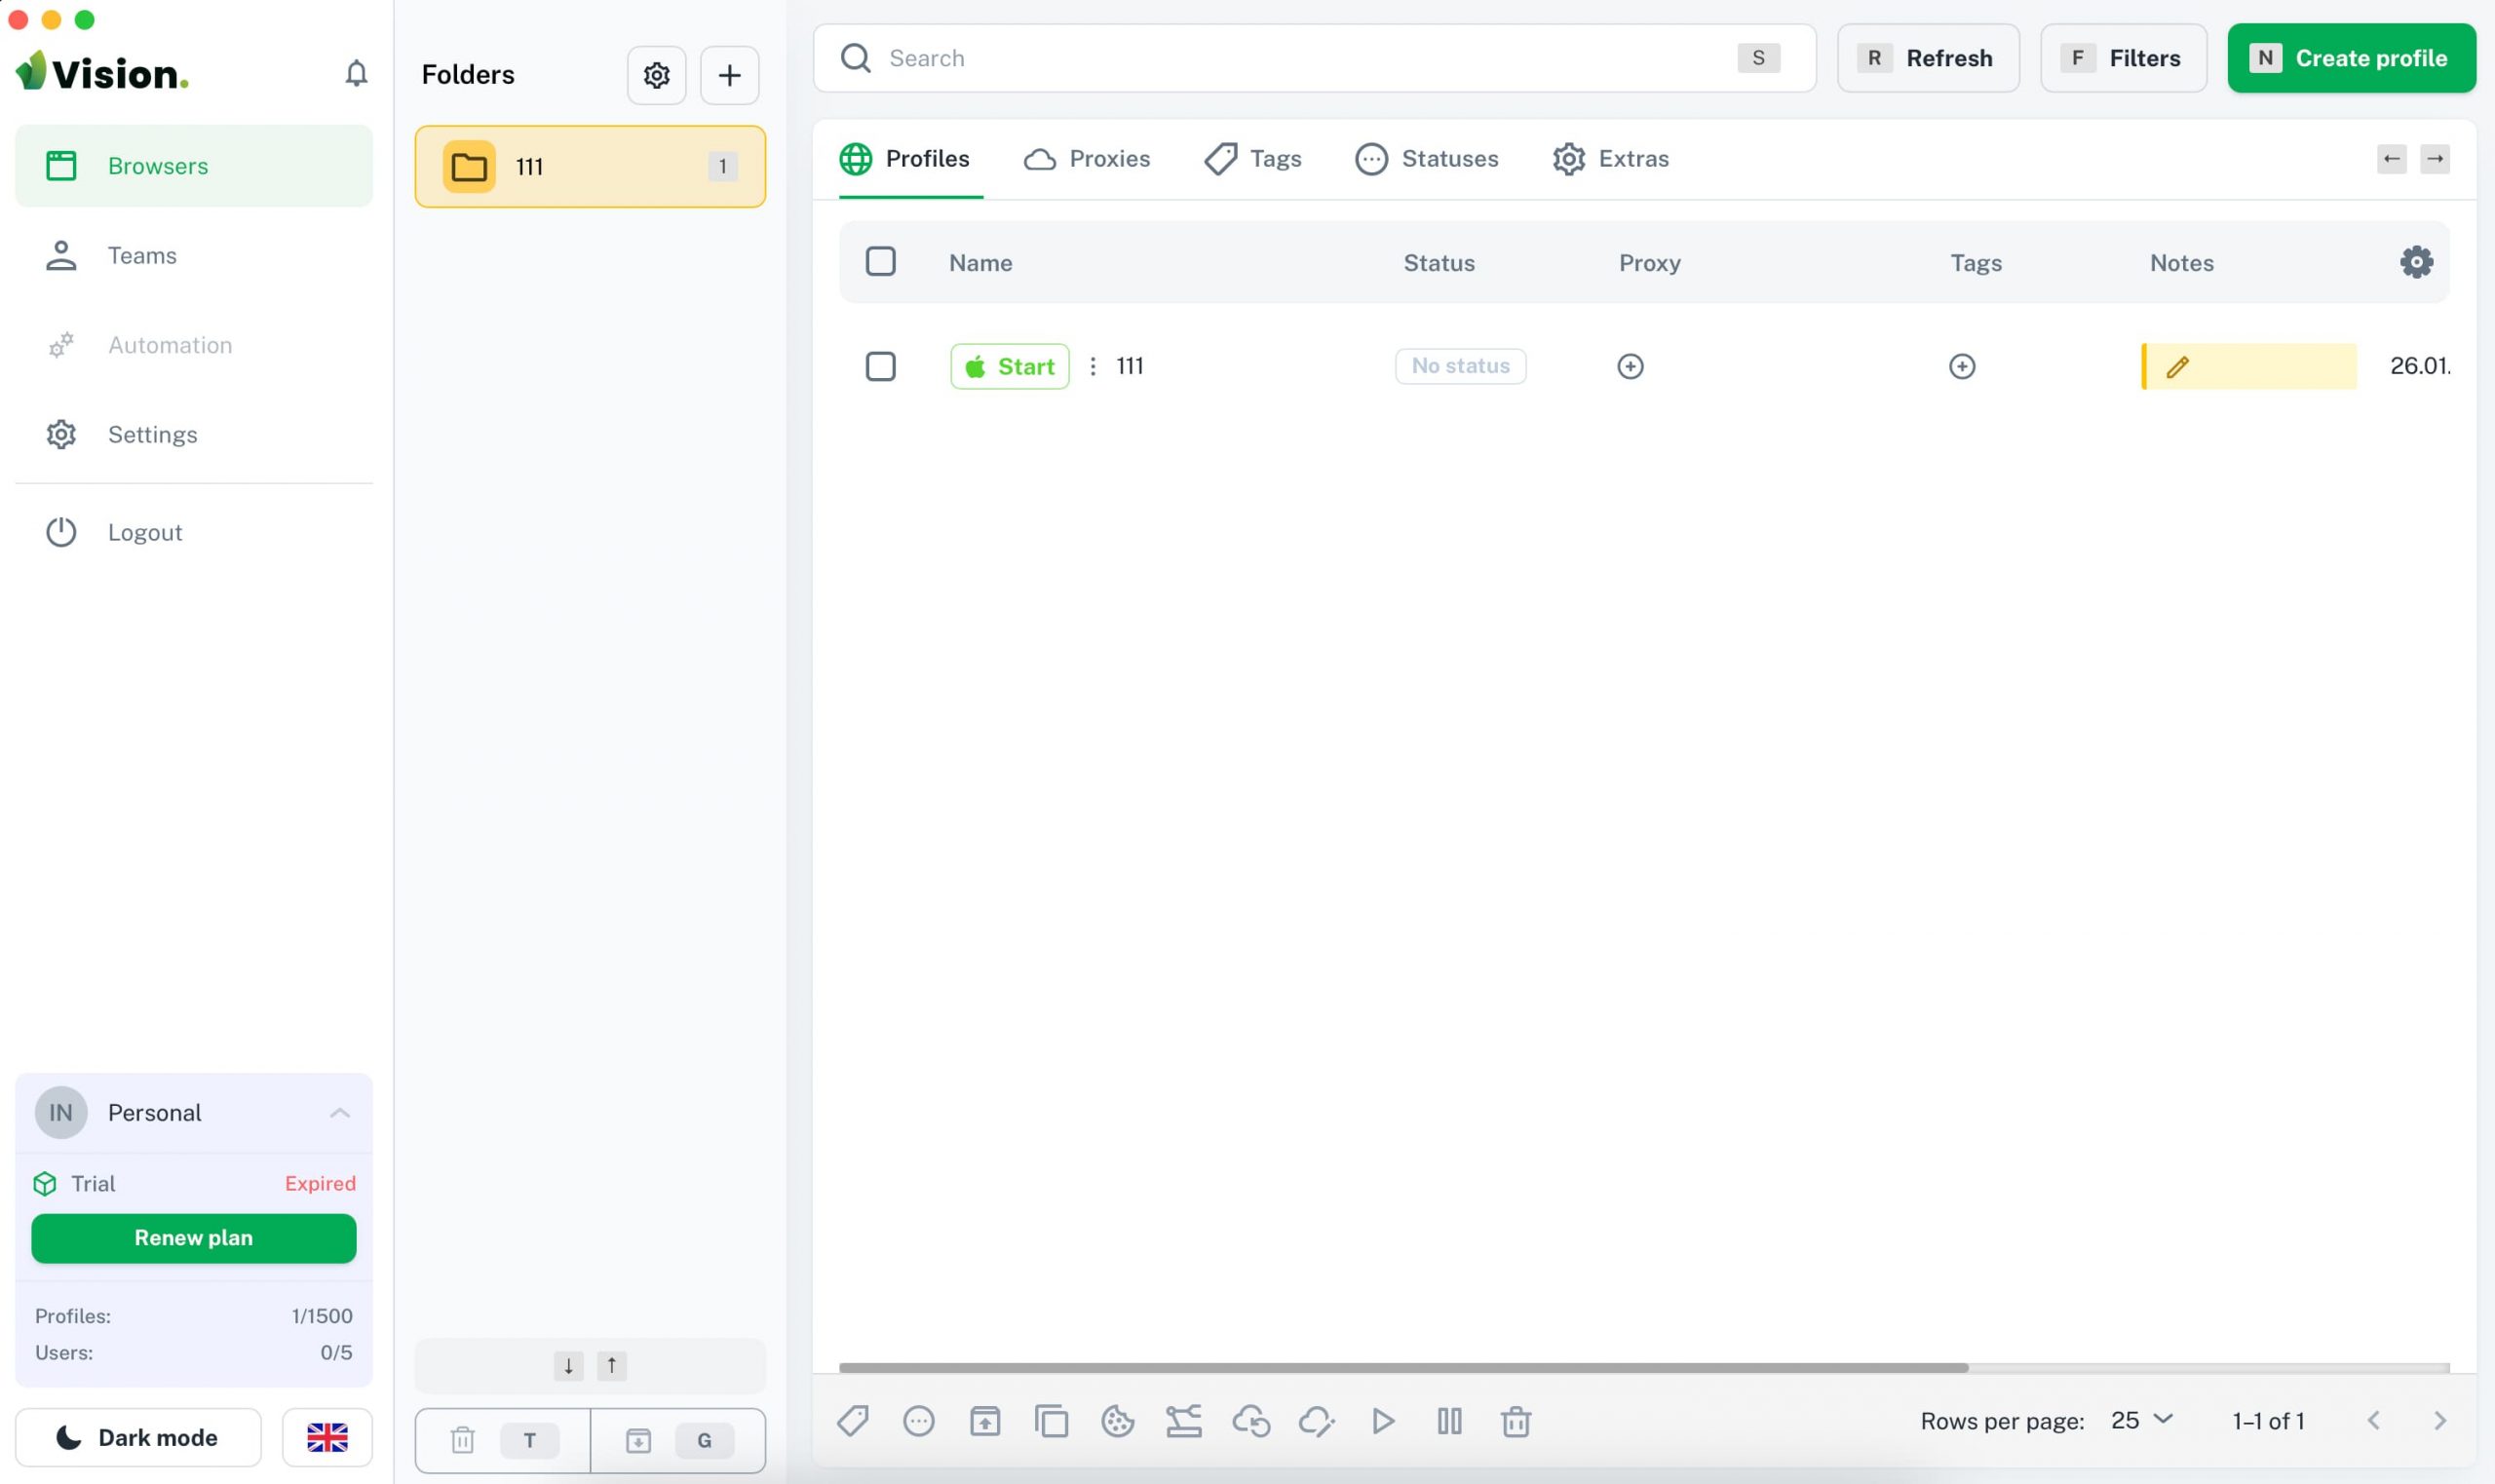
On the bottom left, you can select language (English, Russian, Portuguese, Chinese, Ukrainian), light or dark theme. Here you can also find information about the license terms.
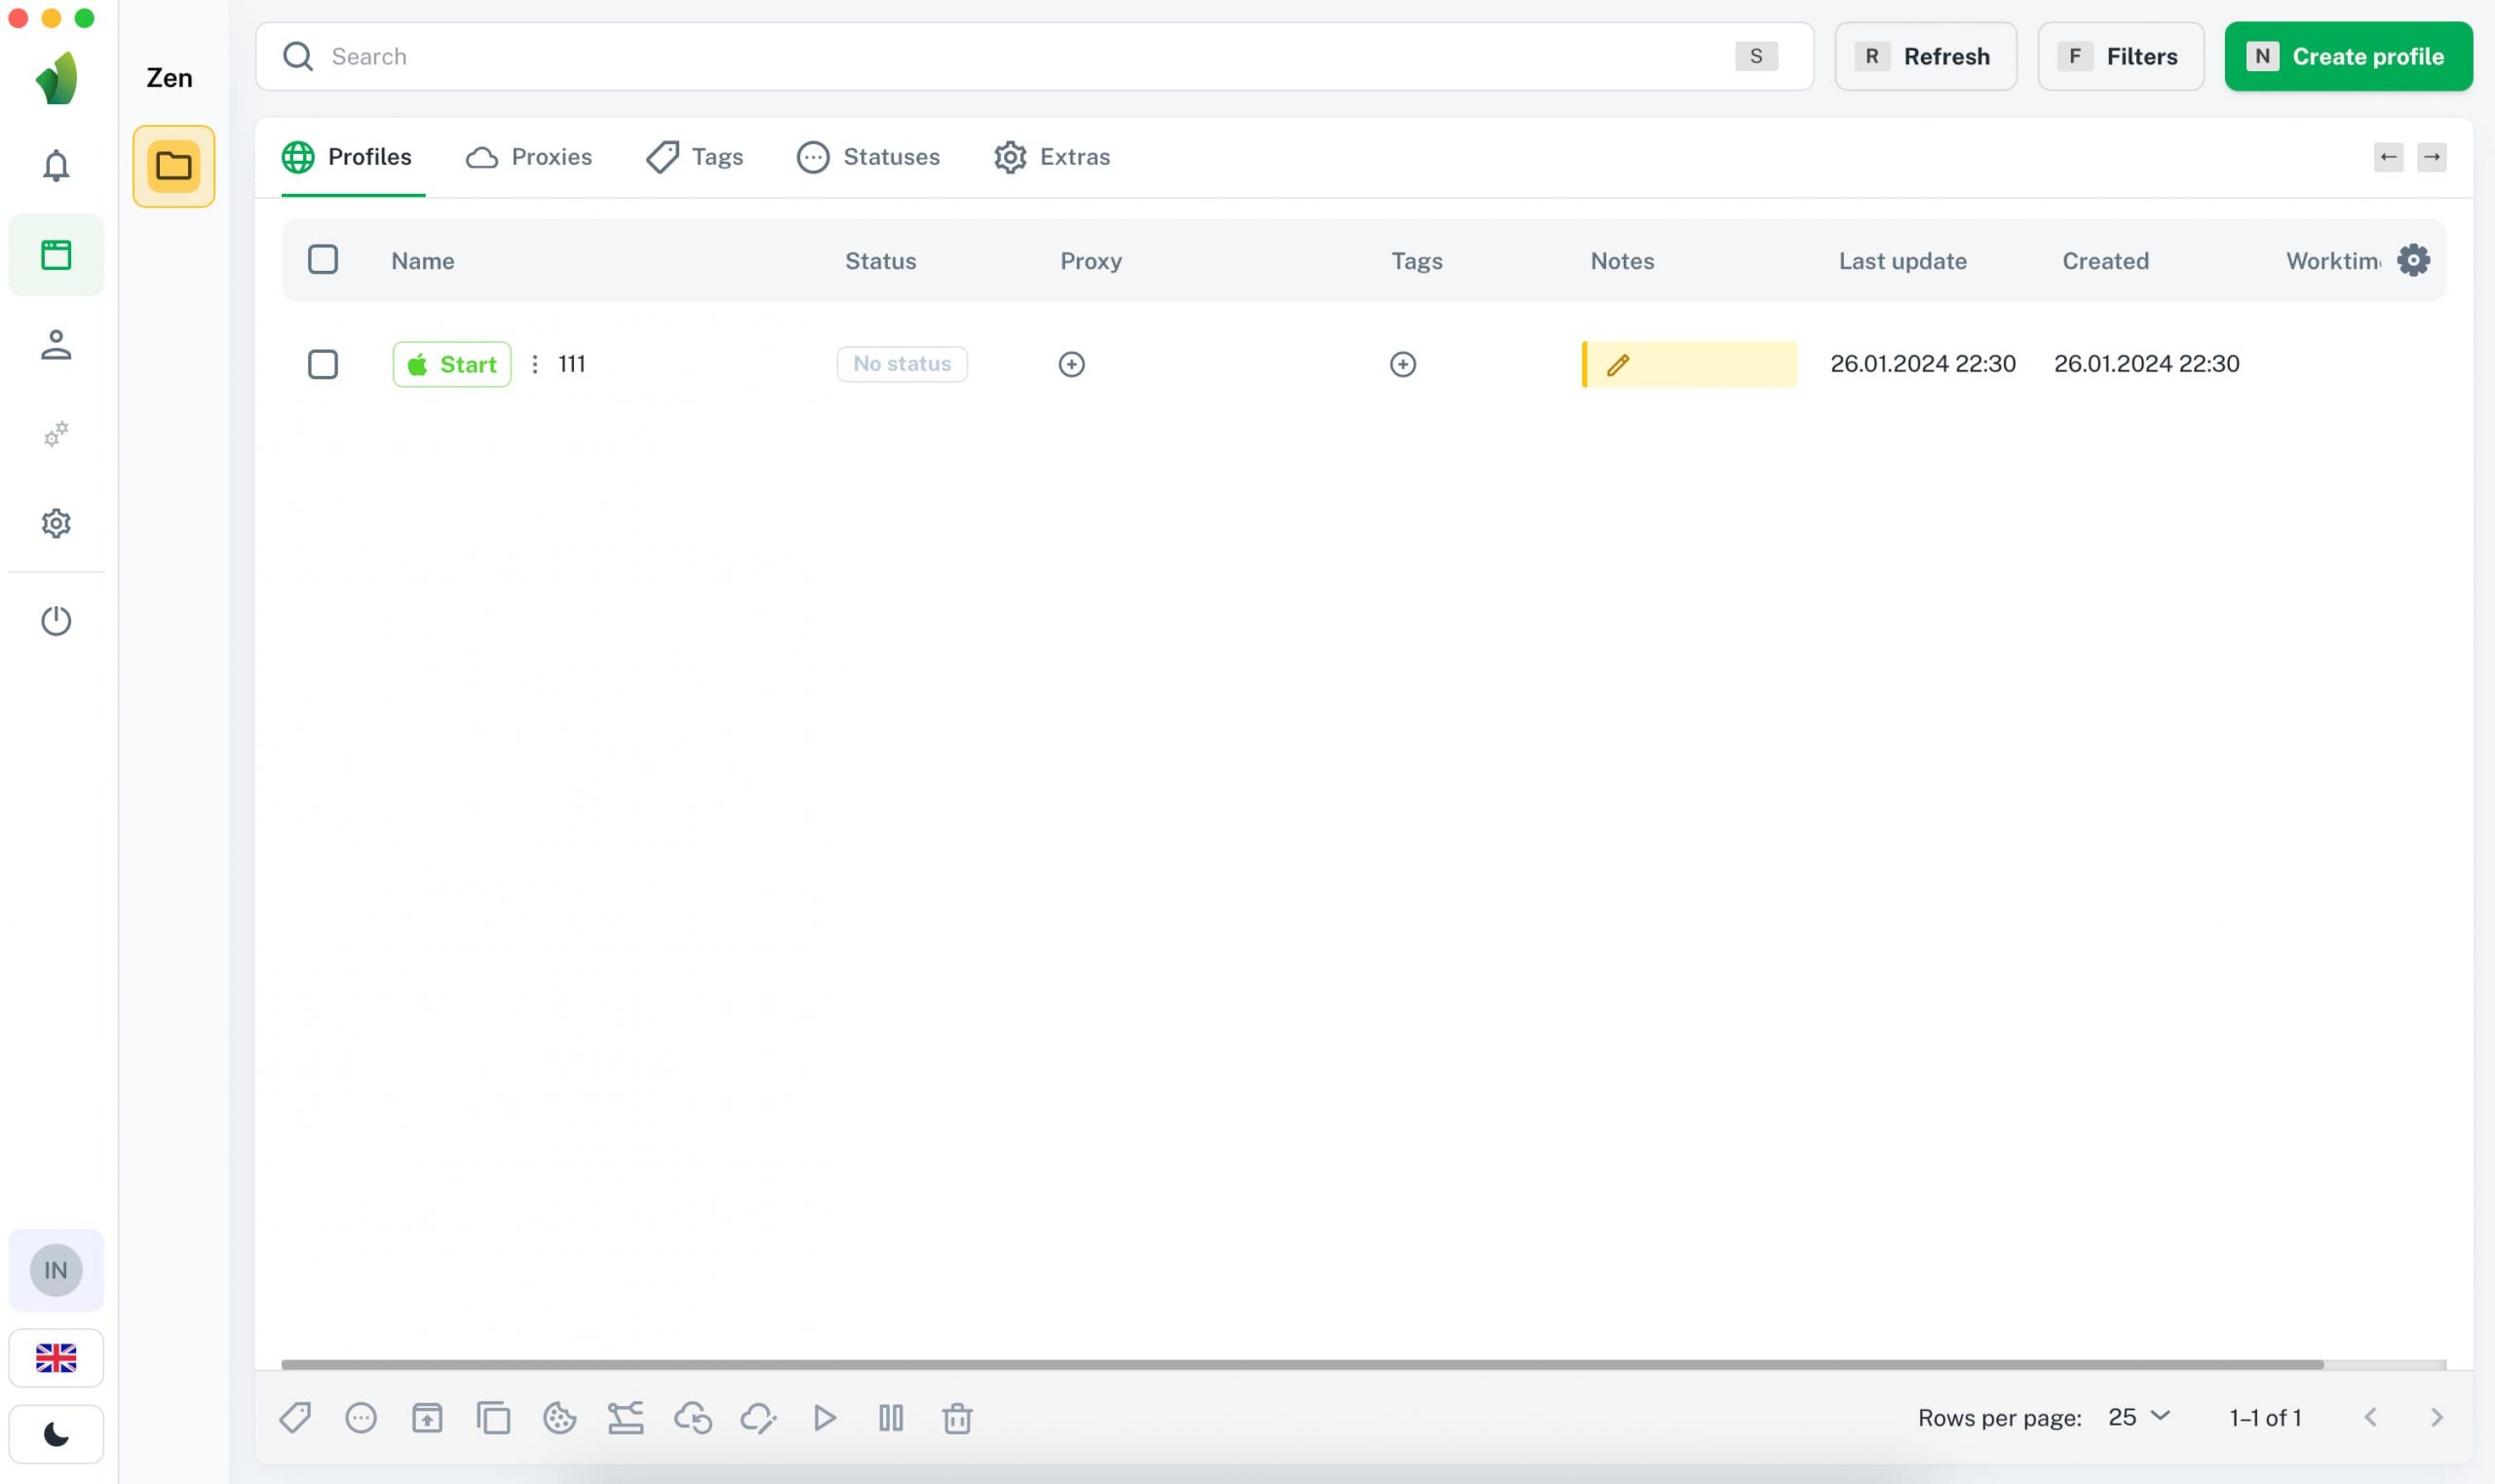
There is the so-called “Zen Mode” – minimizes the sidebar with folders, so that there is more space on the left side of the screen. To activate it, just press “Option + Z”.
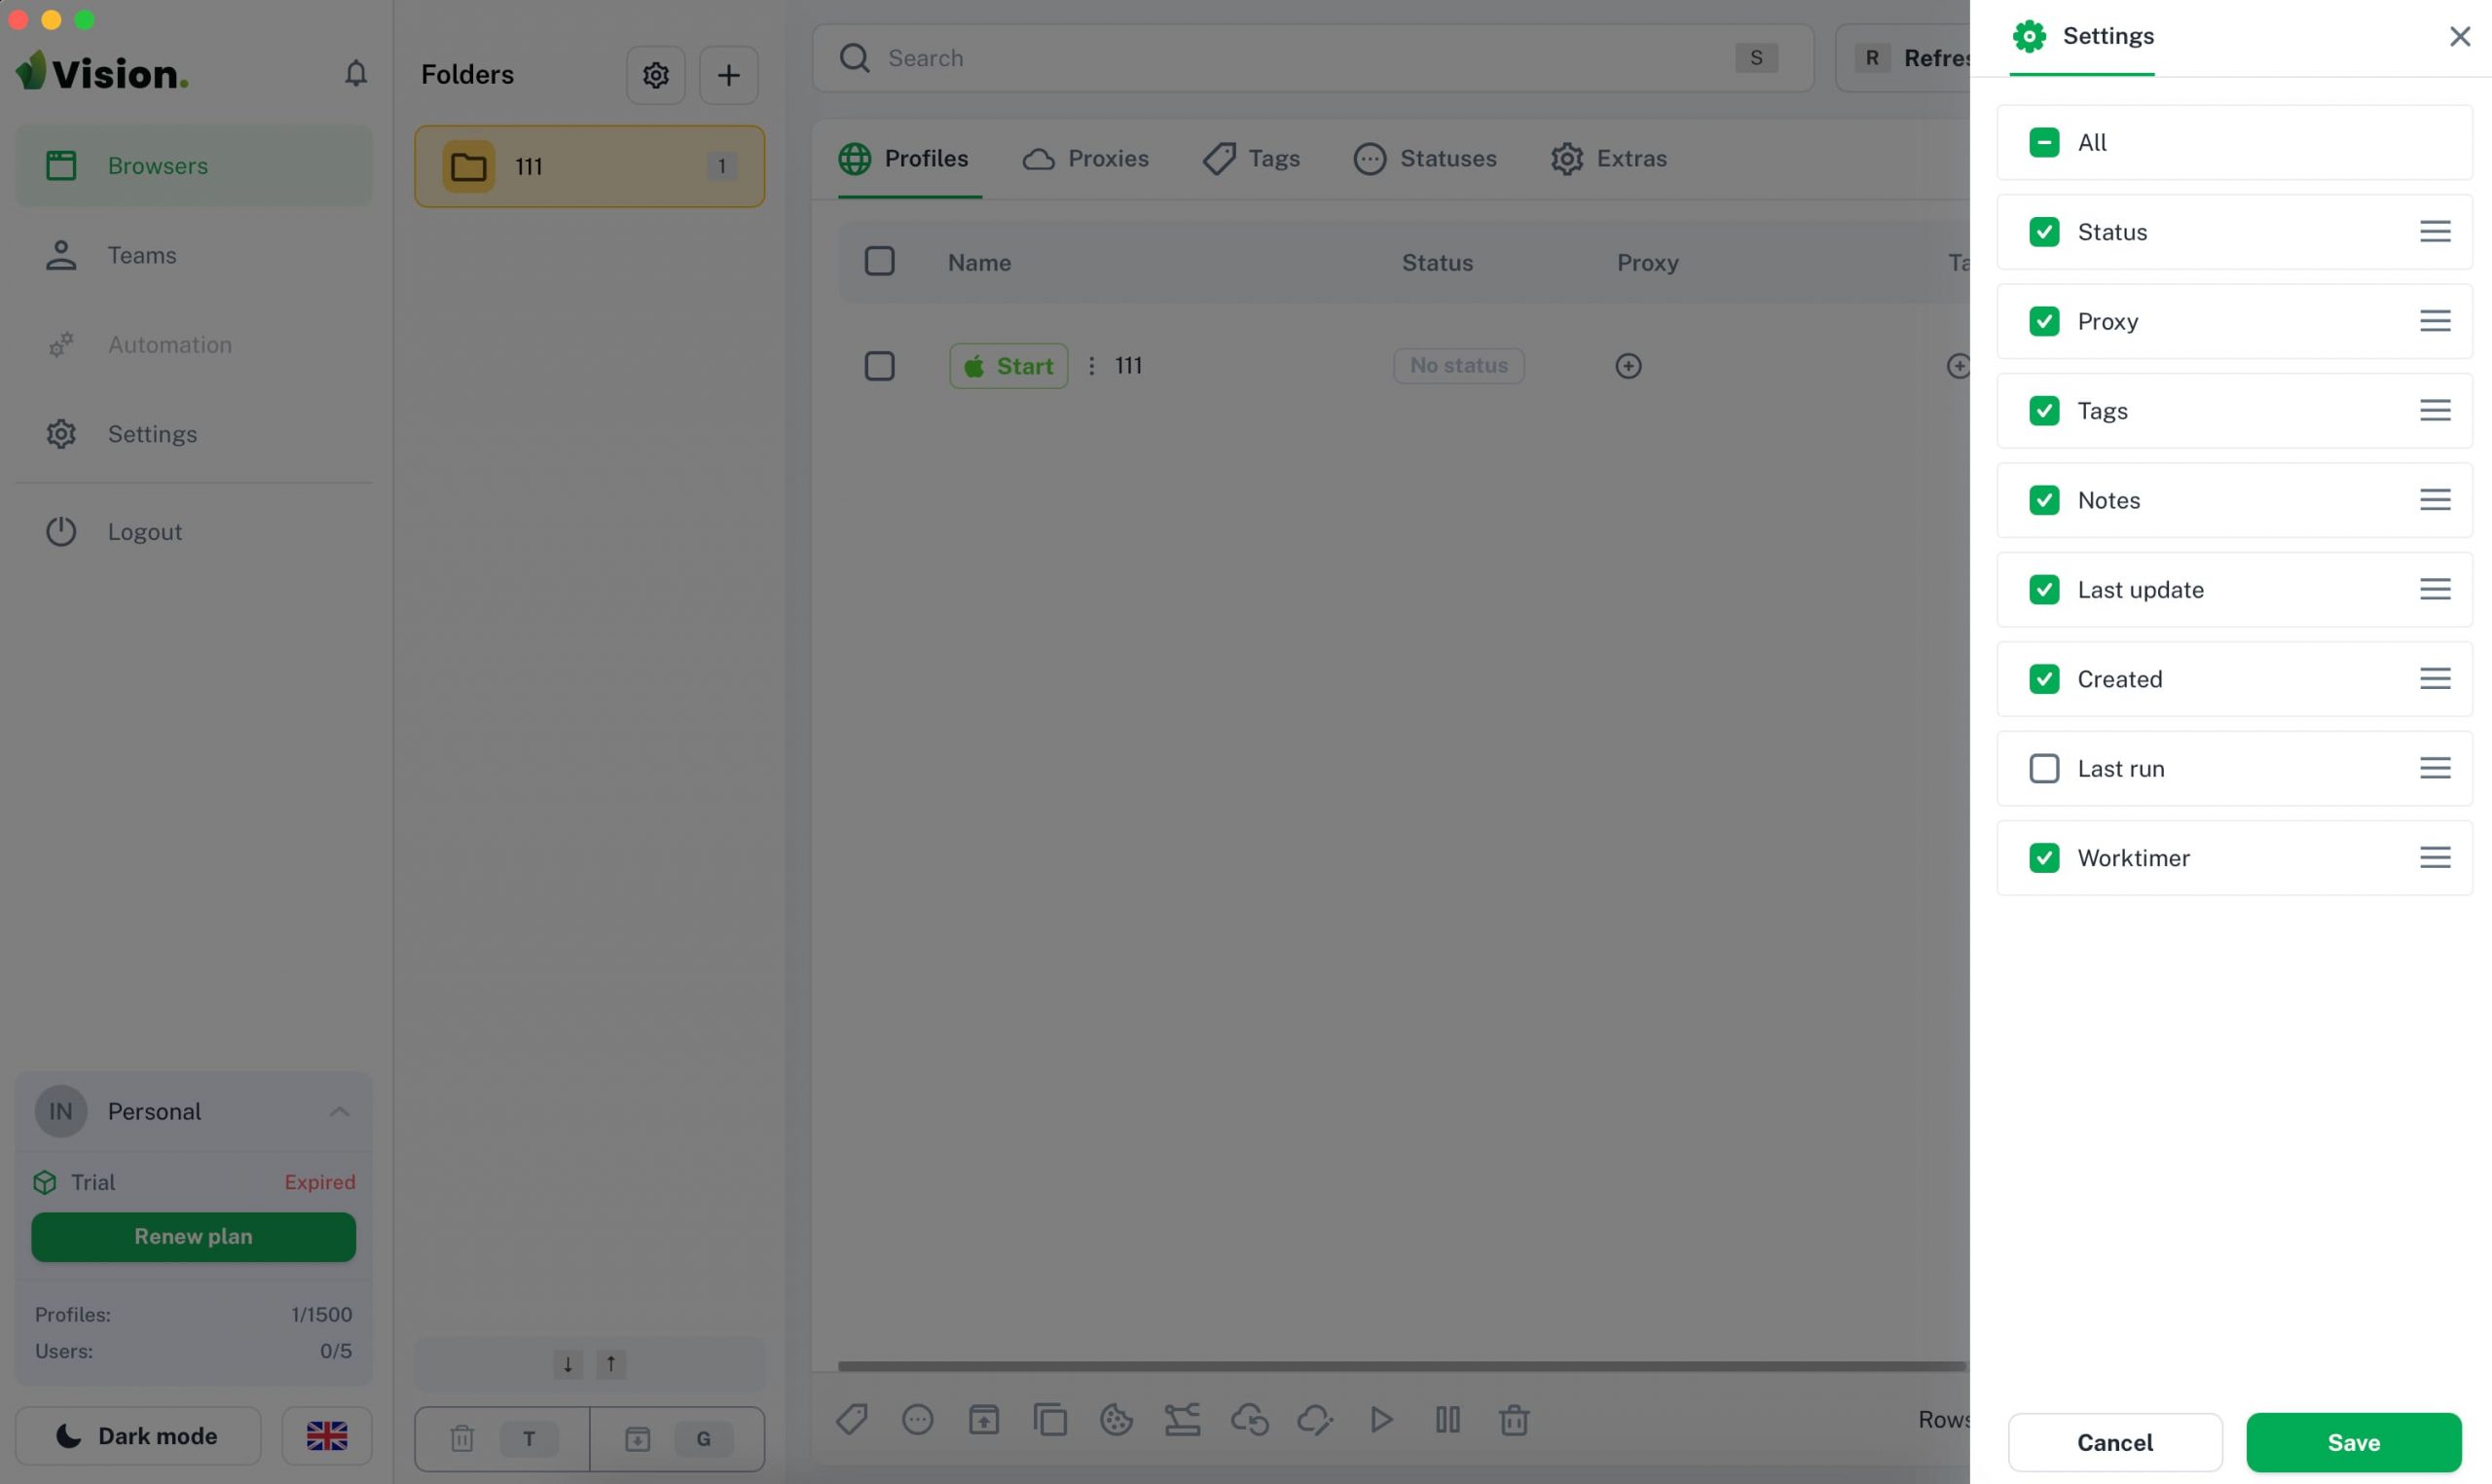
For convenience, you can set the display of columns by clicking on the gear in the upper right corner: “All”, “Status”, “Proxy”, ‘Tags’, “Notes” and so on. By the way, this is not the first menu where the English-language interface appears, although we have set the Russian-language interface in the settings.
How to create and customize browser profile in Vision
The user clicks “Browsers -> New folder”. Here you are offered to set the color (optional) and specify the name of the folder. Folders are a handy solution for those who work with different projects, offers, sources, etc. For example, you can organize browser profiles into folders according to traffic channels and/or tasks (Facebook, Google, etc.).

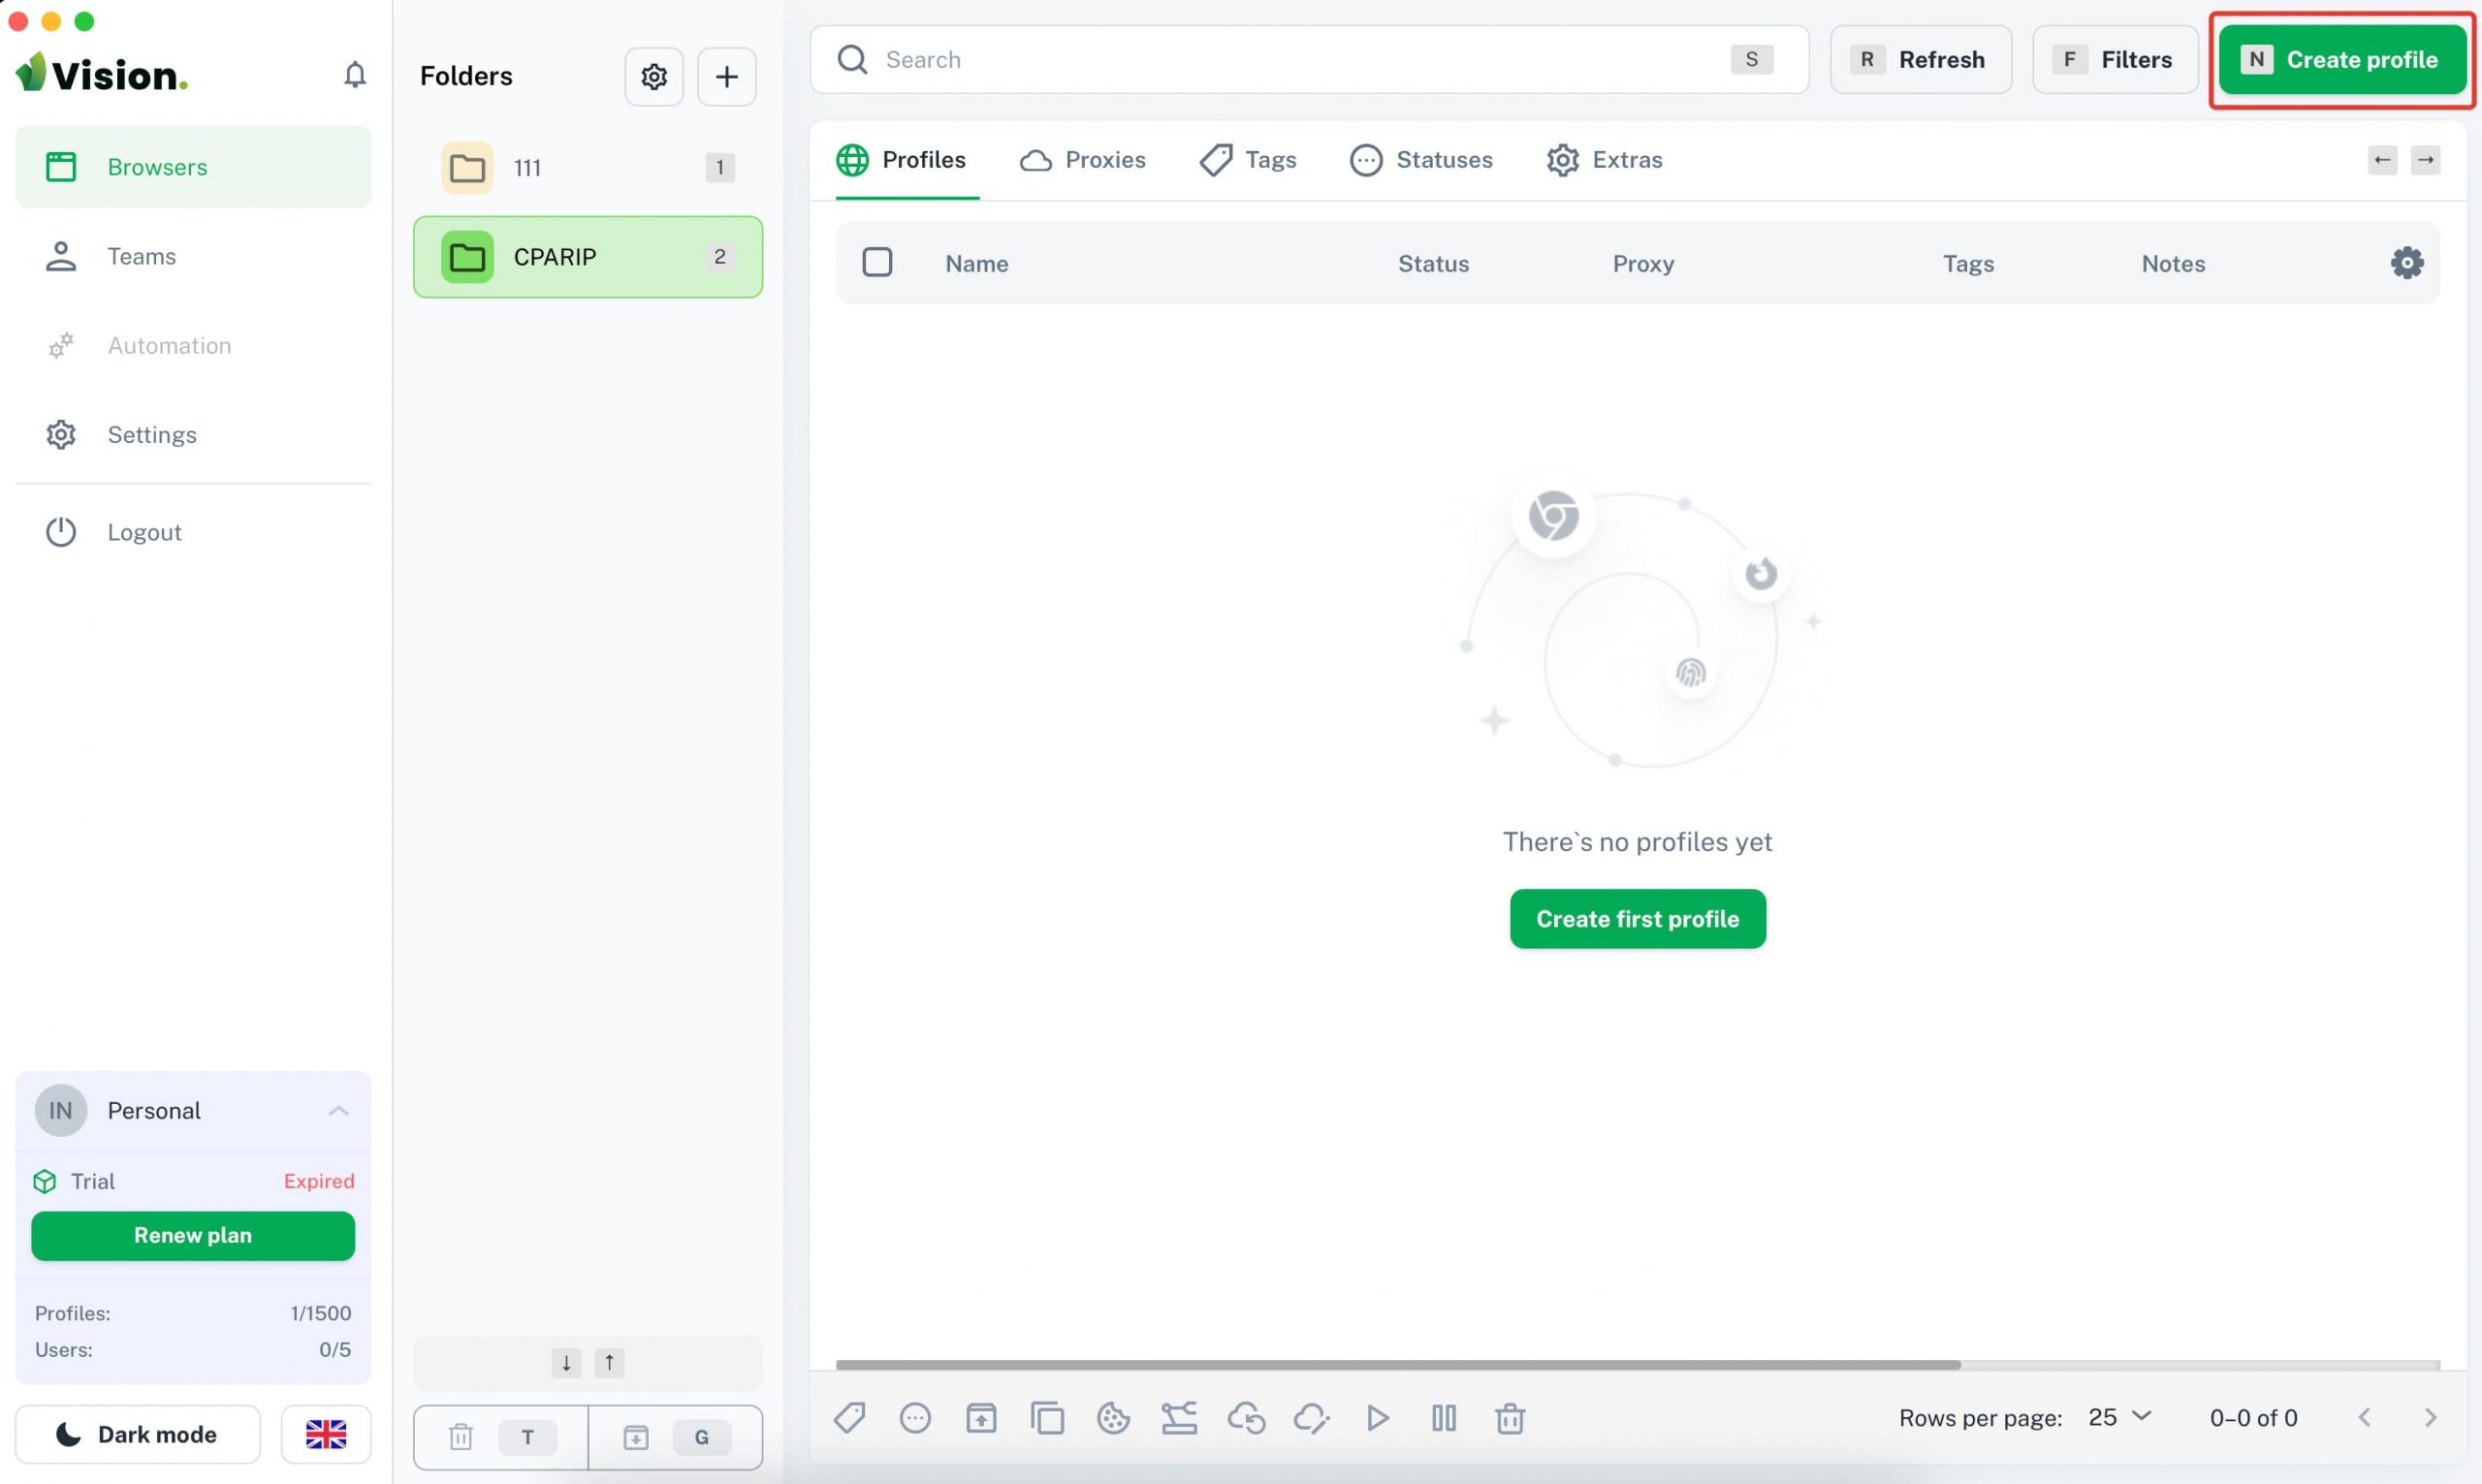
After clicking on “Create folder”, a page for creating and managing browser profiles appears. Search is available, a refresh button is implemented, you can set filters by user, tag, status. Below is the navigation bar: profiles, proxies, tags, statuses, extras.
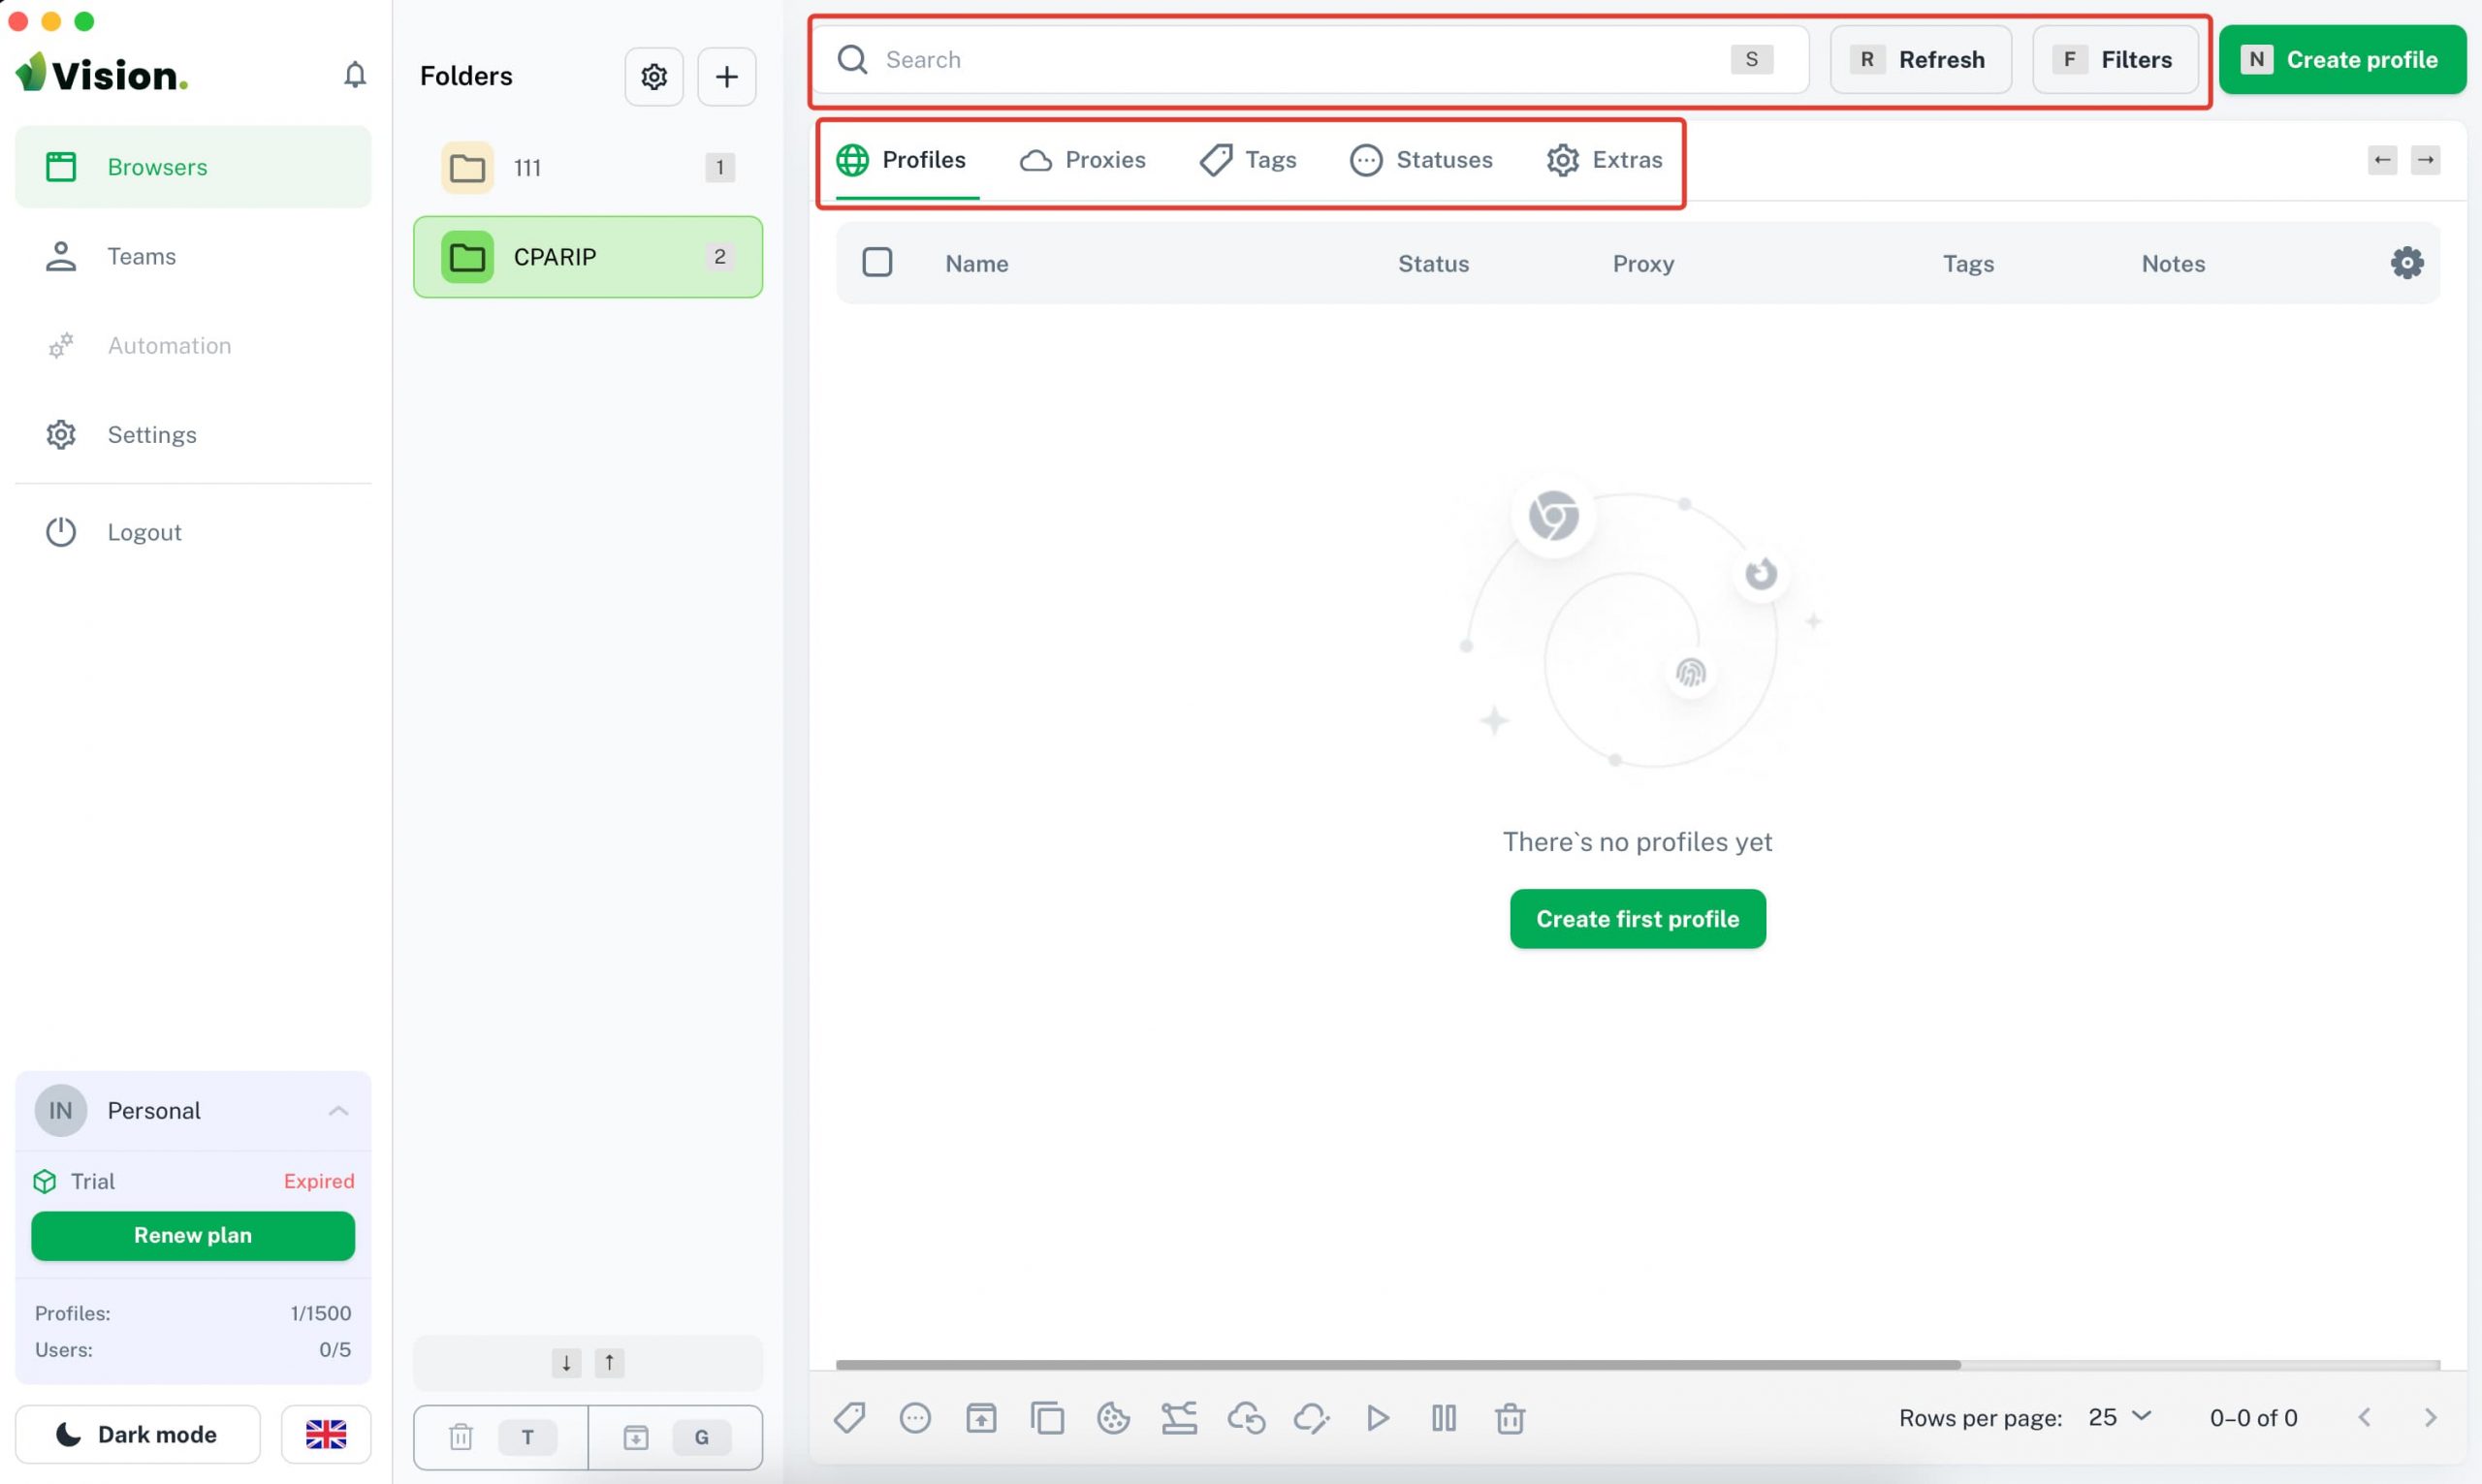
To get started, you need to click on the green button “+ Create Profile”.
A window appears, where you need to set:
- profile name;
- status (used for quick navigation and filtering, you can set options like “active”, ‘farming’, “banned”);
- tags (you can set them and then filter them for convenience – for example, you can set tags by buyer name / account type / tasks and so on).
By default, Vision Browser has already selected all the necessary settings:
- browser – Chrome or Firefox;
- operating system – Windows, MacOS, Linux;
- proxy – no proxy, select proxy, add proxy;
- cookie – insert your own or drag a file.
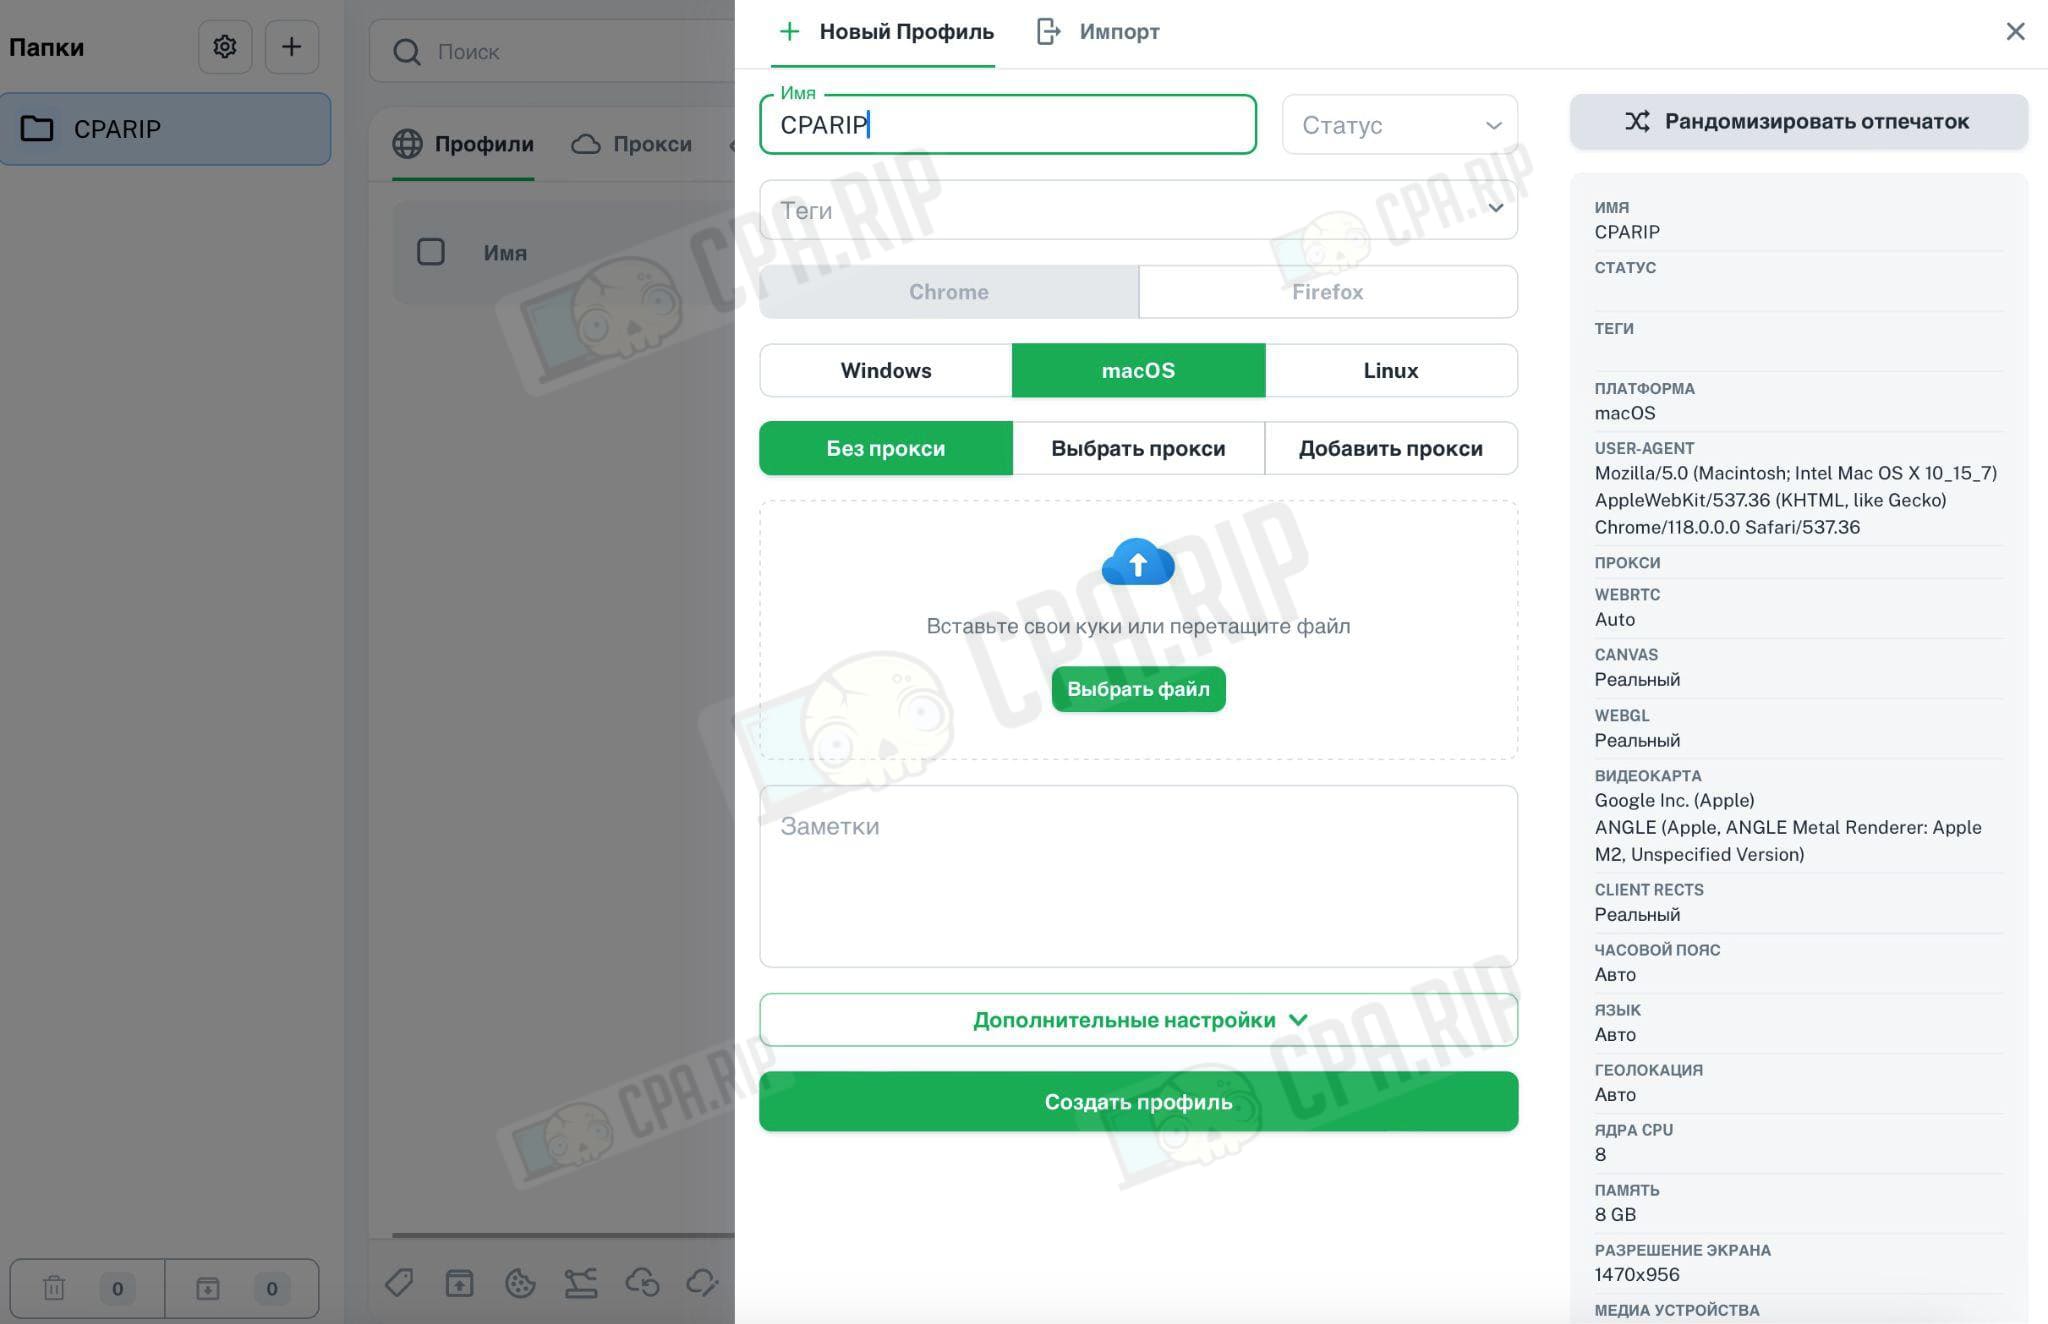
In the “Notes” field enter any important information that relates to the profile (most often it is login and password, but there can be other options).
On the left side of the page, Vision automatically shows real-time characteristics: platform, User Agent, proxy, WebRTC, Canvas, WebGL, video card, time zone, language, geolocation, Client Rects, CPU cores, memory, screen resolution, media devices, connect/disconnect Do Not Track option. You can click “New Footprint”.
We can already click “Create Profile” and get the first browser profile to work. But let’s go a little further and expand “Advanced Settings” to see what options are available in Vision.
Advanced settings when creating browser profile in Vision
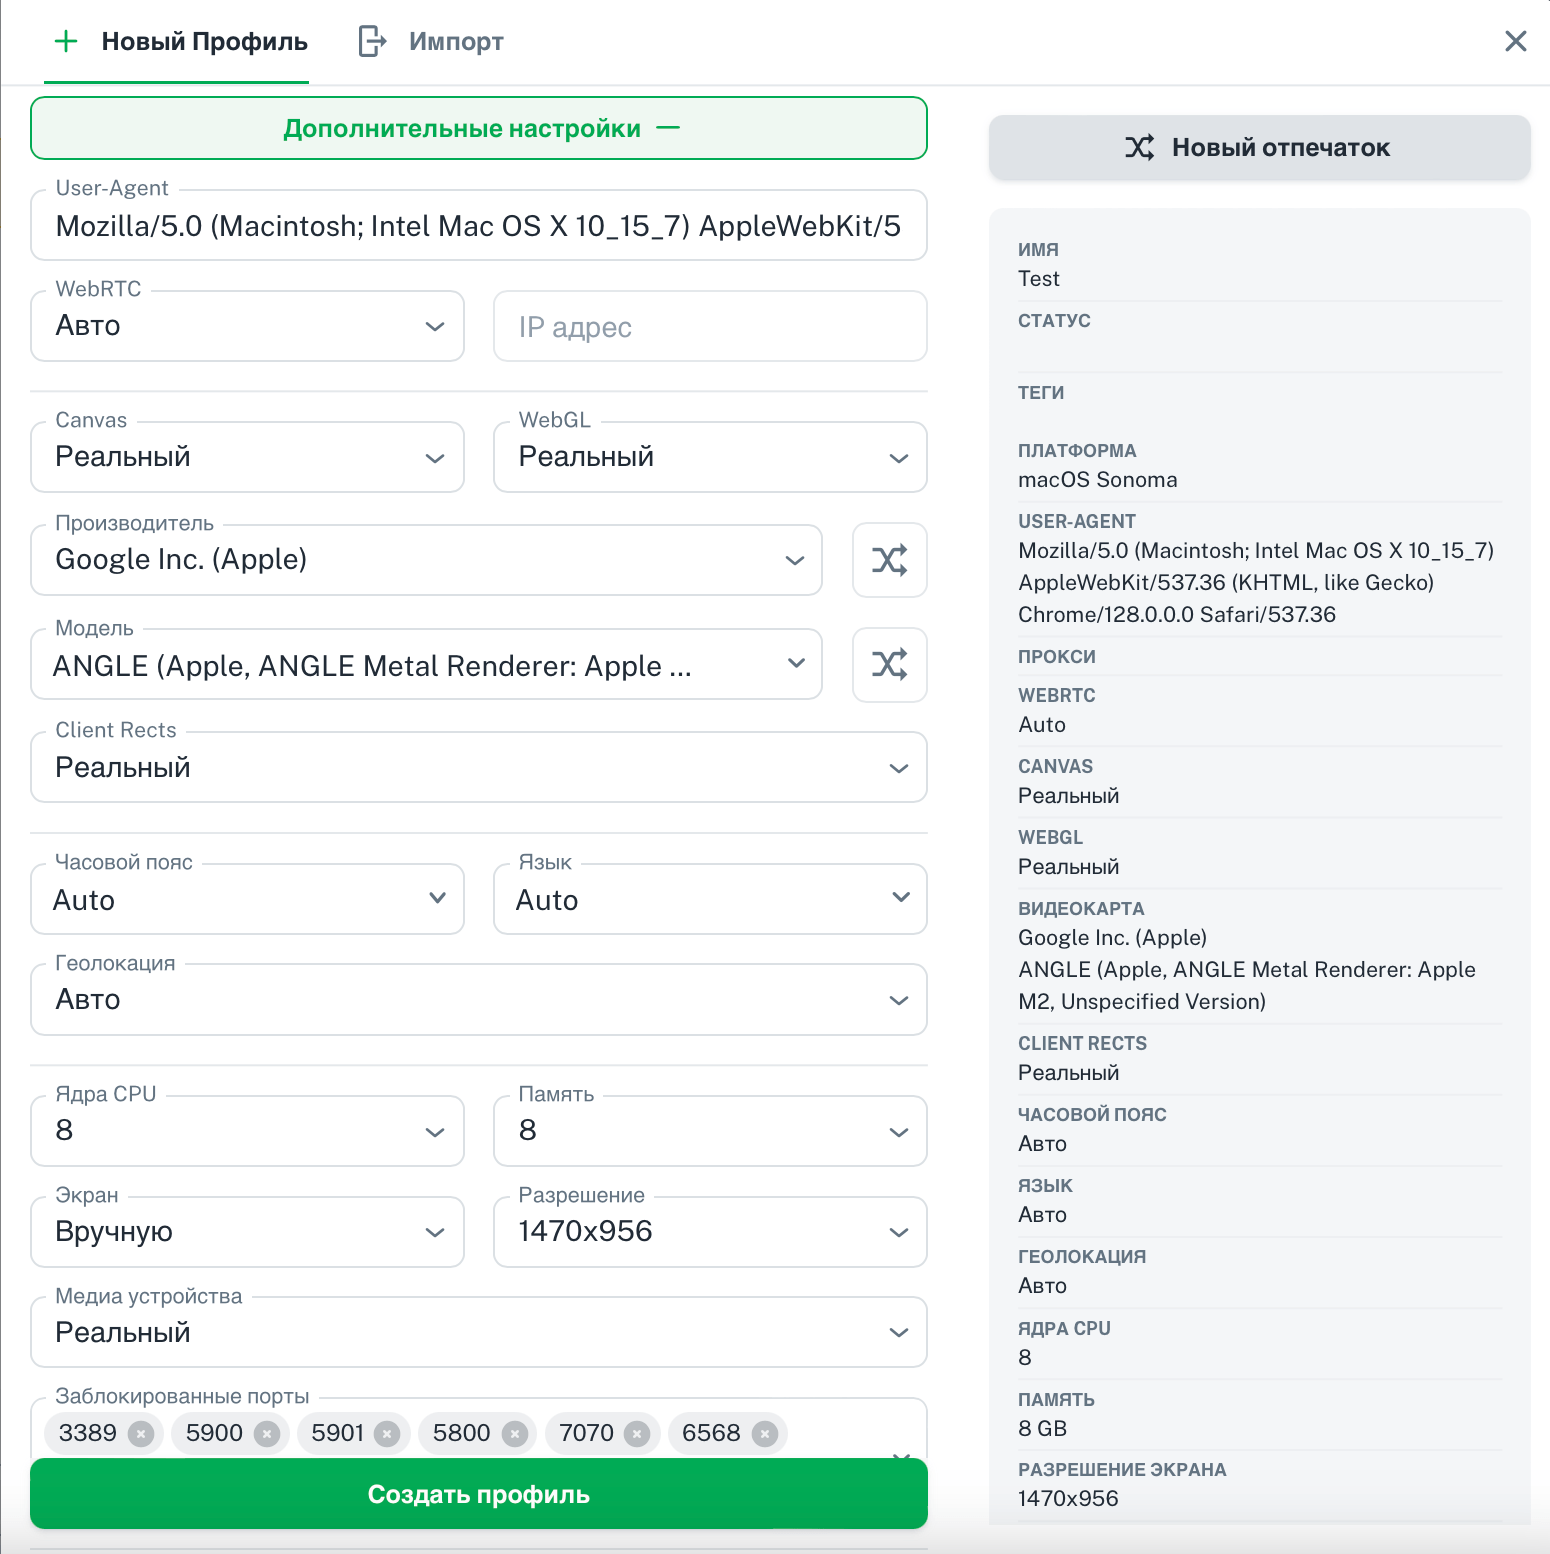
Click “Advanced Settings” and see a list of settings that are already set by default:
- User-Agent – for example, Mozilla/5.0 (Macintosh; Intel Mac OS X 10_15_7) AppleWebKit/537. 36 (KHTML, like Gecko) Chrome/118.0.0.0.0 Safari/537.36;
- WEBRTC – set to “Auto” by default, but “Off” and “Manual” modes are available;
- CANVAS – “Real” (also has “Noise” and “Off”);
- WEBGL – “Real” (also has ‘Noise’ and “Off”);
- VIDEOCARD – Google Inc. Apple, but in the drop-down list you can select Google Inc. Intel, Google Inc. Nvidia, and others;
- MODEL – for example, ANGLE (Apple, ANGLE Metal Renderer: Apple M2, Unspecified Version) that the service has set automatically;
- CLIENT RECTS – real or noise;
- WATCH POINT – automatic by default, but you can choose from a drop-down list of over 30 options;
- LANGUAGE – pulled up automatically, but you can choose from a list;
- GEOLOCATION – automatic or manual;
- CPU COres – choice from 2 to 32, there is a default value;
- MEMORY – 4 or 8, there are also default values;
- SCREEN – real or manual;
- RESOLUTION – pulled up automatically or set manually (the drop-down list has choices from 1024×666 to 3840×1260);
- MEDIA SETTINGS – manual or lock;
- PORTS – real or block.
When you have set all the parameters in the “Advanced Settings” tab, click “Create Profile”.

The new profile appears in the folder. You can change its status, add proxies, use tags, make notes, and track changes. To see the settings, you need to click on the three dots next to the browser profile name.
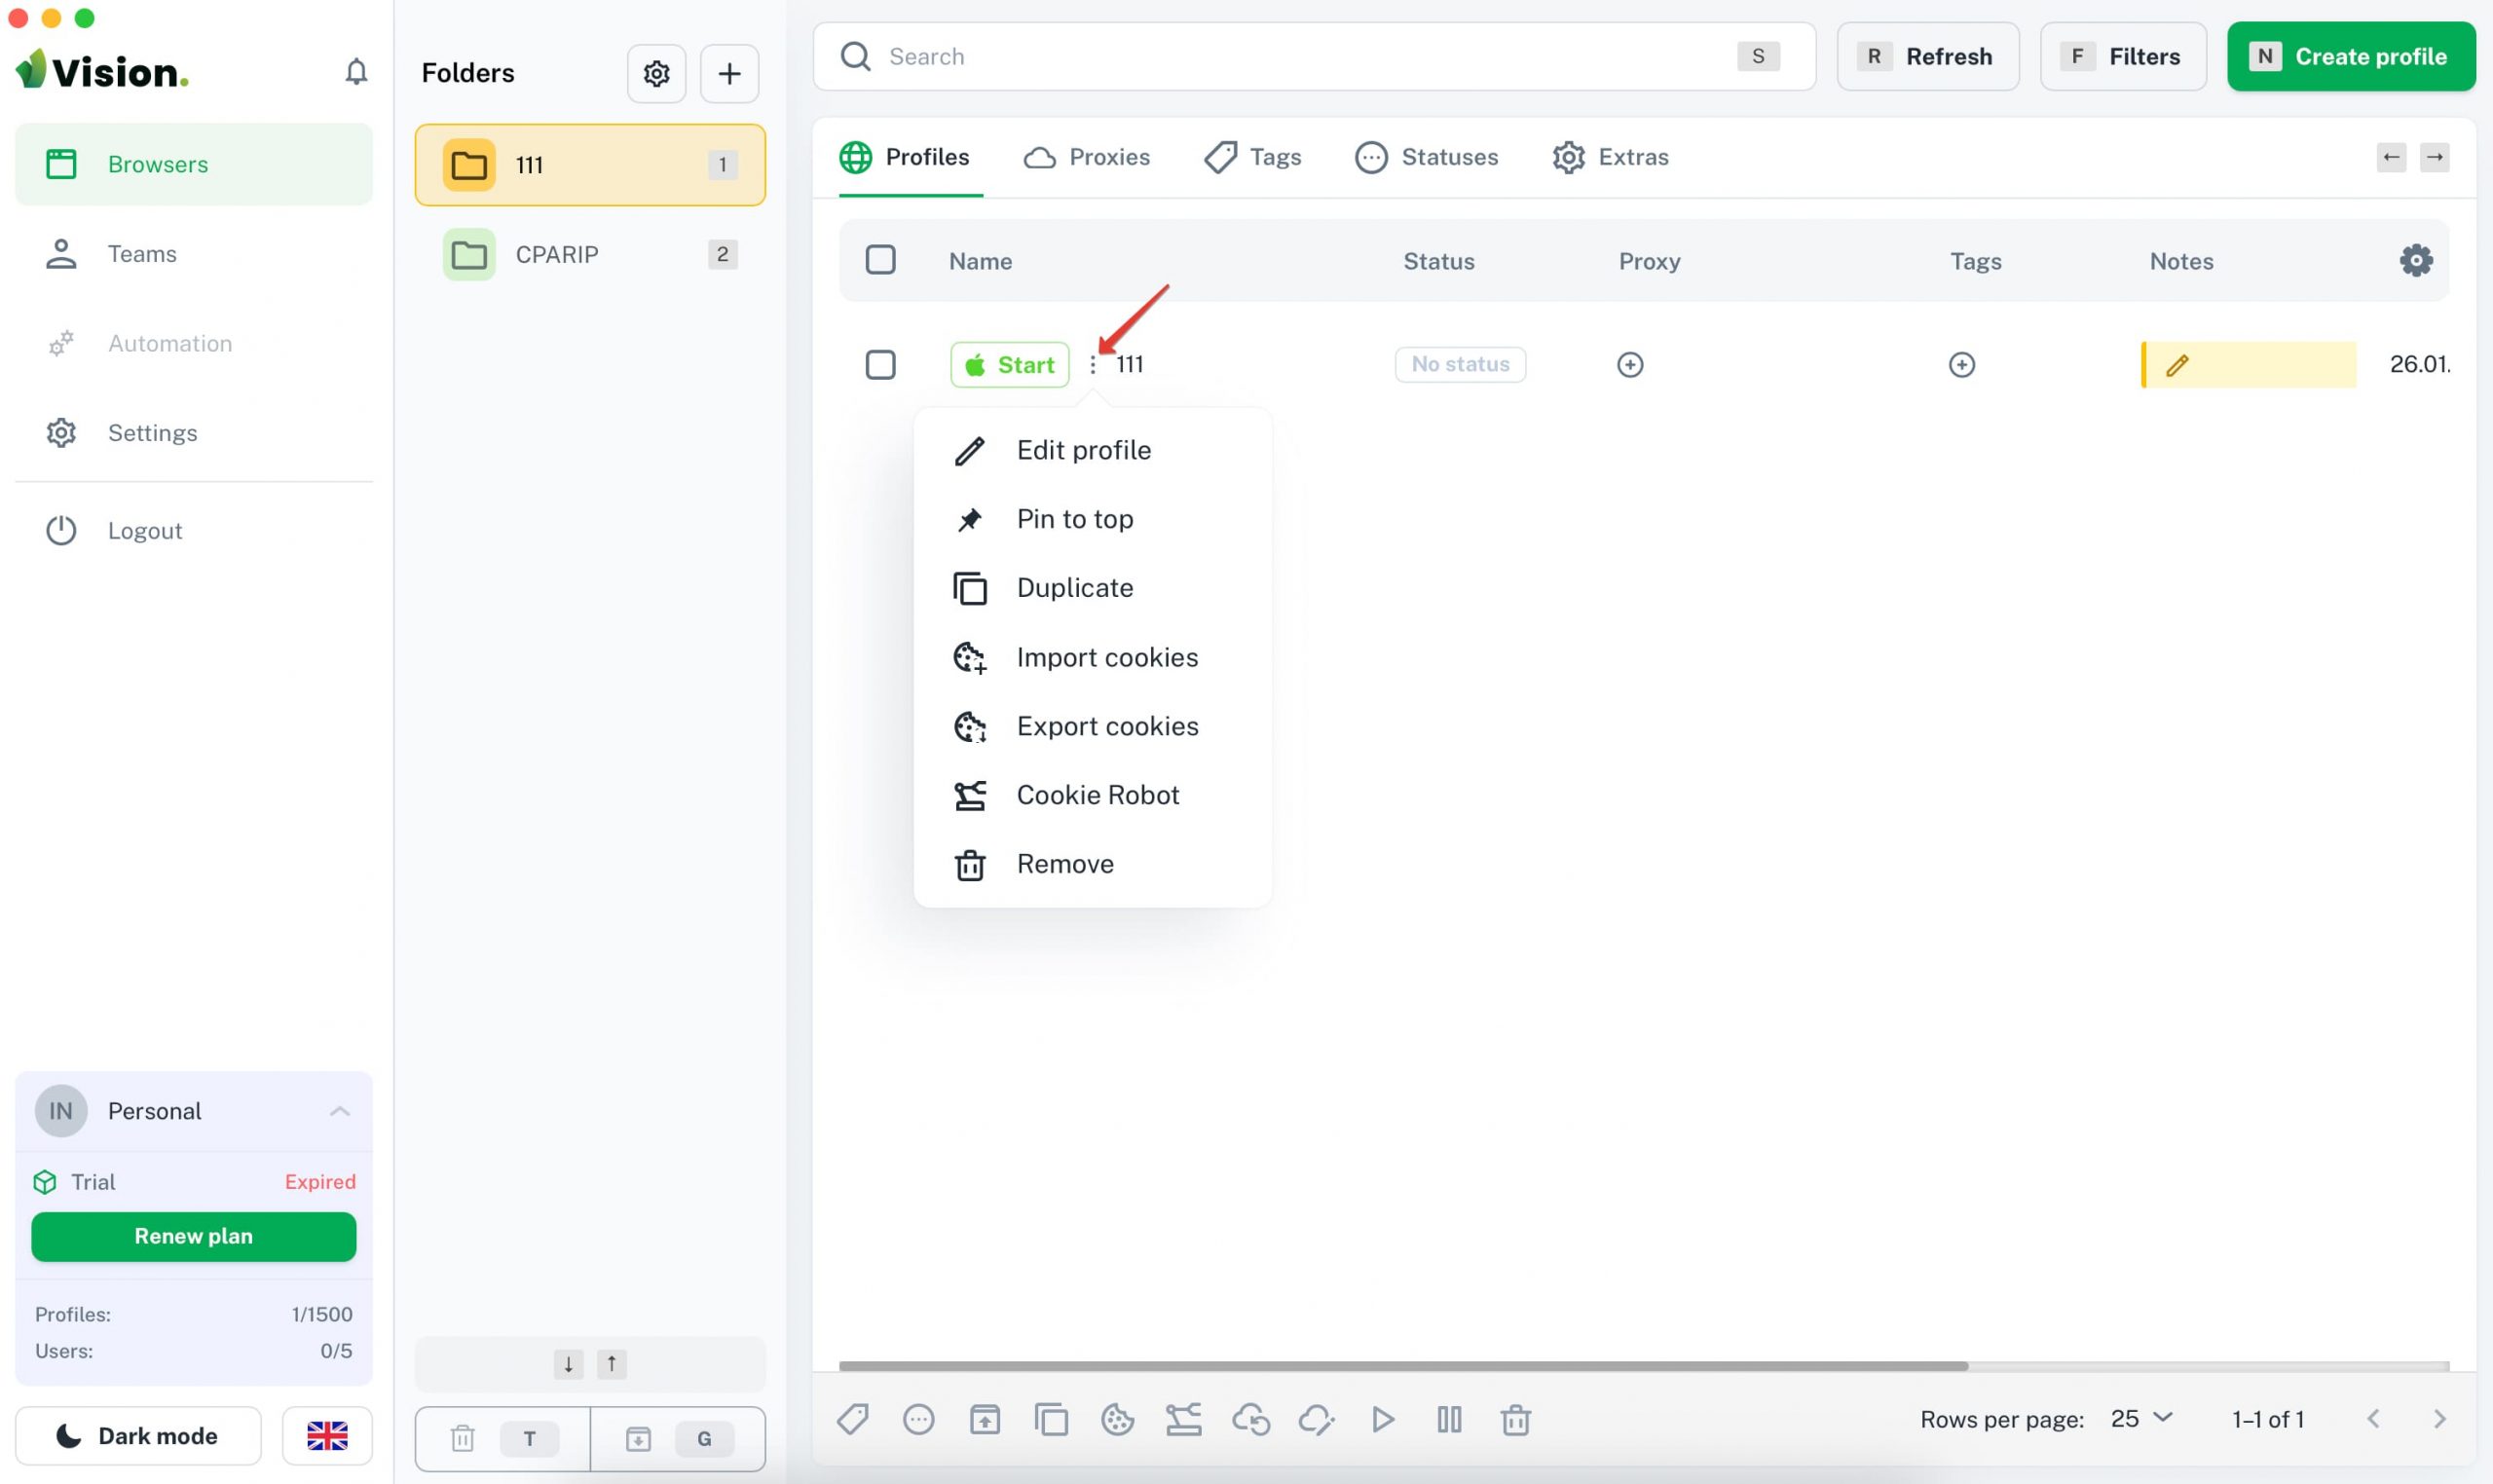
Browser profile settings:
- “Edit” – go to the section with setting browser profile parameters;
- “Lock / unlock” – the ability to get quick access to the profile;
- ‘Copy’ – create a copy;
- “Export cookies” – export files;
- “Import cookies” – drag and drop a file or parse from the clipboard;
- “Cookie Robot” – walking cookies (you need to enter a list of sites, the browser starts and goes through it);
- “Delete” – delete the browser profile.
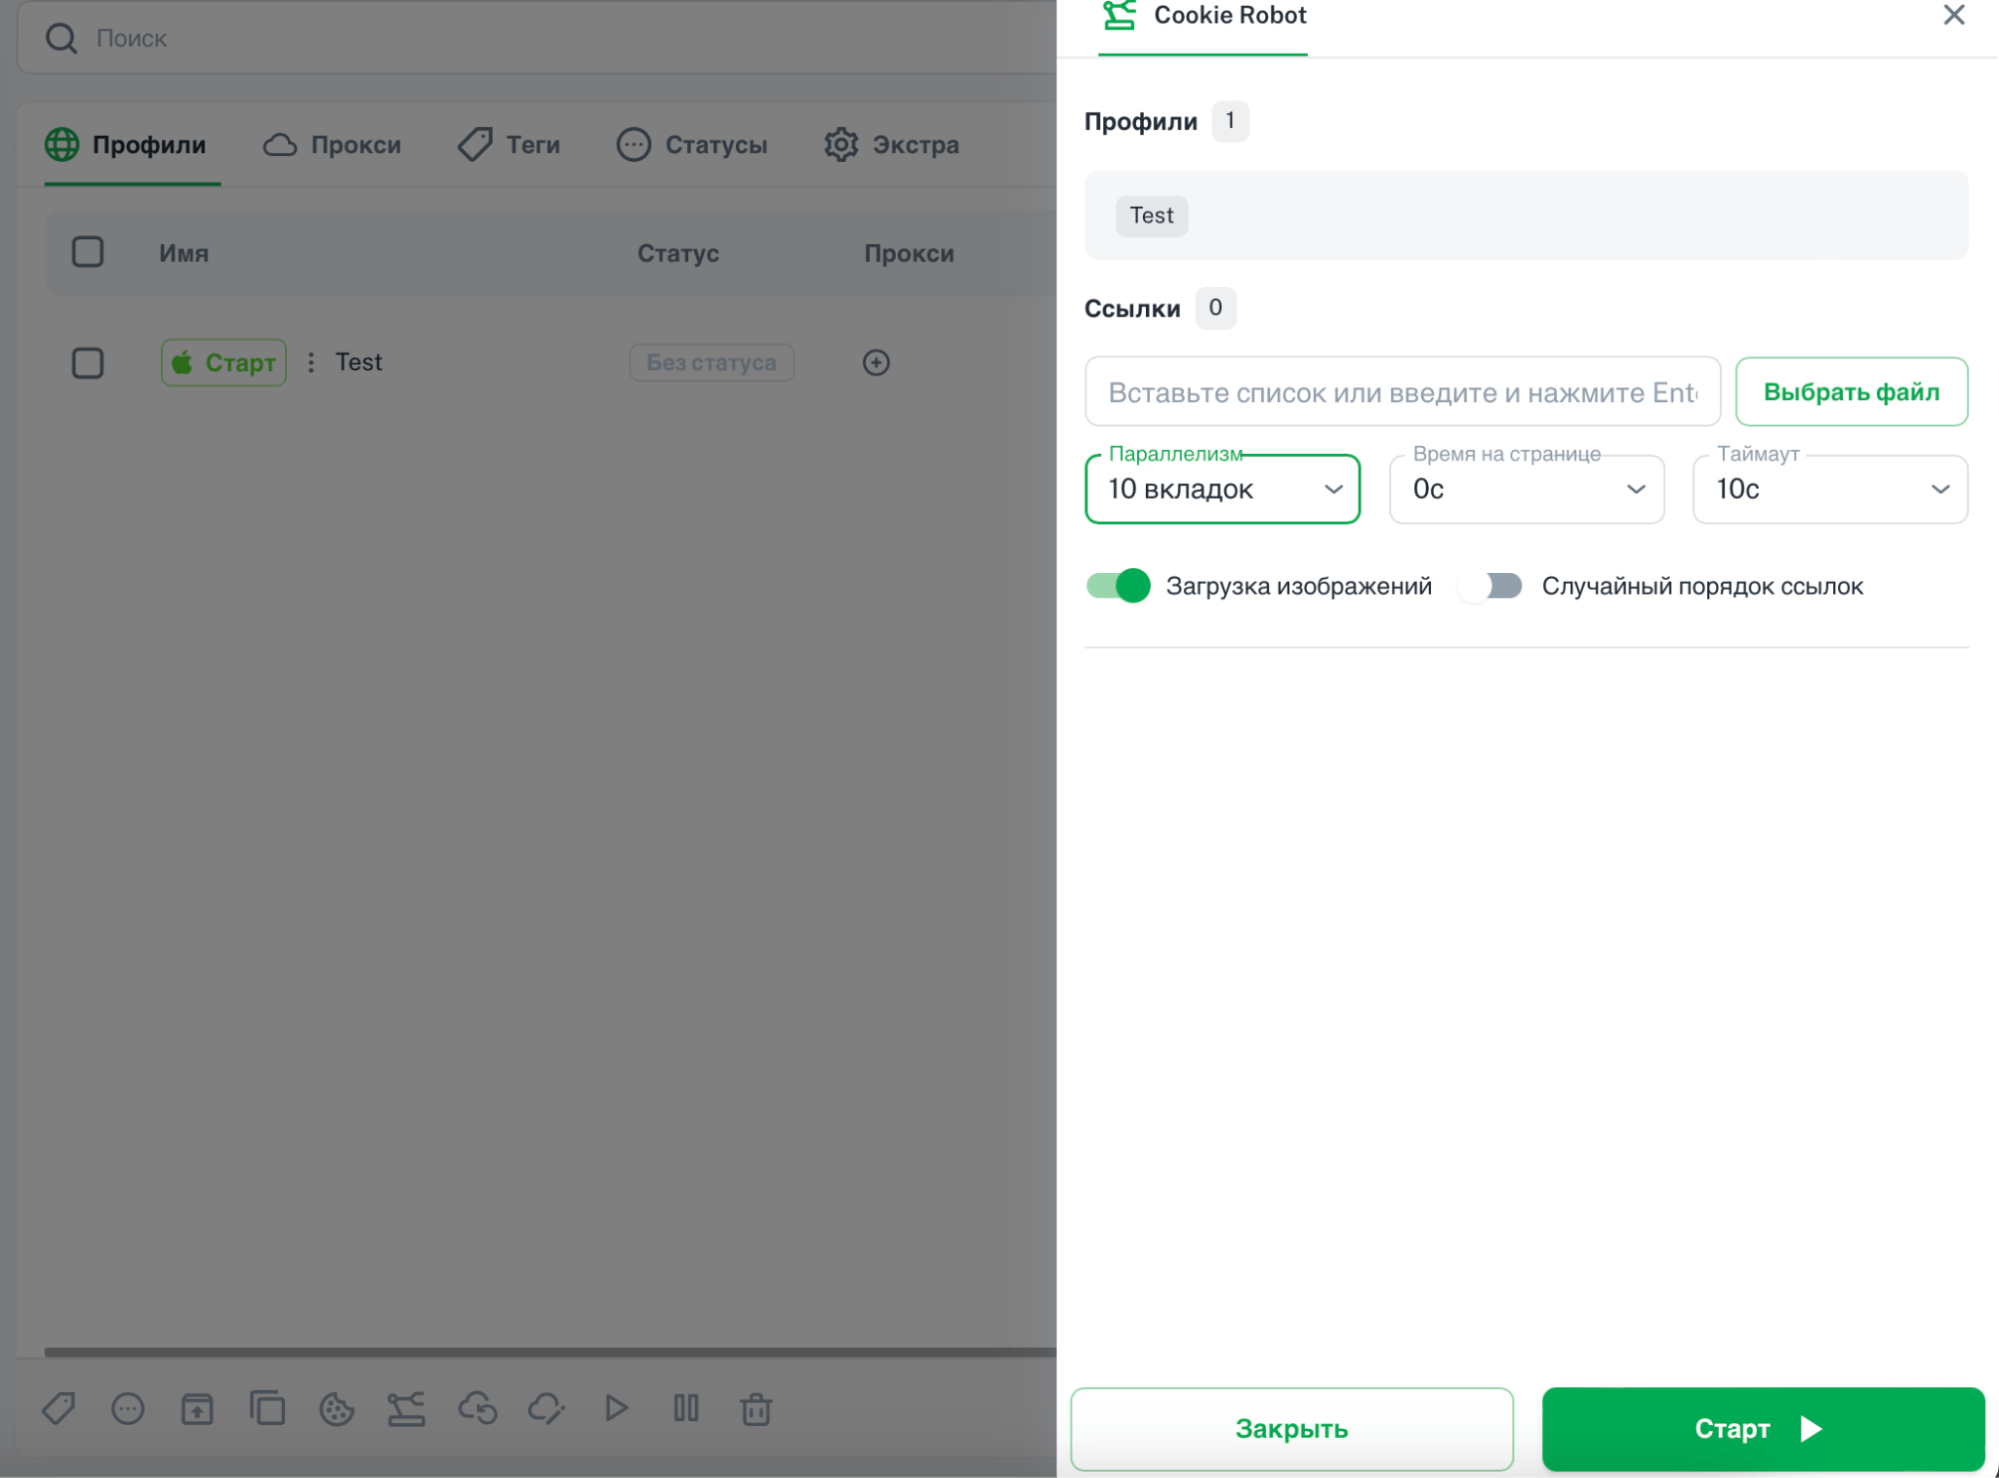
In the “Cookie Robot” settings you can set links (list or load from a file), concurrency (default 10, you can choose from 1 to 50), Time on page (0s by default, but you can specify up to 5 minutes) and Timeout (from 10s to 5 minutes).
After clicking on “Start”, the browser starts walking cookies to increase the trust of the profile (so that it is not “naked”, but has a certain history).
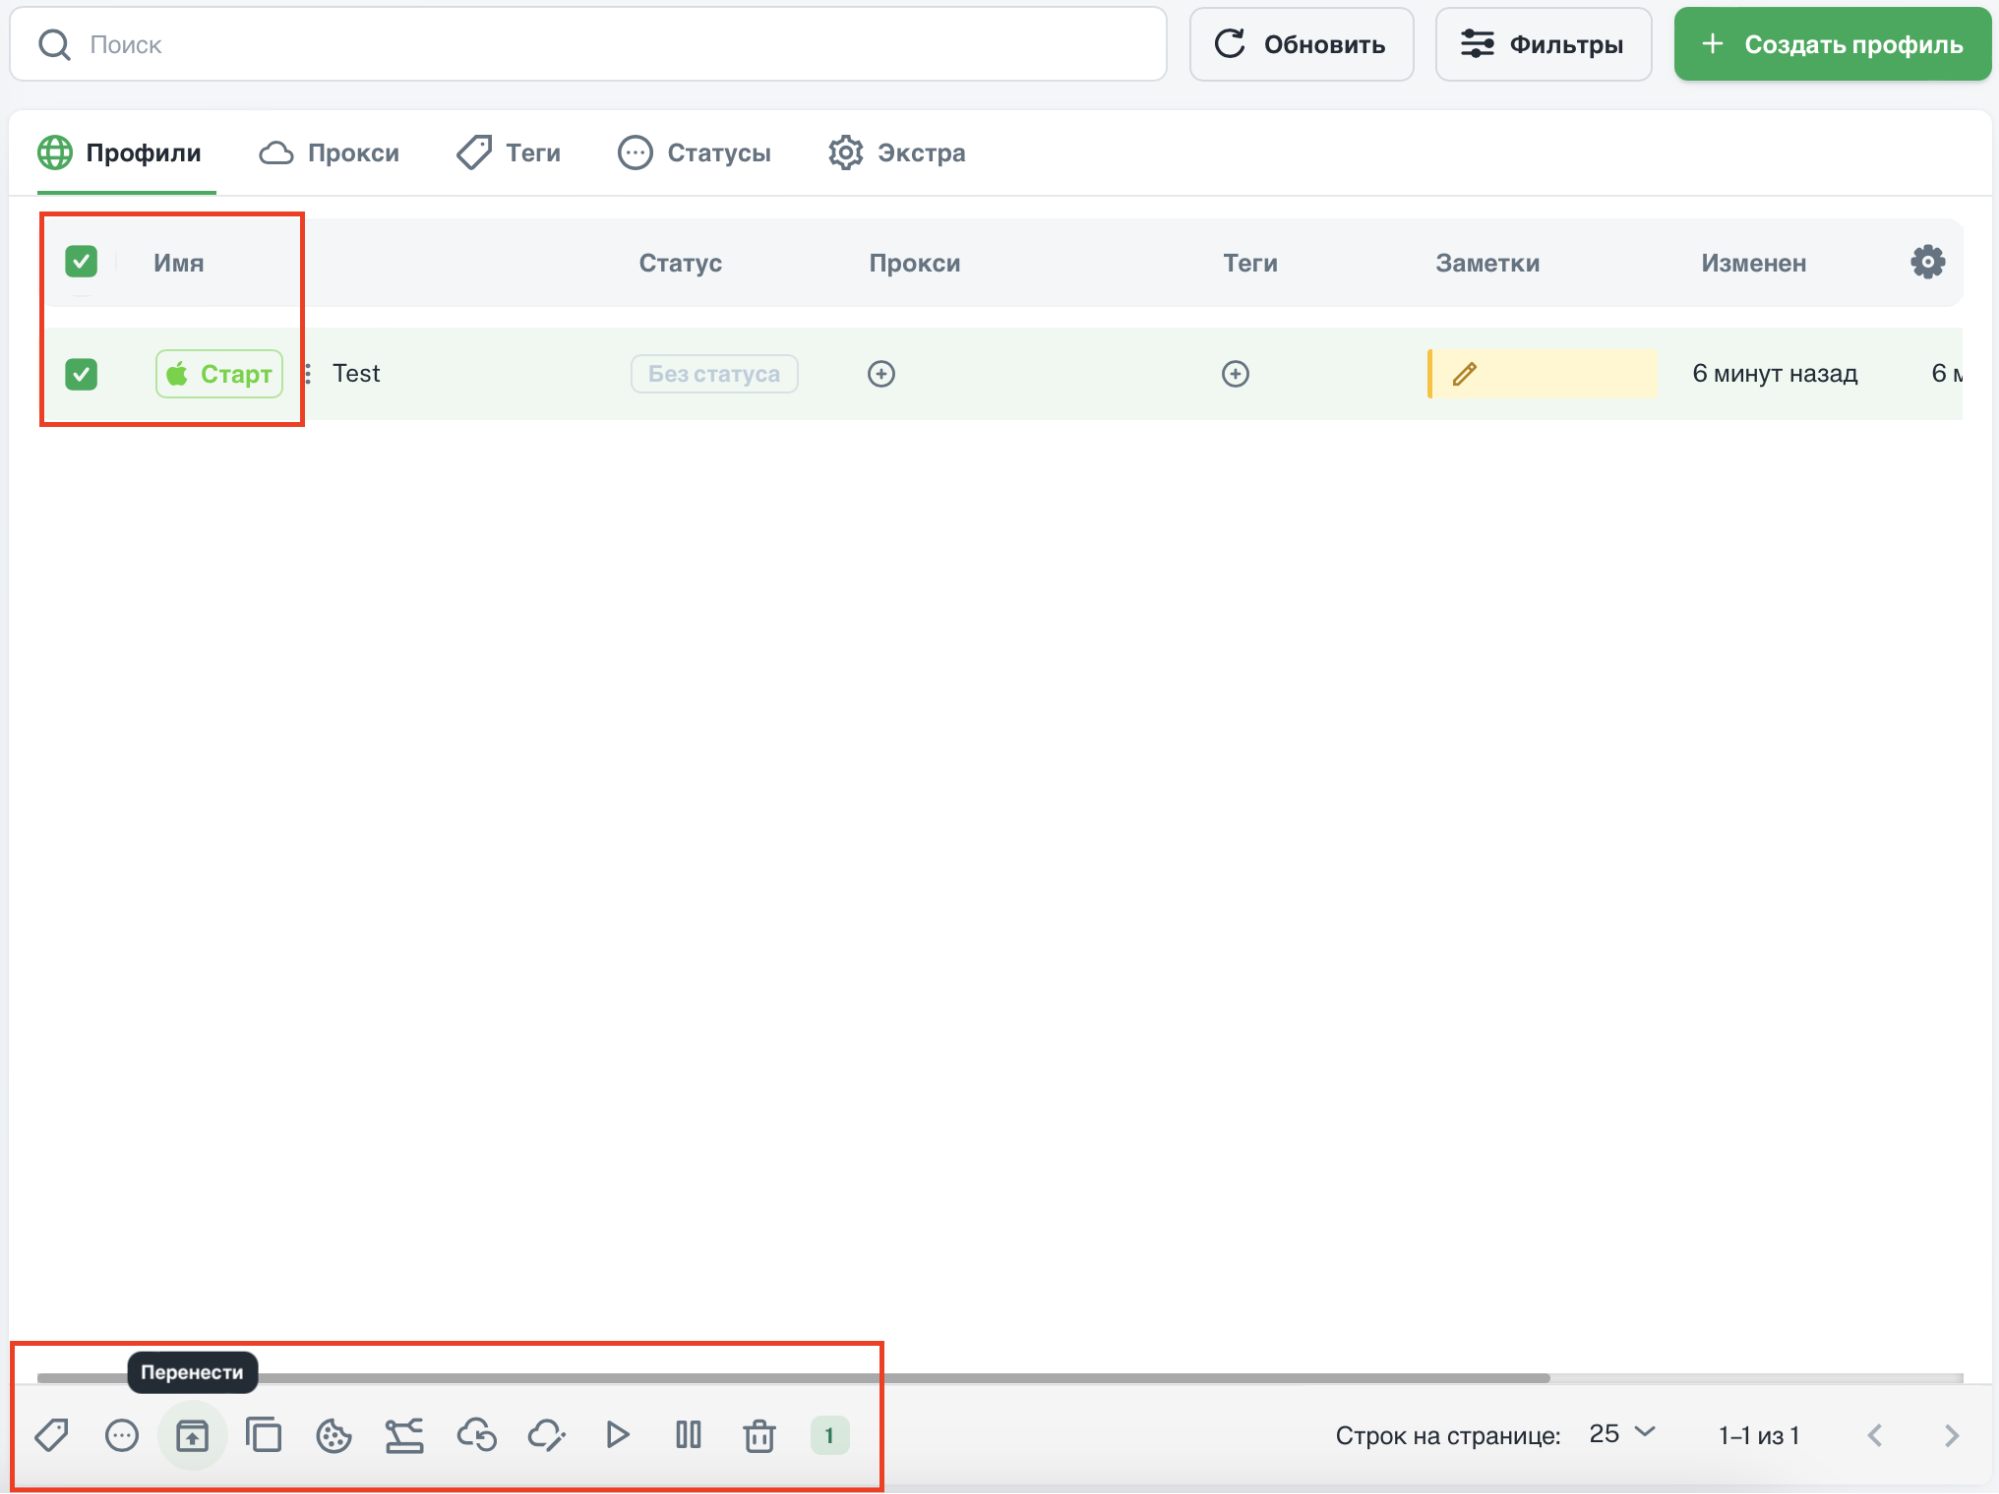
Mass actions with profiles in Vision antidetect browser
All actions with profiles can be performed in bulk. You need to select profiles (check the box) and choose an action at the bottom of the page: set tags, transfer, start robot, check proxy, change proxy, export cookies, import cookies, and so on.
Working with proxies in Vision: mass and standard download, checking
Free proxies (though not of the highest quality), as it is realized in GoLogin, are not available here.
The following are supported:
- http;
- socks 4;
- socks 5;
- ssh.
The settings are set via “+New proxy”.
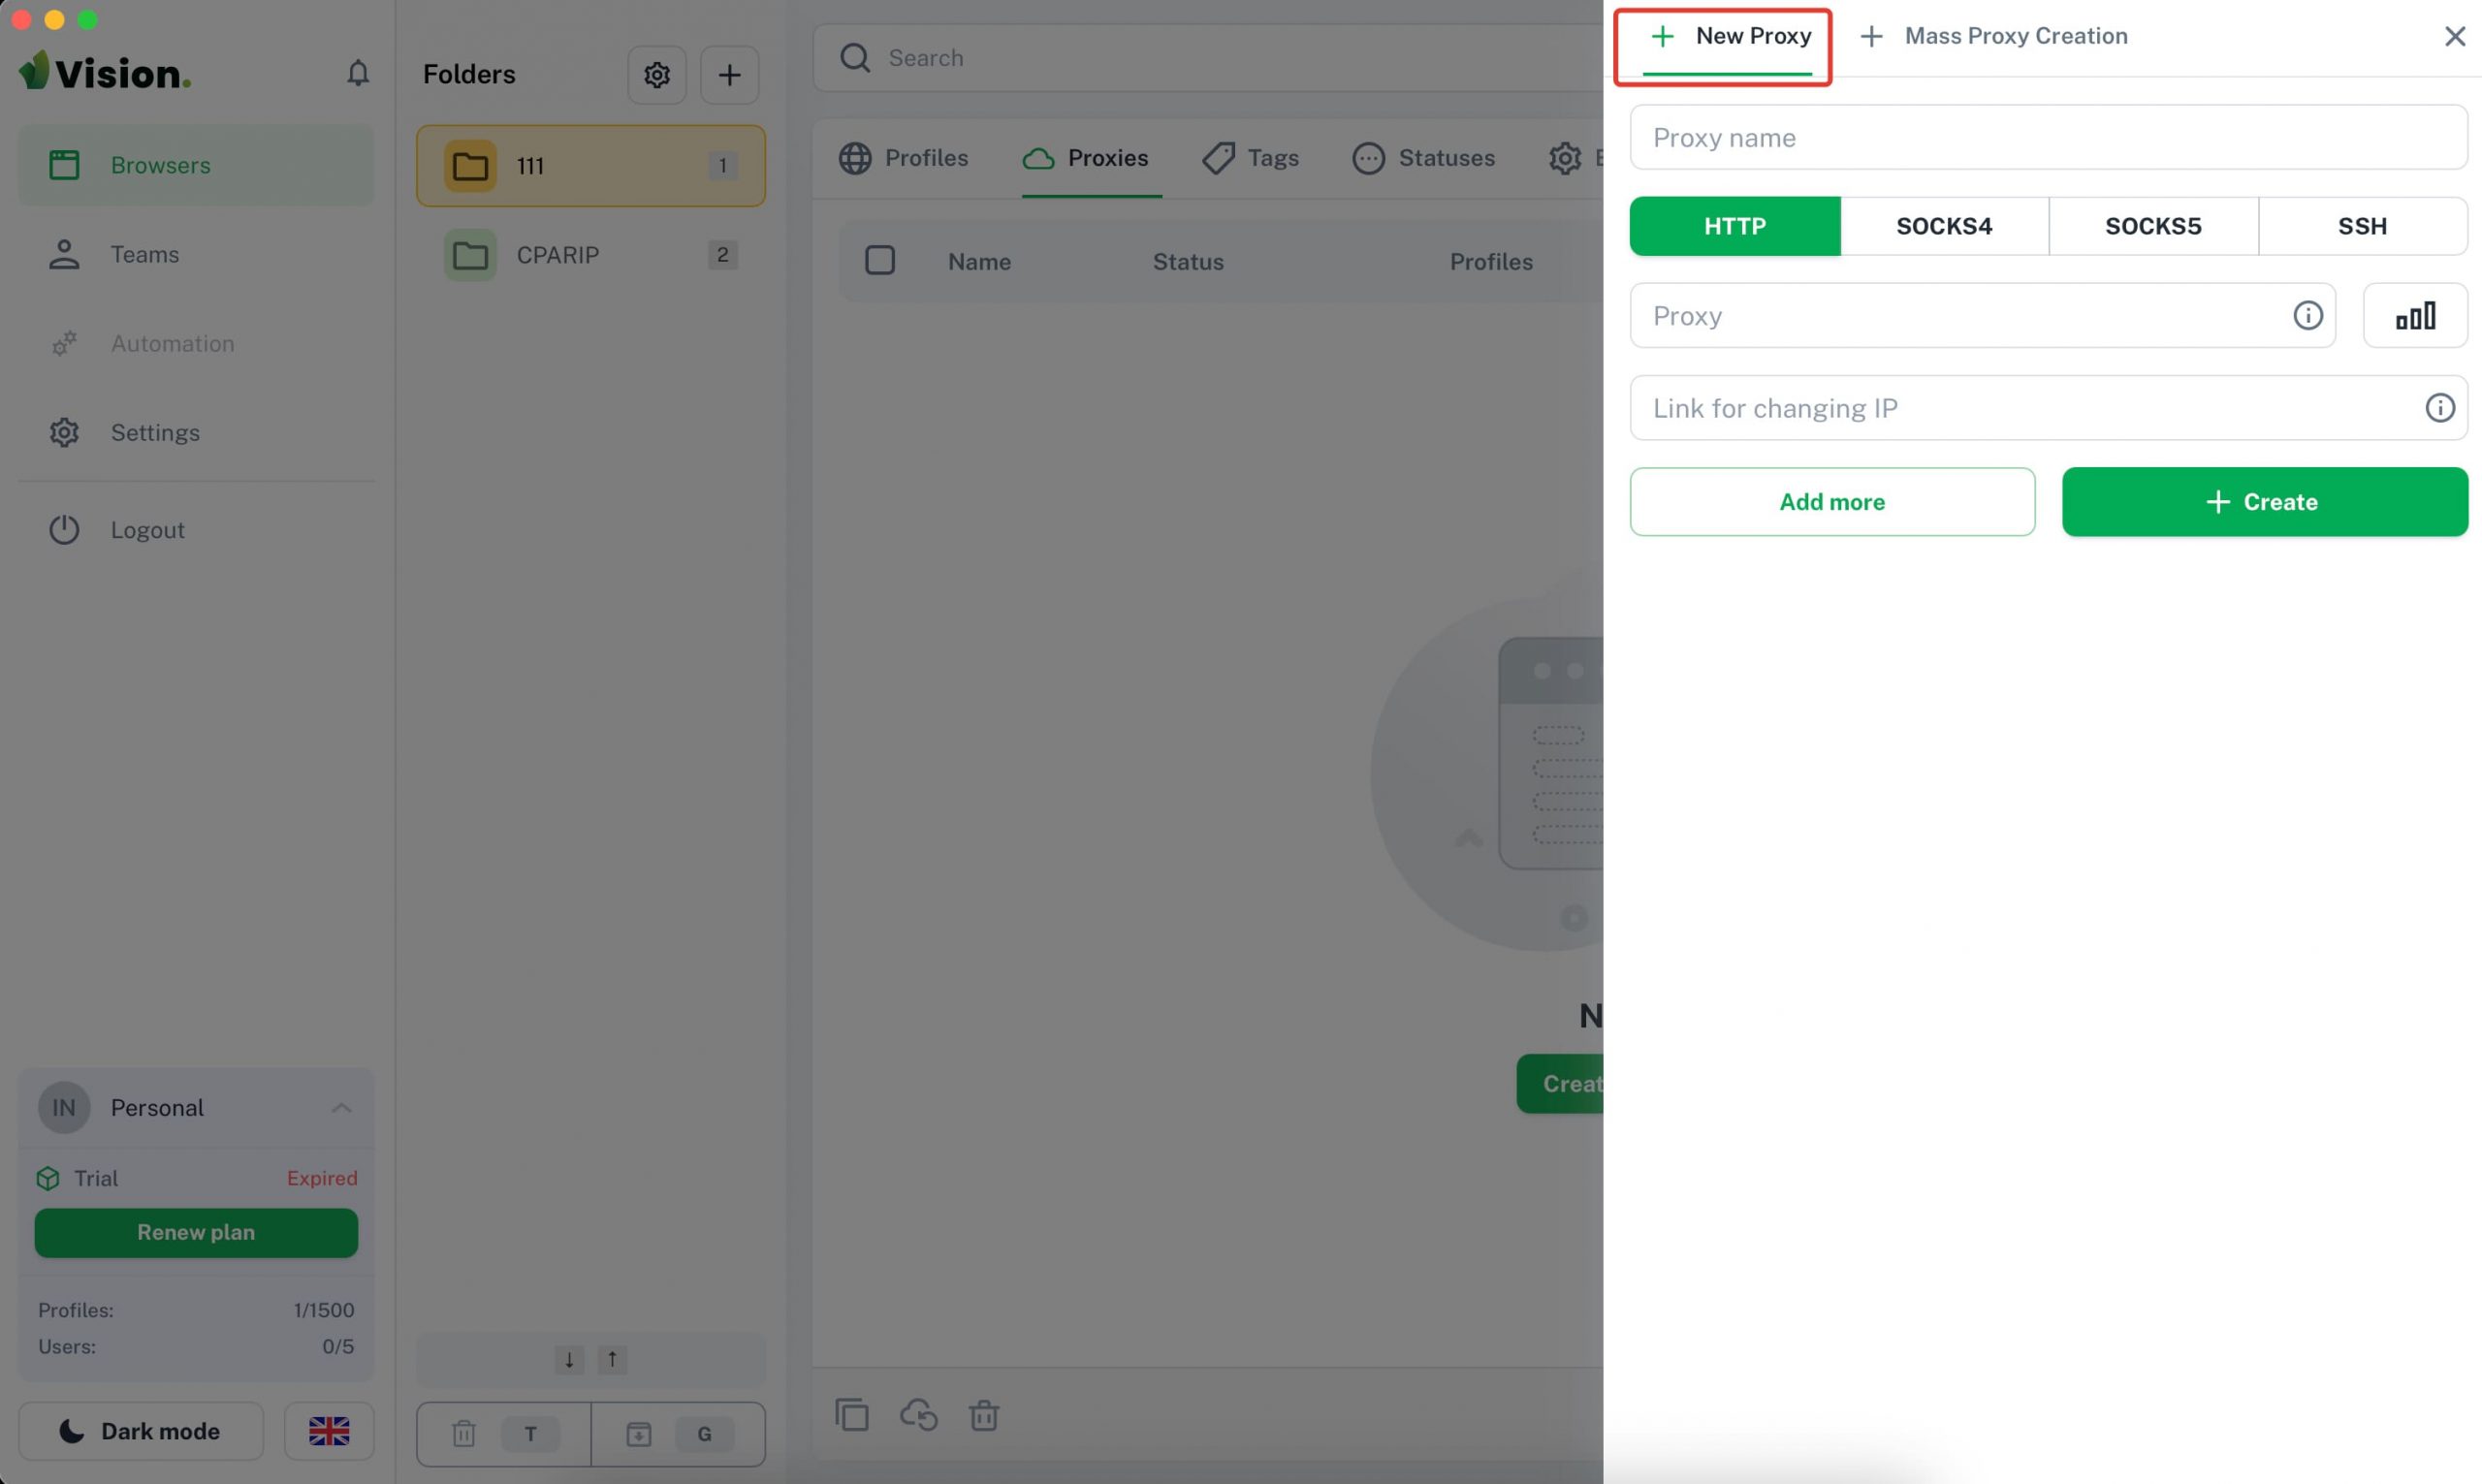
Mass creation of proxies in Vision is available. The user clicks “+Mass Proxy Creation” and sees a field with a description of available formats.
The main nuances:
- each proxy from a new line;
- type – http by default (other ones must be specified);
- name – to specify it, it is necessary to add: name at the end;
In the field of mass creation of proxies, Vision specifies the supported formats.
Mass proxy loading (as a list) is necessary in case of transferring profiles from other antidetect browsers. This option is also useful for those who use static proxies with the same data but on different ports.
The possibility to check proxies has been implemented. To do this, the user goes to the “Edit profile” tab, selects a proxy from the list, and clicks “Verify”.
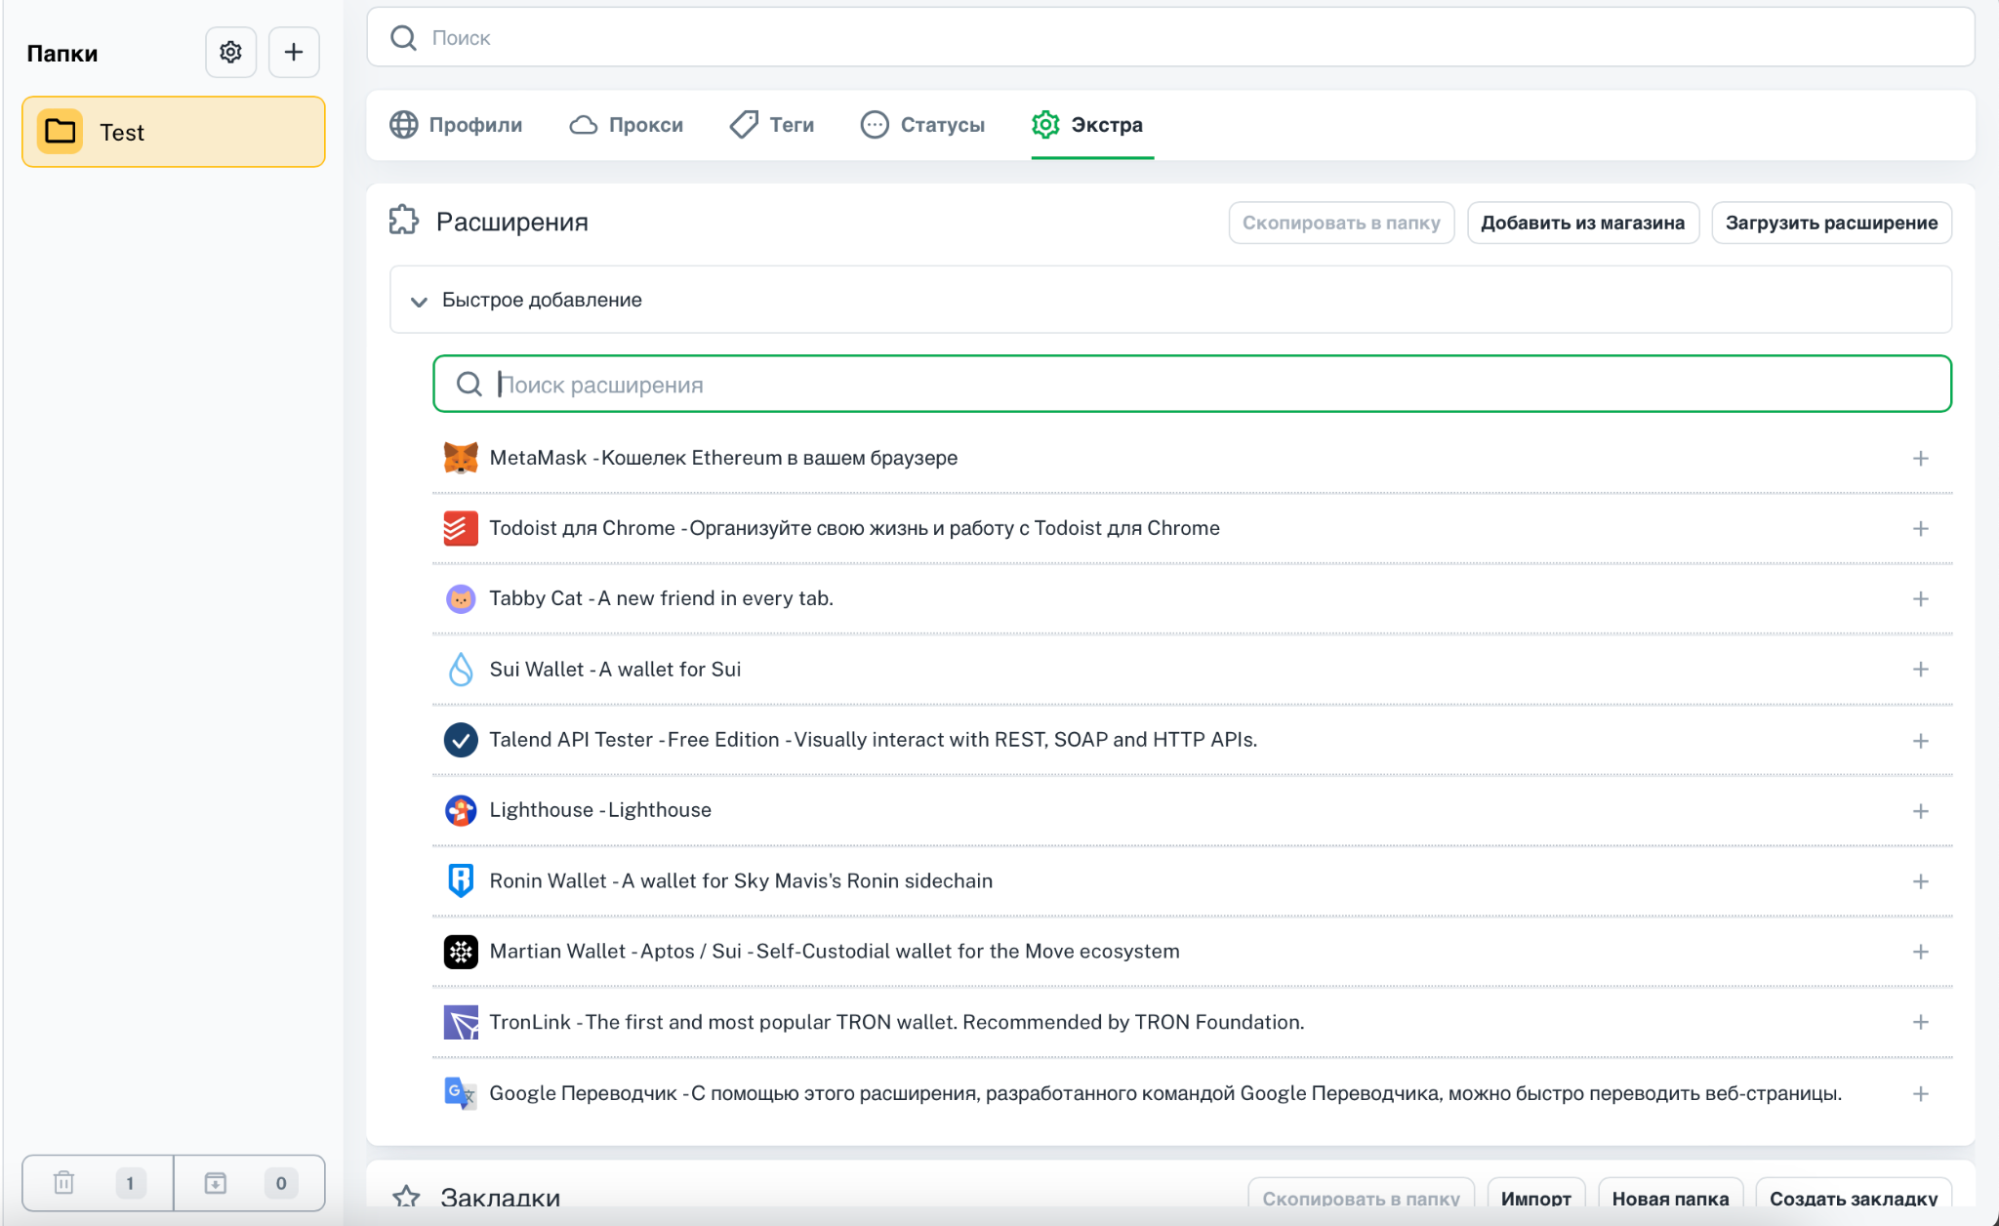
Extras: Extensions, bookmarks and homepages
In the “Extras” menu you can set:
- Extensions – you can quickly add them from a drop-down list, they have also implemented work with the store and downloading from a file;
- bookmarks – you need to click on “Create bookmark” and then enter a name and URL;
- homepages – you need a URL to create a homepage.
You don’t need to search for an extension in Google, copy the link and use it in your antidetect browser settings. You can add extensions in 1 click. All of them will be fresh and up-to-date, you won’t have to update them manually.
If you downloaded Extensions from the archive, the version will appear next to the name (in case you need to update it in the future).
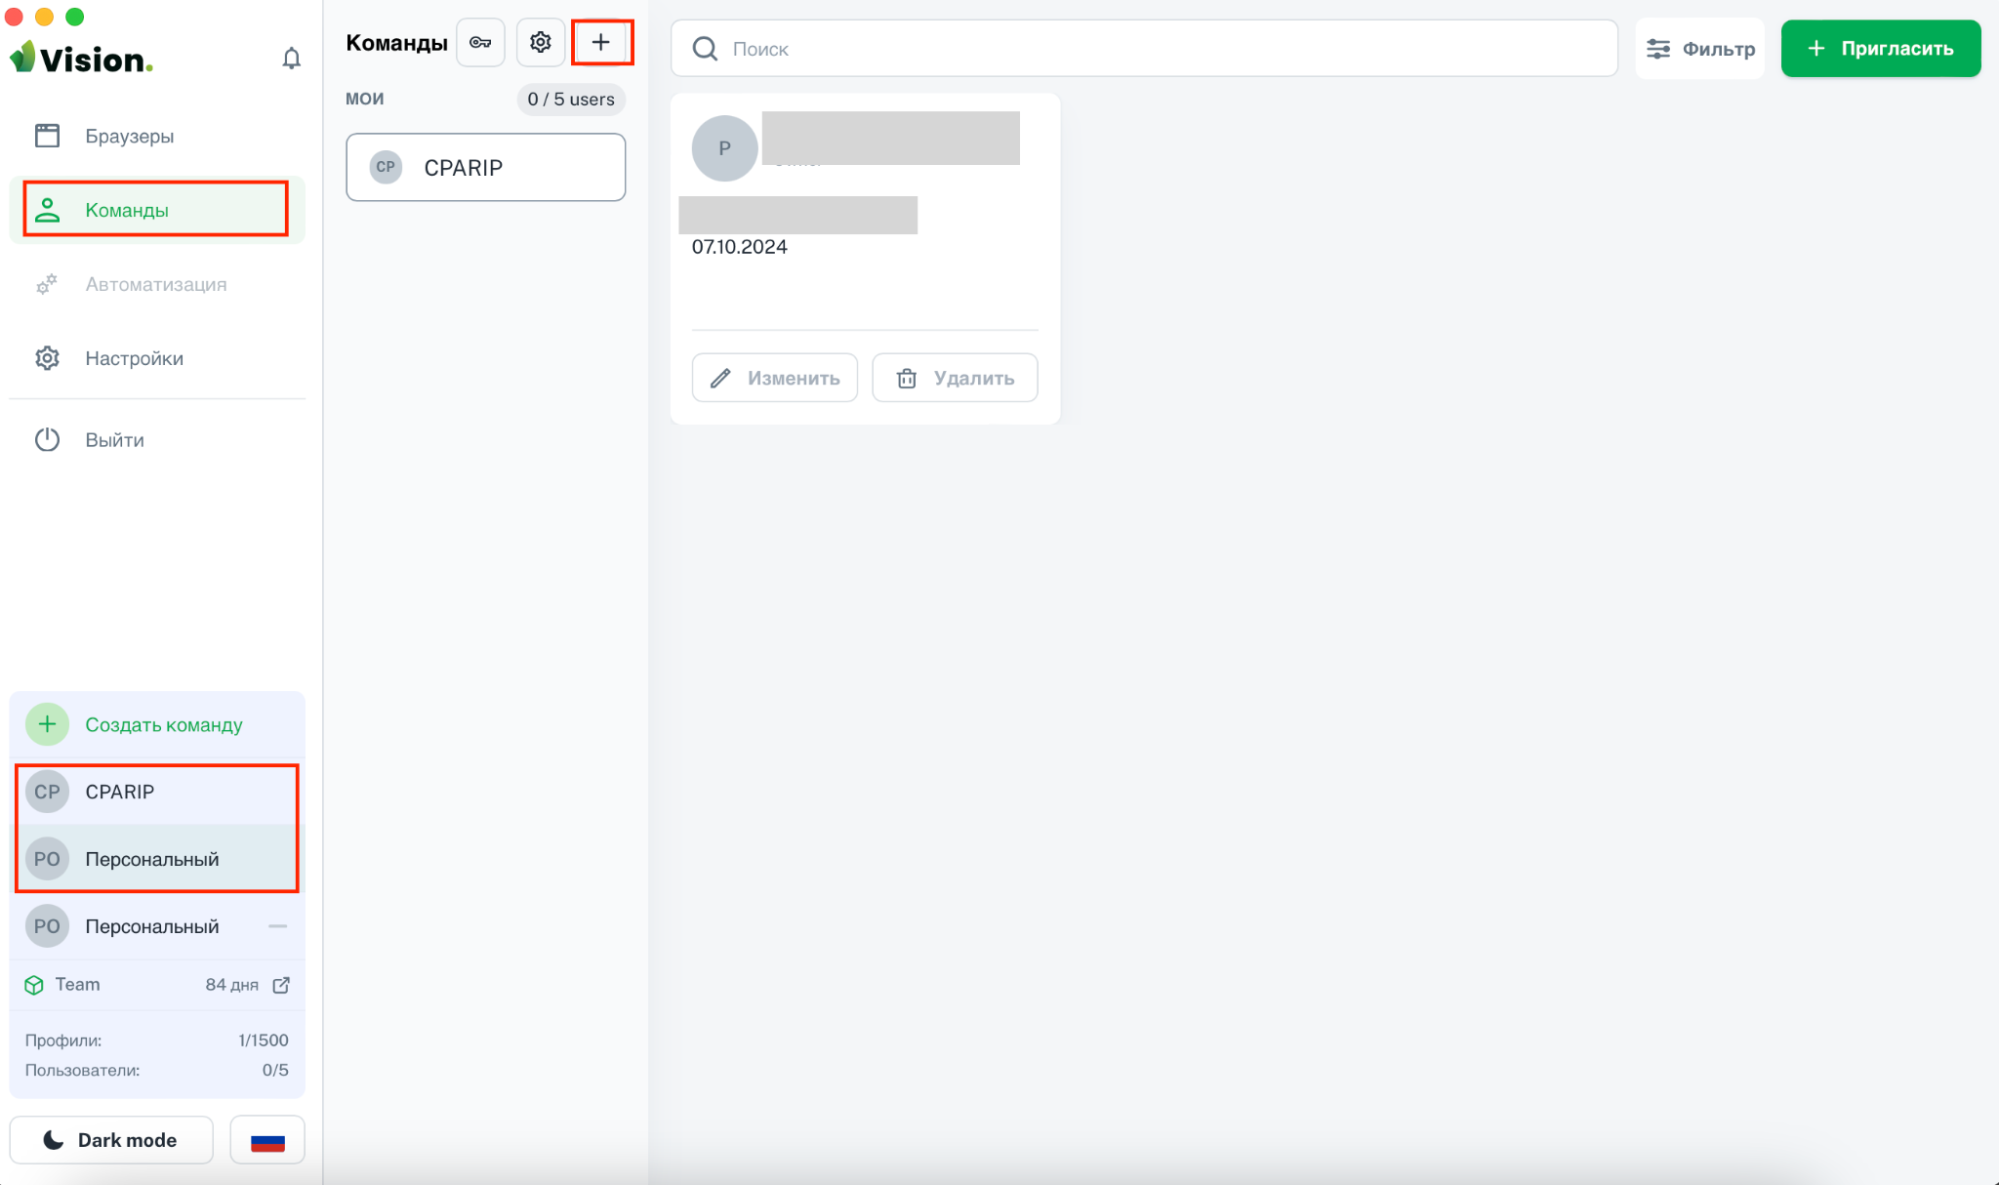
Tools for Teamwork in Vision
To organize the work of several users at the same time and distribute roles, you should click “Teams” and add a team by clicking on the “+” icon.
The name of the command will appear in the field and will also be displayed next to the information about the tariff plan (in the lower left corner). There is also a button to switch between “Personal” and created teams. Search and filtering options are implemented. Commands can be given a picture (avatar).
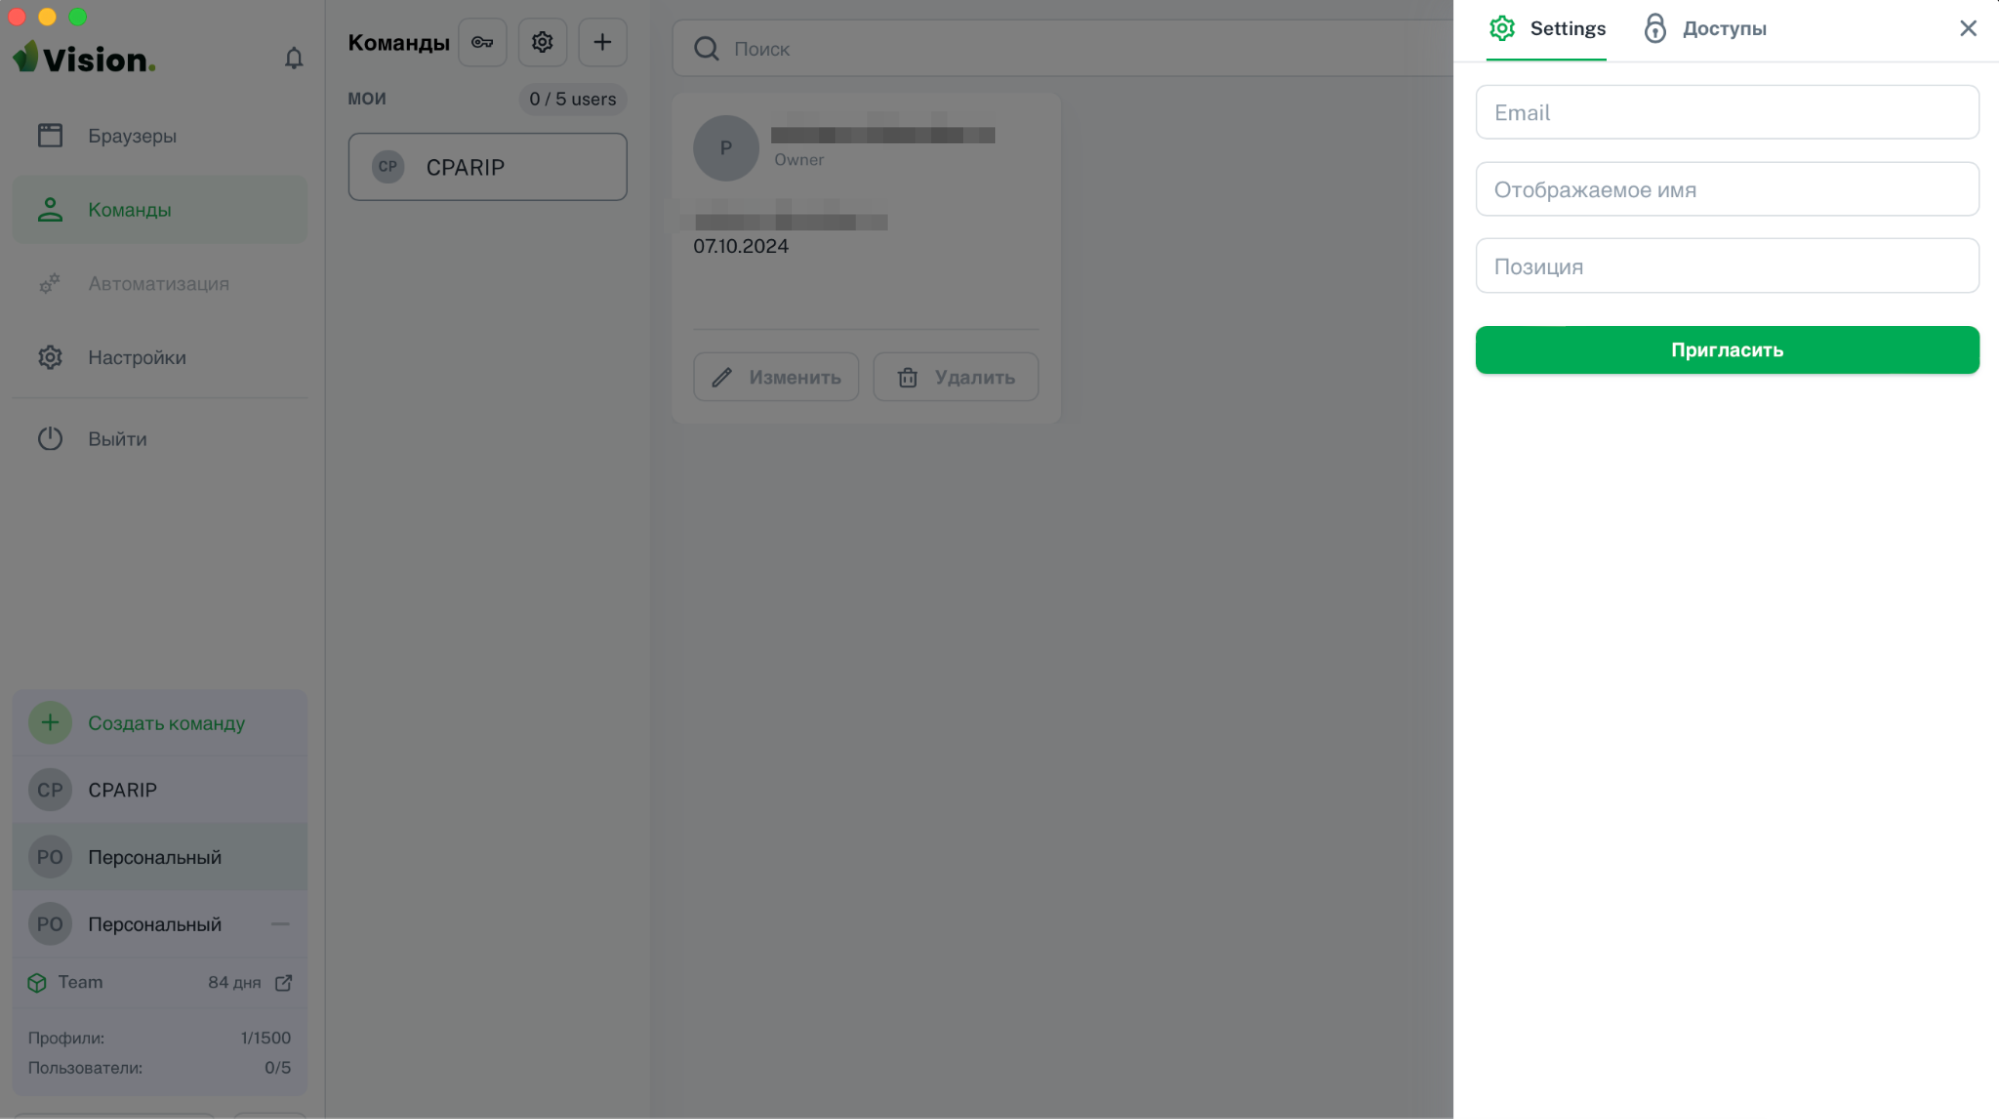
The maximum number of team members is 5 (the number is limited only by the tariff plan, there are no other restrictions). To add a new member, you need to click “Invite” in the upper right corner and fill out the form with your email address, name, and position.
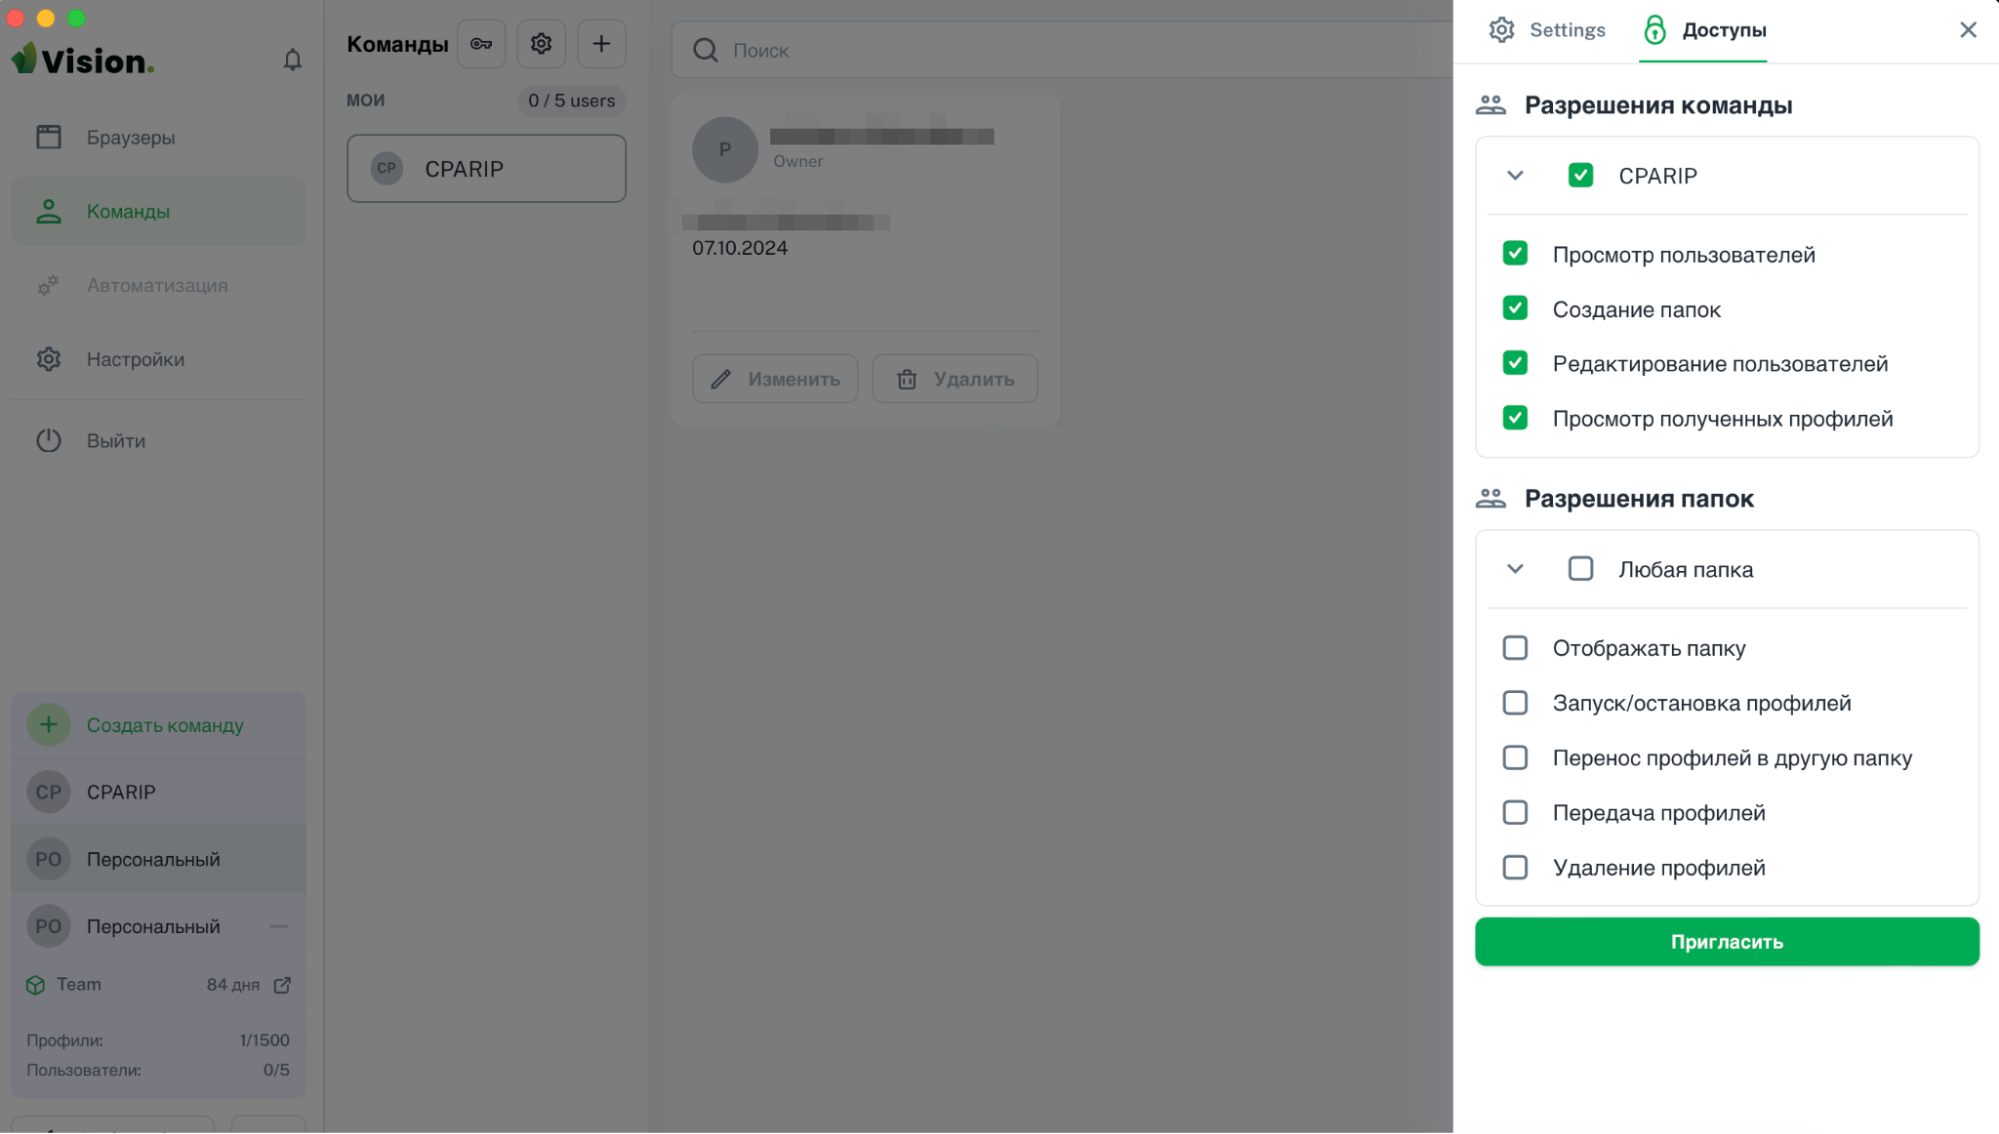
In the “Accesses” tab specify permissions:
- view users;
- create folders;
- edit users;
- view received profiles.
You can also configure folder permissions:
- display folder;
- start/stop
- profiles; move profiles to another folder;
- transfer profiles;
- delete profiles.
After setting the settings and clicking on the “Invite” button, the user will receive an email. The invite will need to be confirmed.
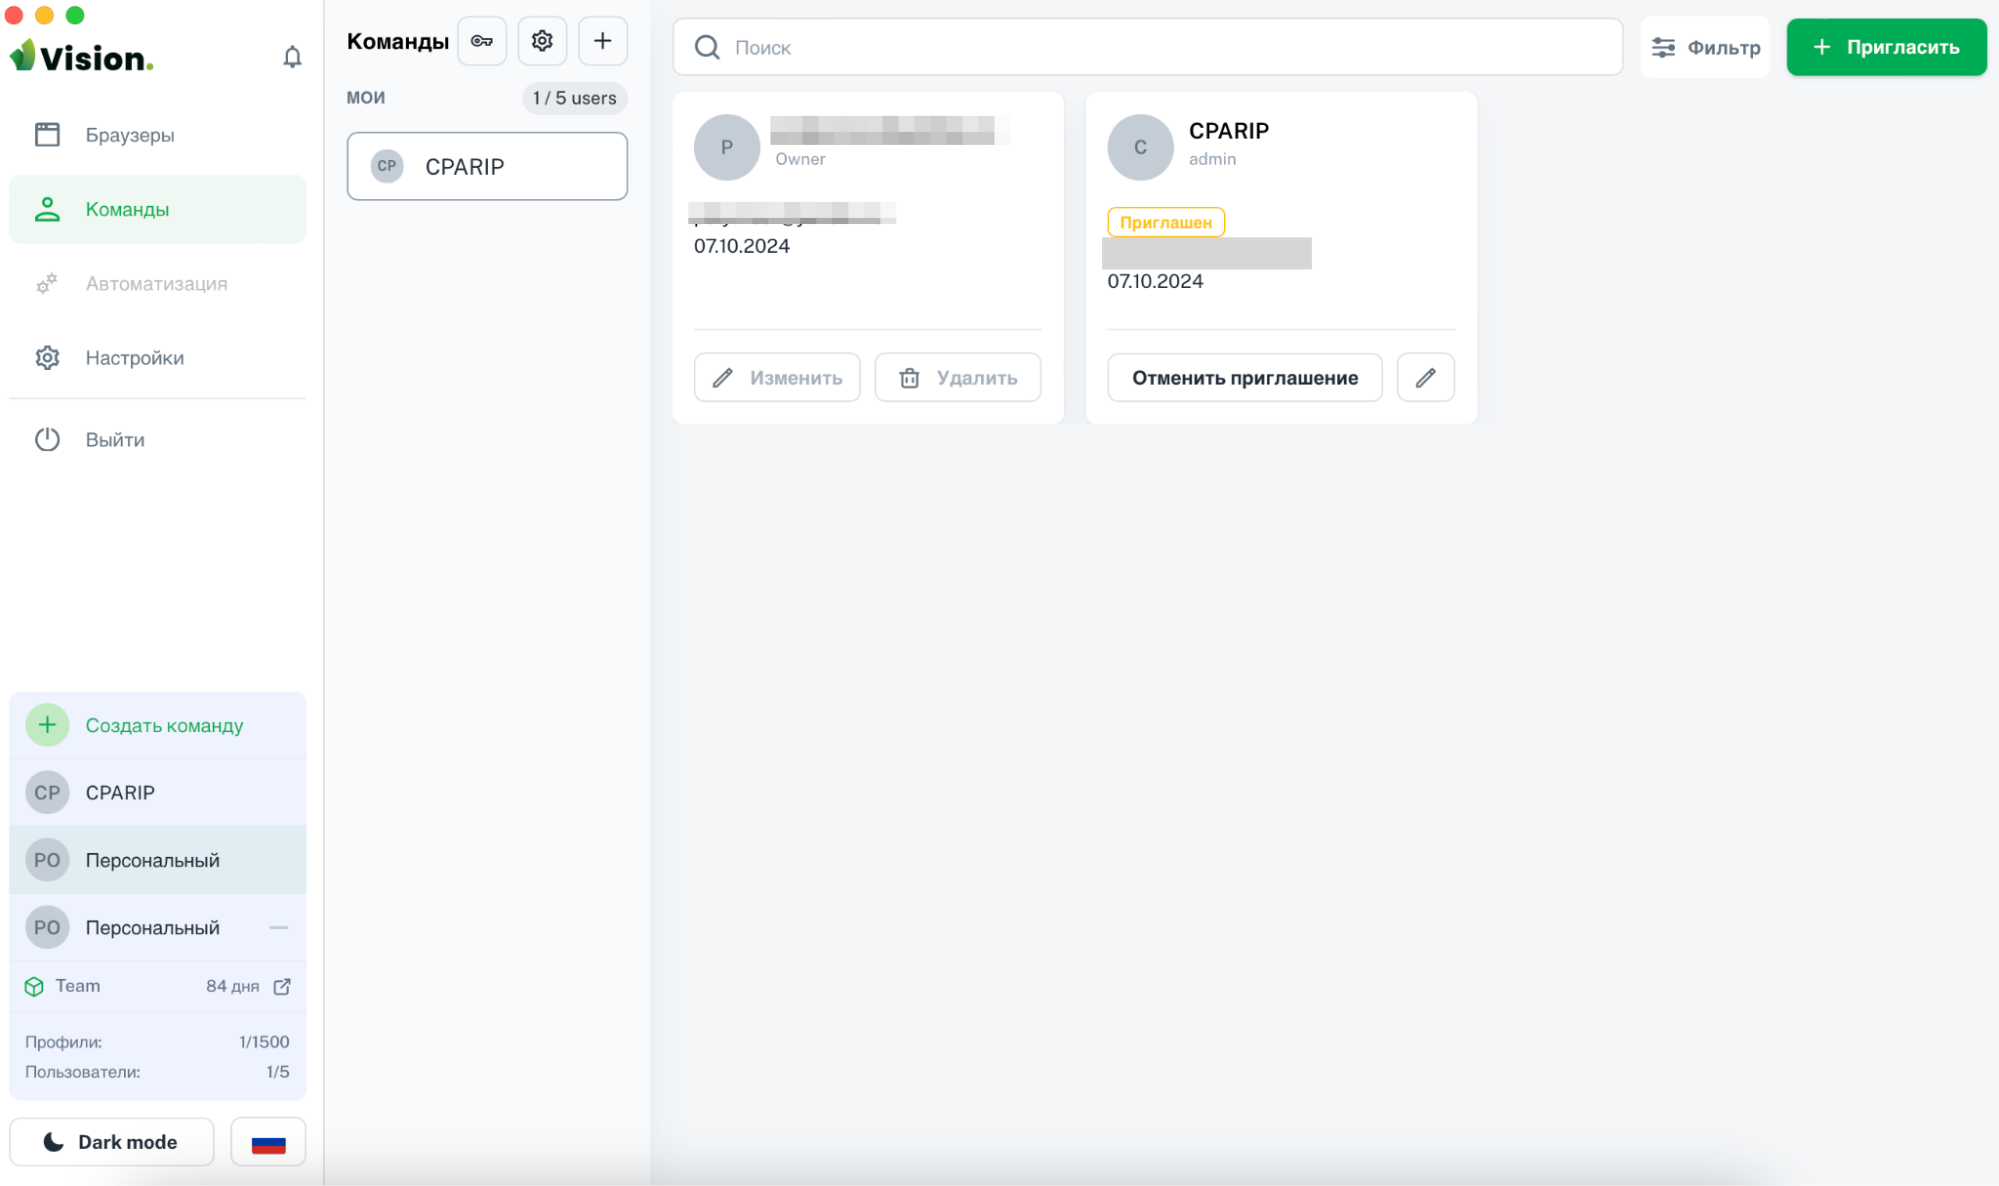
The information that we have invited a new participant is displayed in the command field. The administrator sees the participant’s name, role, email address, status (invited, active, etc.) and date added. The invite can be edited or canceled.
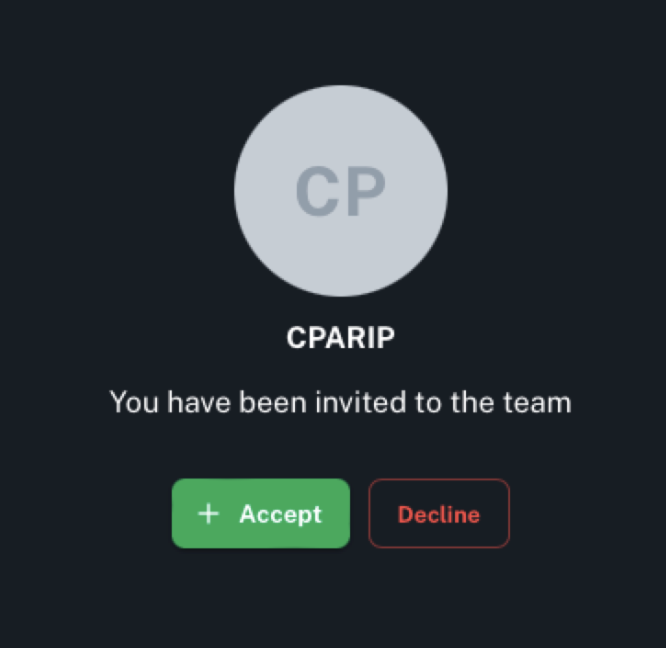
This is the message the user we invite to the team will receive:
Checking work of profile in Vision antidetect browser: tests and results
With the help of anonymity testing services from our selection, let’s check how well the antidetect browser masks.
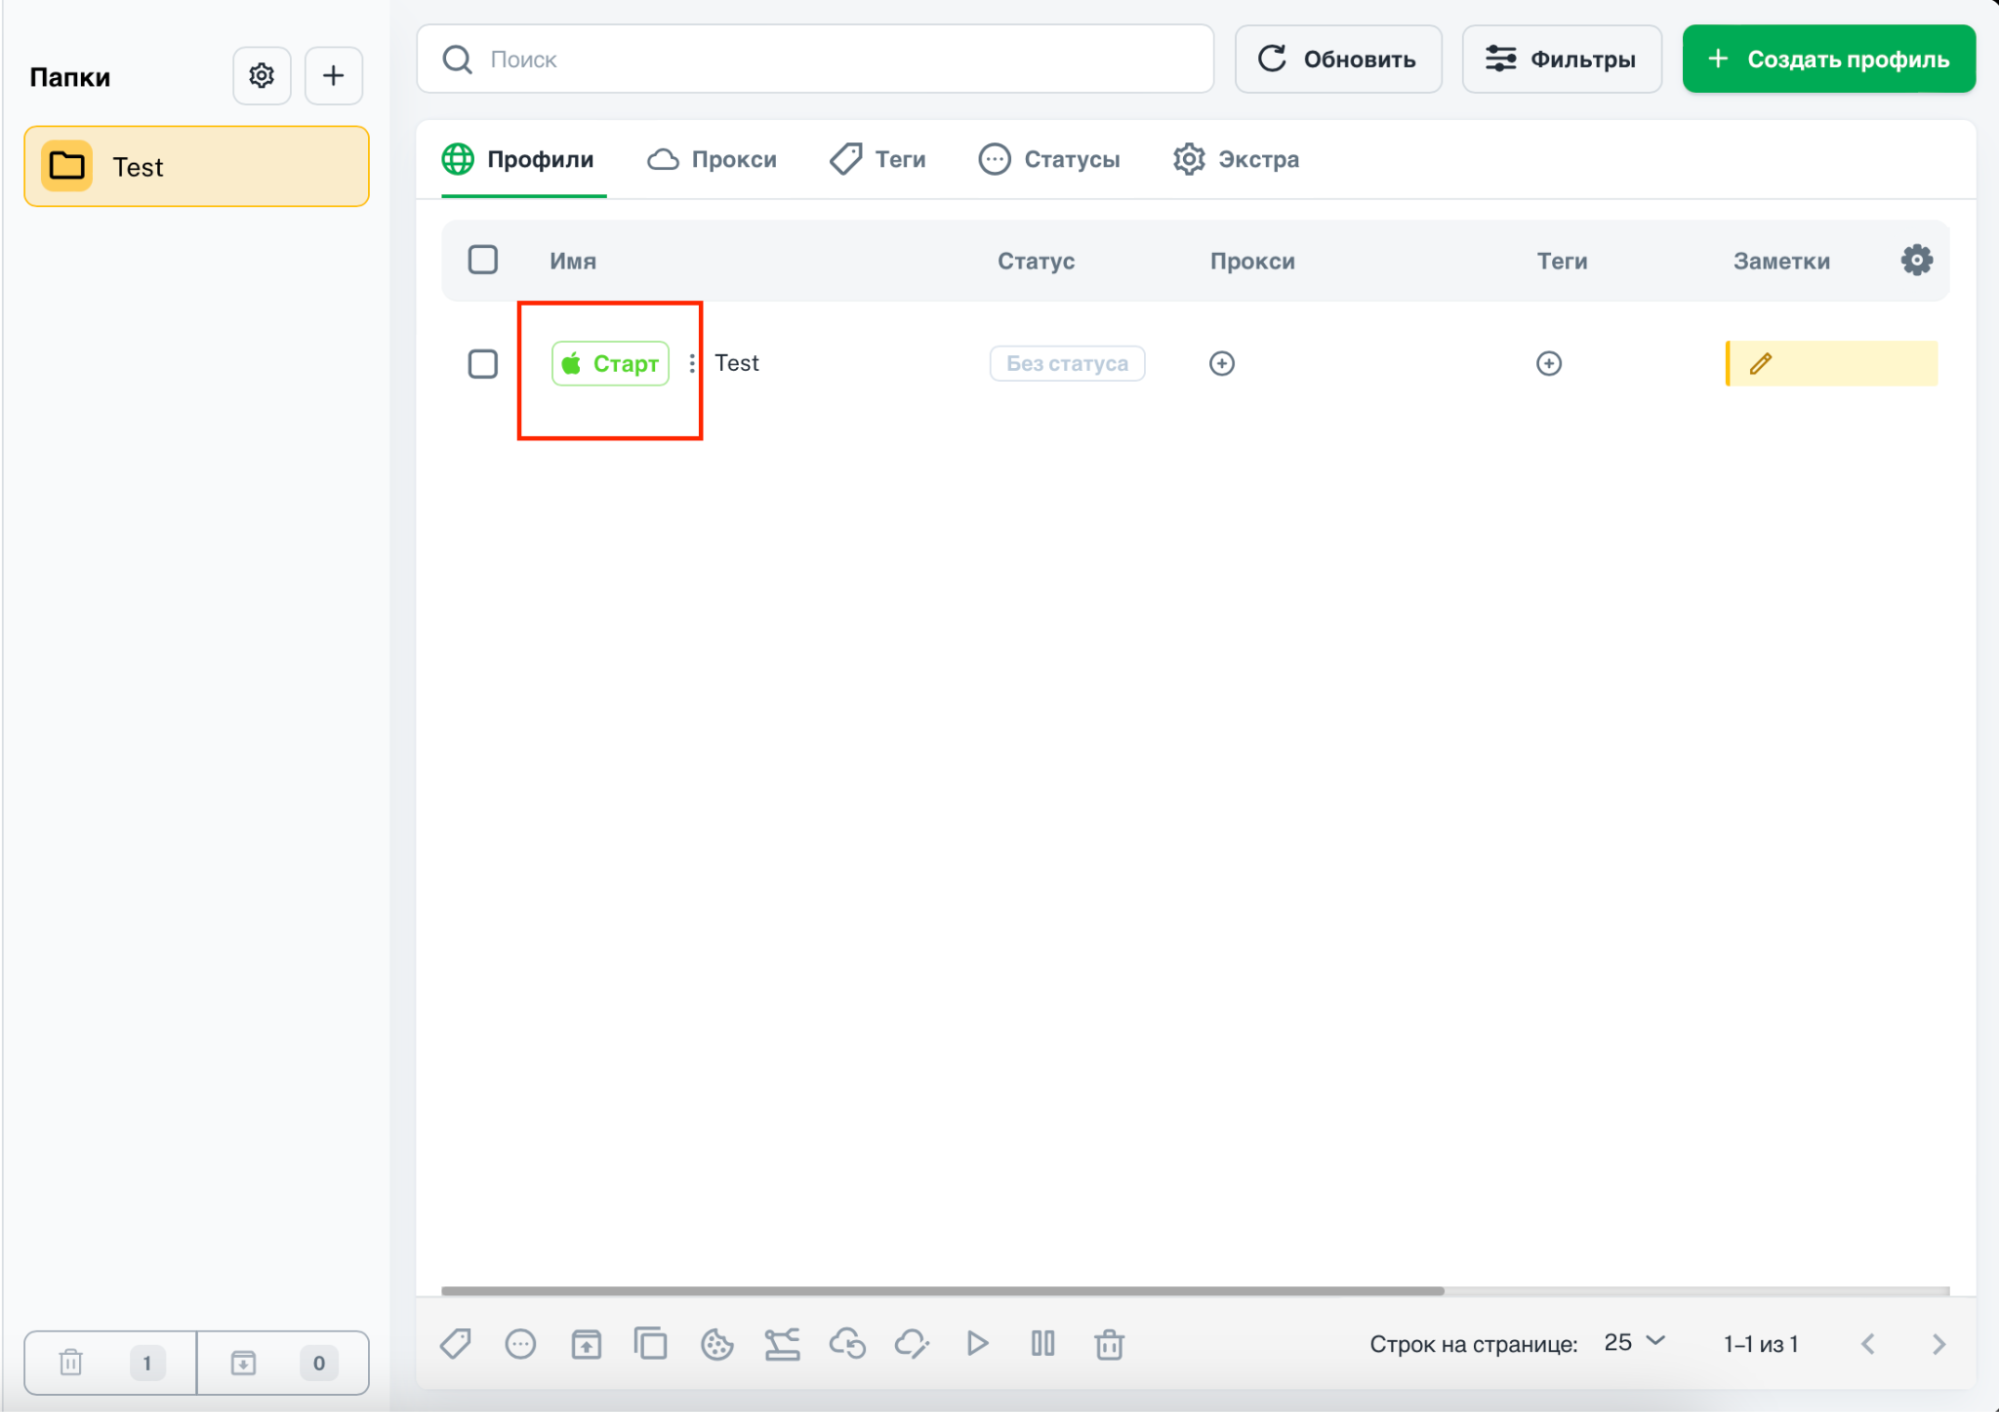
Click the “Start” button to launch the previously created profile.
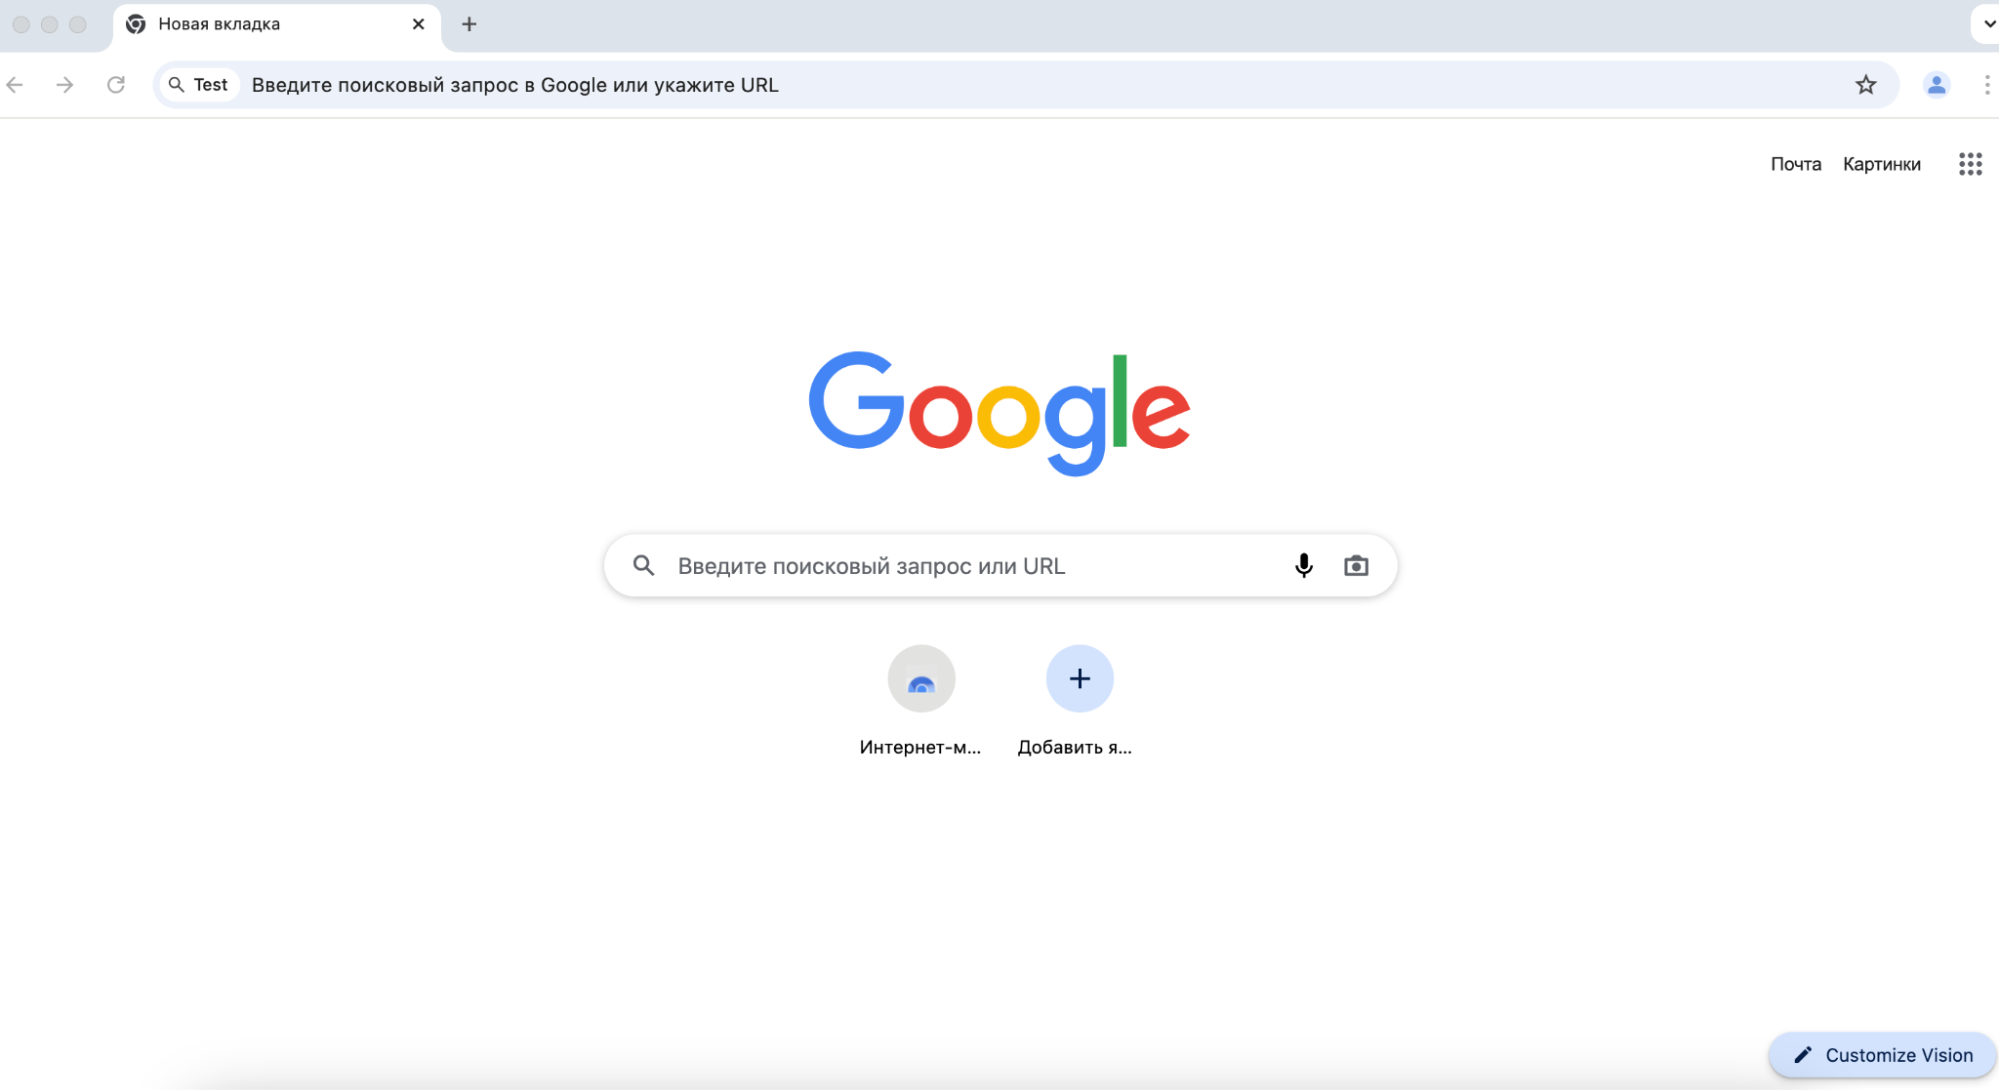
The initial page of the browser opens.
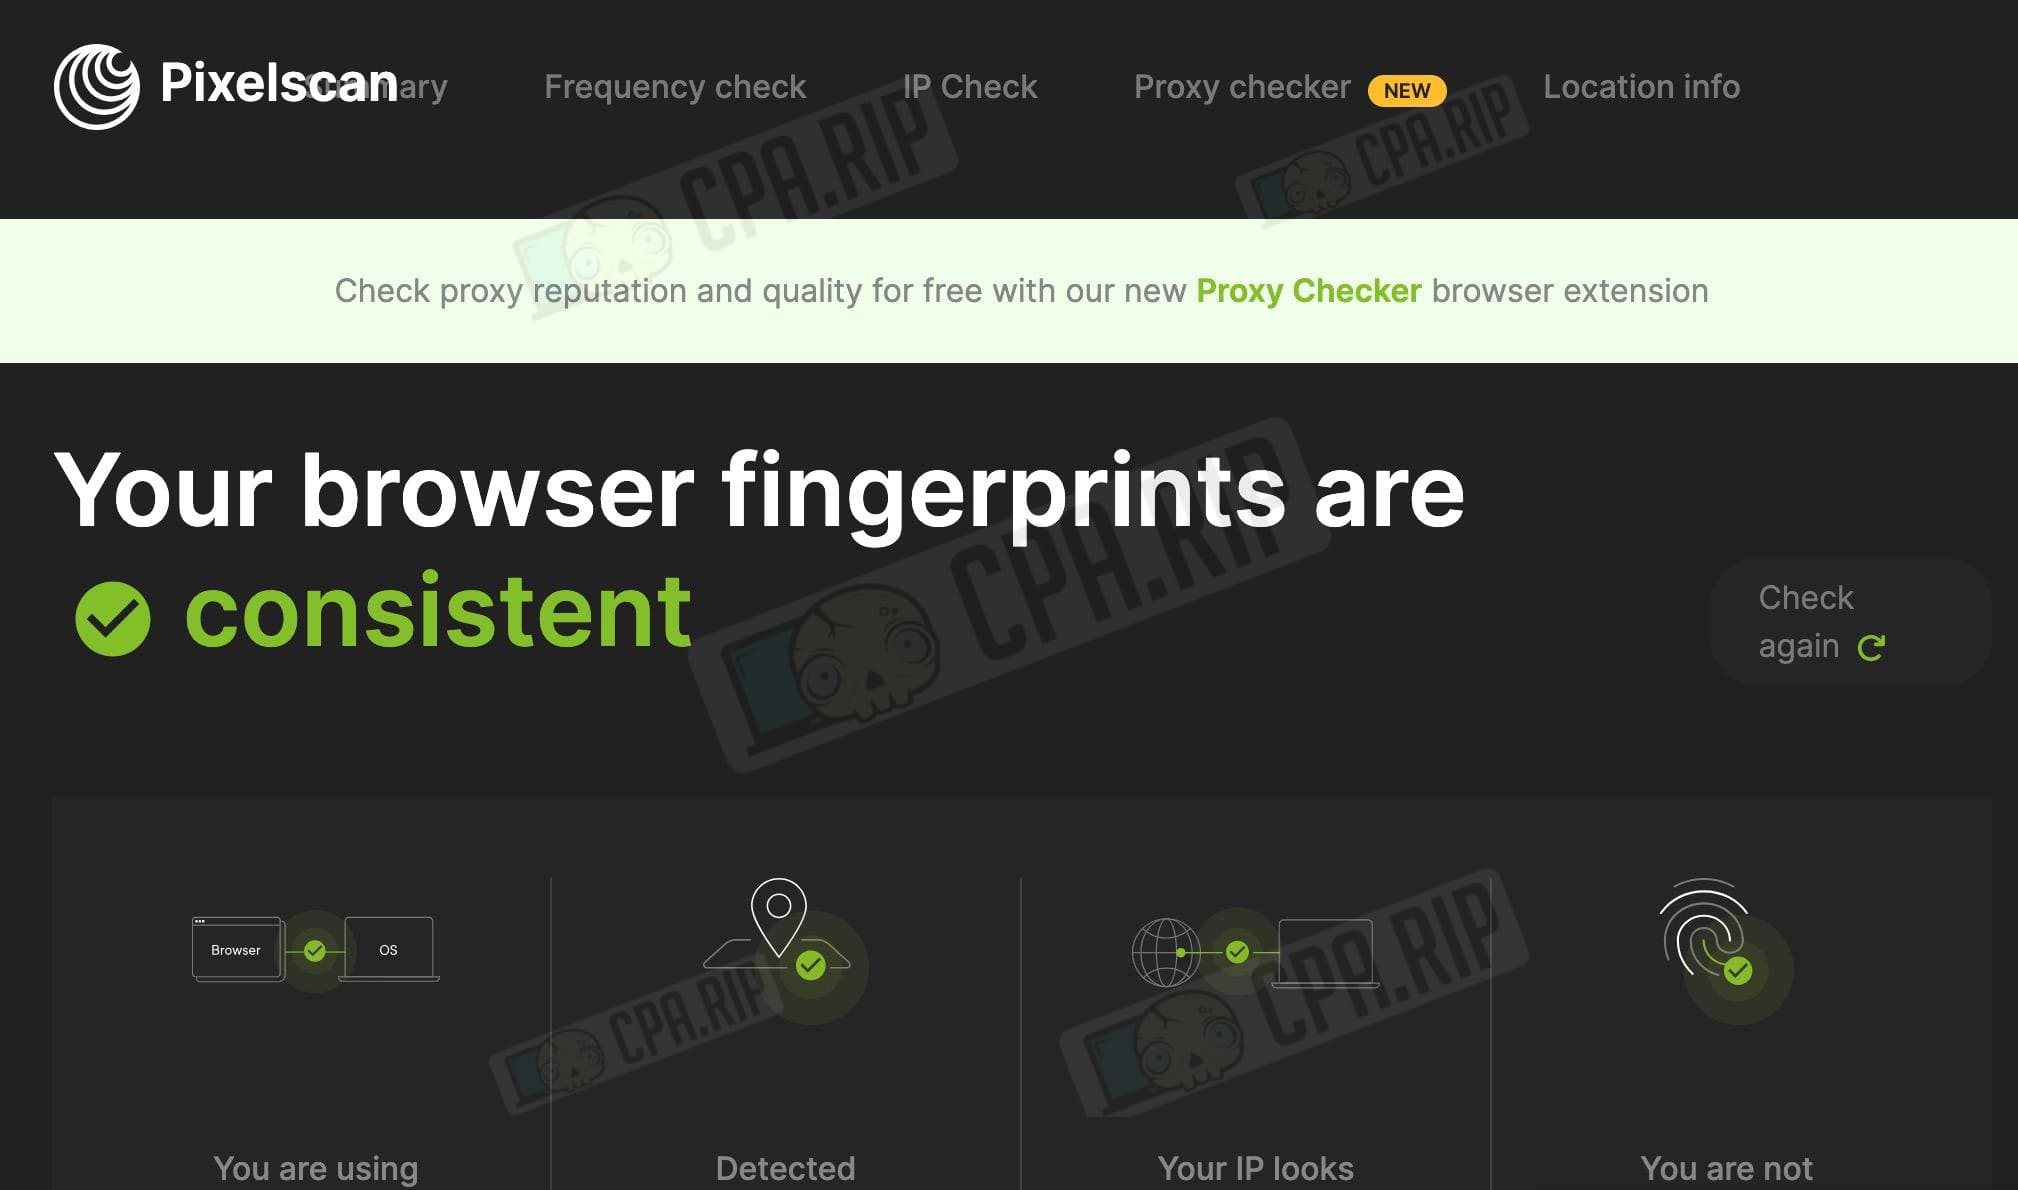
Let’s go to Pixelscan to check our fingerprints. The service has no complaints: all fields are green.
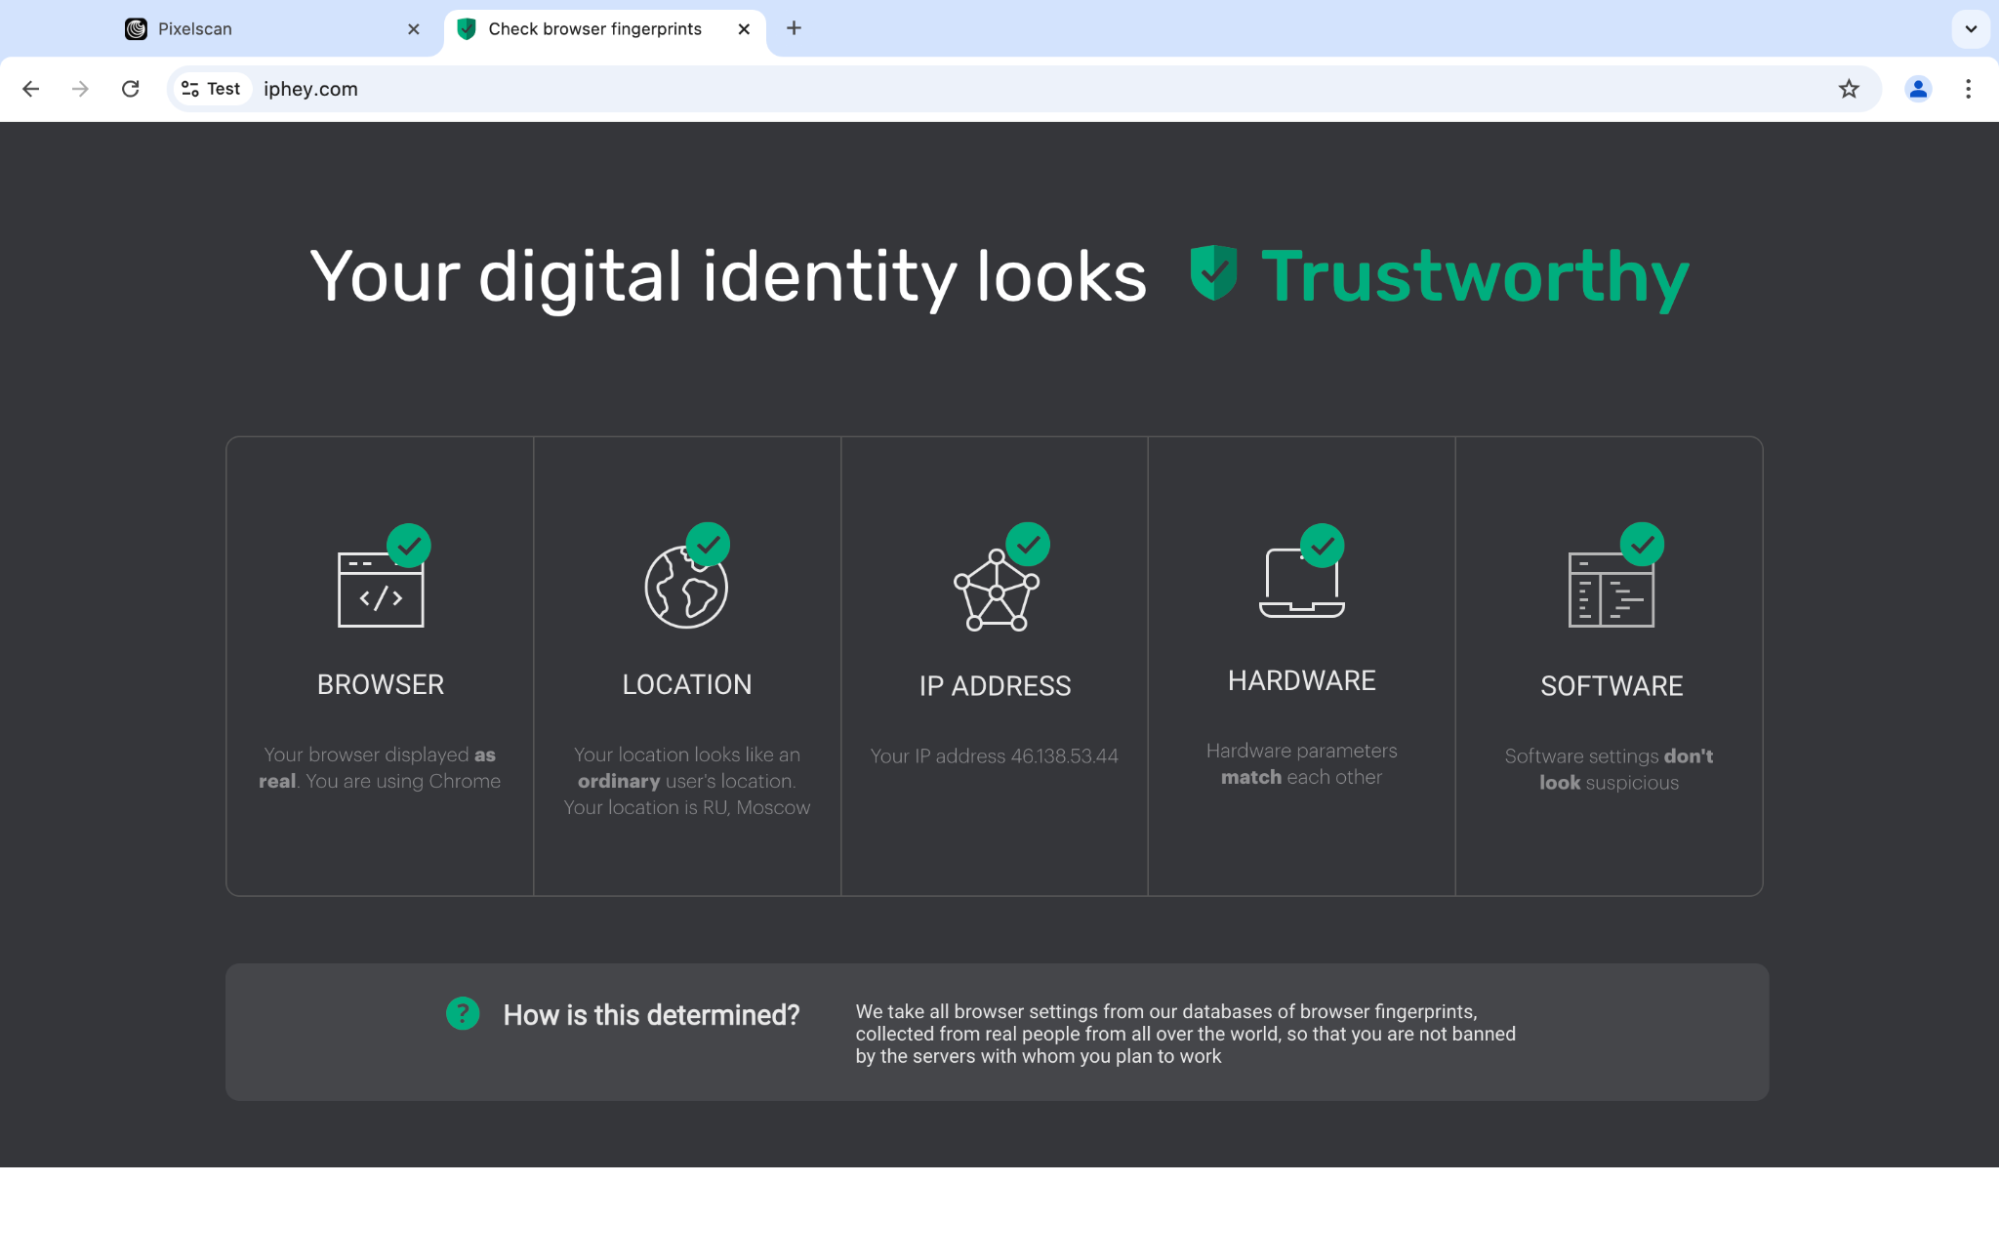
Go to iphey.com – everything is green:
Technical support for Vision antidetect browser
Communication methods:
- Telegram – https://t.me/vision_browser (news), https://t.me/vision_chat_ru (chat) and https://t.me/visionsupportbot (technical support bot);
- Email address – contact@browser.vision;
- Online chat on the site.
Guys answer within literally a minute, they respond quickly.
Vision antidetect browser is a solution for traffic arbitrage, crypto projects, marketing, bonus hunting, and other tasks where multi-accounting is required. Real fingerprints of real users are used, which allows bypassing anti-fraud systems


