


Step-by-step instructions on how to use a reverse proxy to hide the IP address of the site from detractors and competitors – 2 free and 1 paid tool. It will be also useful for protection against unreasonable appeals to the hoster or hiding your ads on spy-services from IP search.
What a reverse proxy is and how it differs from a forward proxy
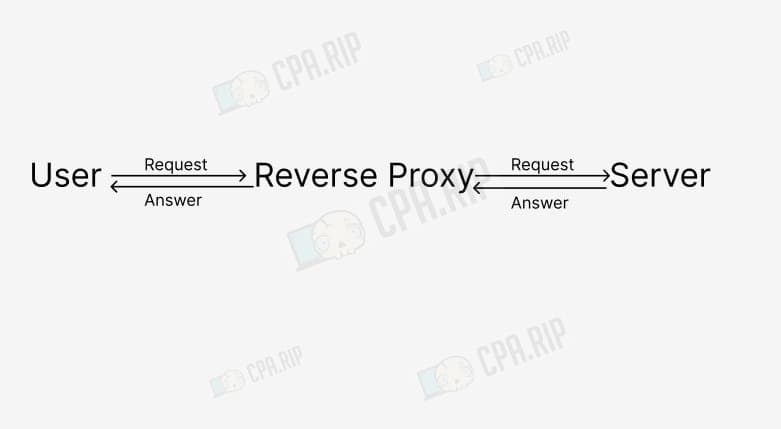
Reverse proxy – sends server data to the user on its behalf. When a user goes to a website, his request is first processed by the reverse proxy and then sent from the reverse proxy to the server. The server’s response is also first processed by the reverse proxy, and only then comes to the user.
What to use for
For example, reverse proxy via CloudFlare reduces the load on the main server, protects against malicious requests and DDoS attacks, and increases site security. In traffic arbitration, we can also highlight several reasons why you should hide the IP address of the server that hosts your tracker, website, and so on.
- Protection from unreasonable requests. Adversaries and competitors can complain to the hoster about the site using its IP address under false pretenses. This in turn can lead to site blocking by the hoster and you will have to move the tracker to another server, reload landings, reconfigure the advertising campaign, etc.
- Protection from DDoS attacks. Competitors can learn the IP address of the tracker and organize a DDoS attack on it.
- Make it harder for spy-services to find your creatives. People can find one of your creatives by IP of the advertised domain and with the help of spy-services they can find your other ads. CloudFlare is a good solution to this problem.
Configuring reverse proxy via CloudFlare
There are different services for setting up a reverse proxy. CloudFlare is the most popular among them. The service is used not only by affiliates but also by large brands such as Google, Microsoft, Apple, OpenAI, and Amazon.
To hide the IP server, you need to configure a reverse proxy via CloudFlare according to our detailed instructions: https://cpa.rip/en/services/domens-cloudflare-to-keitaro/.
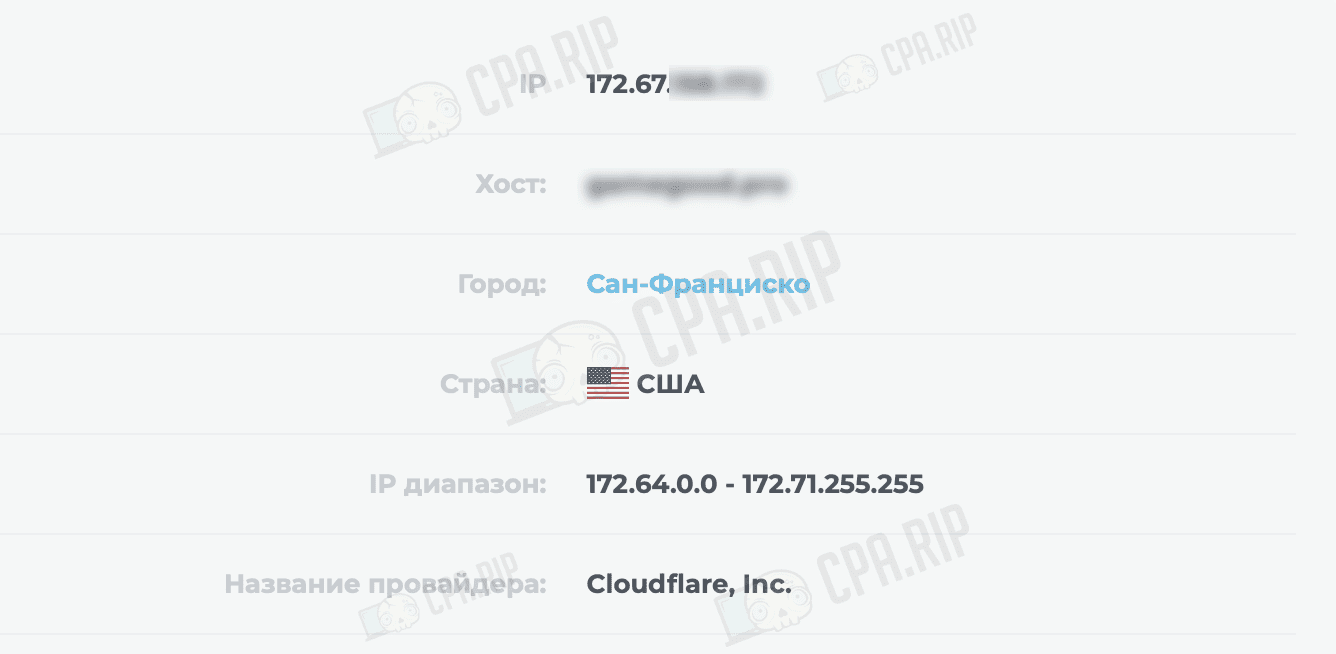
Once configured, the domain will display the IP address of the CloudFlare server, not the real one.
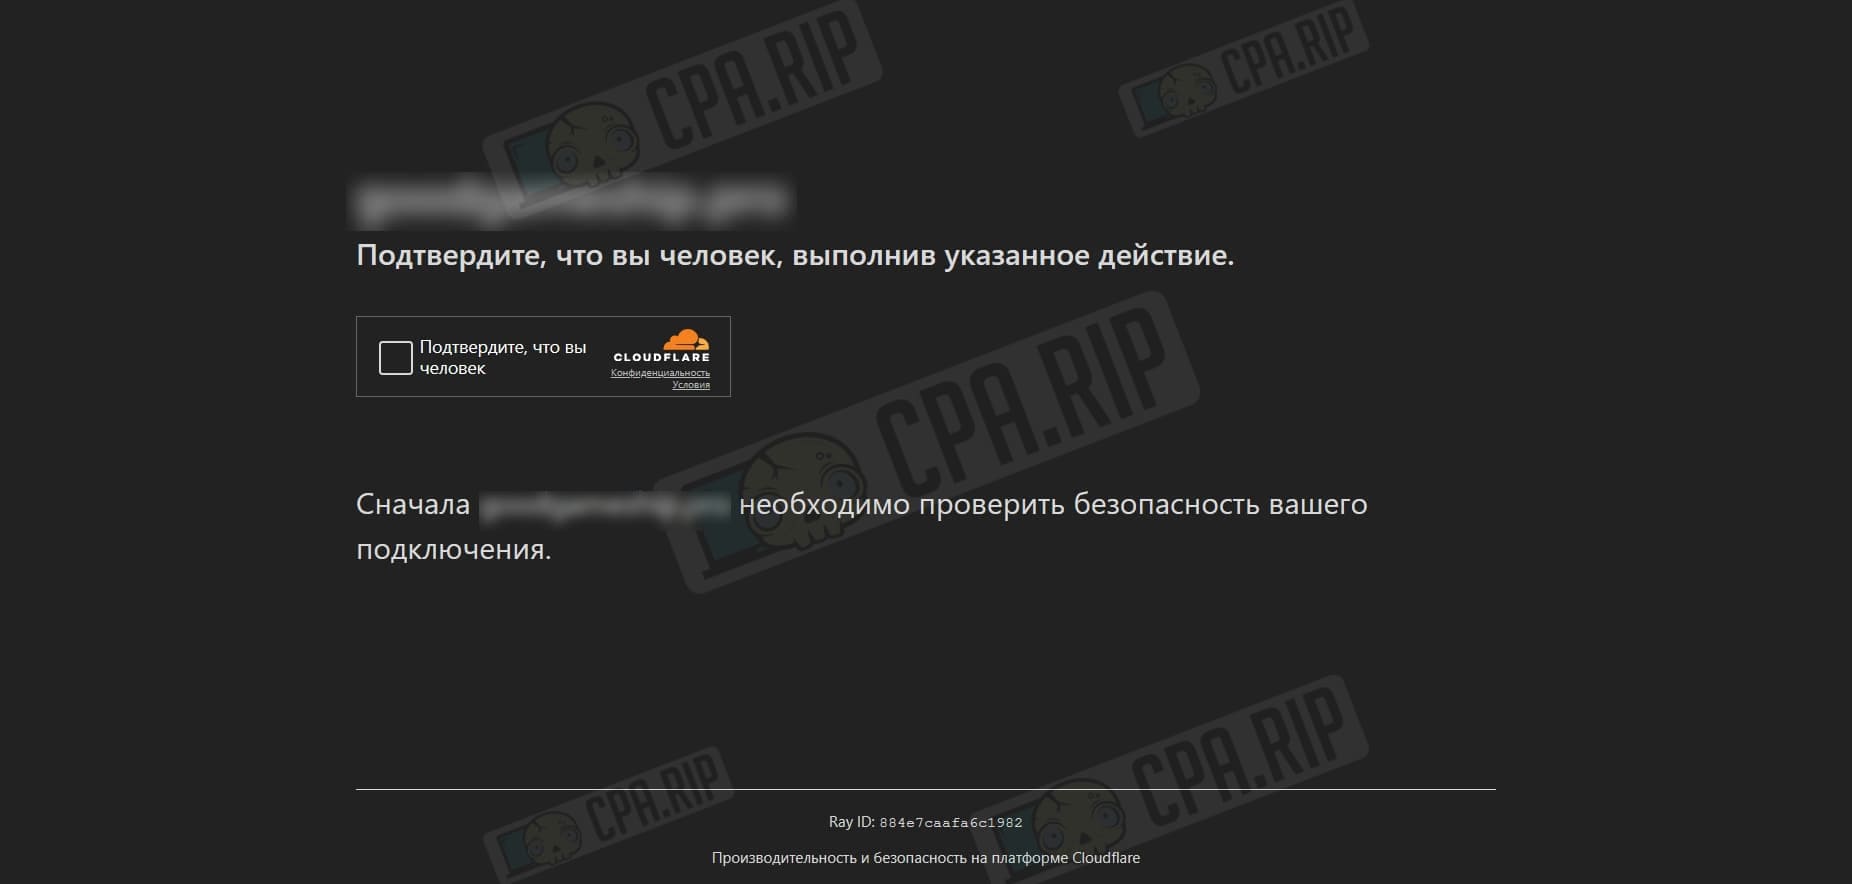
IMPORTANT: When users open the site, they may see a captcha from CloudFlare and because of this, some traffic can be lost.
Setting up reverse proxy using WYSINWYG script
Alternatively, you can consider masking the IP of the main web server or tracker via your additional server. The WYSINWYG script, which is powered by Nginx, can help with this. The advantage is that it is free.
Installation and configuration
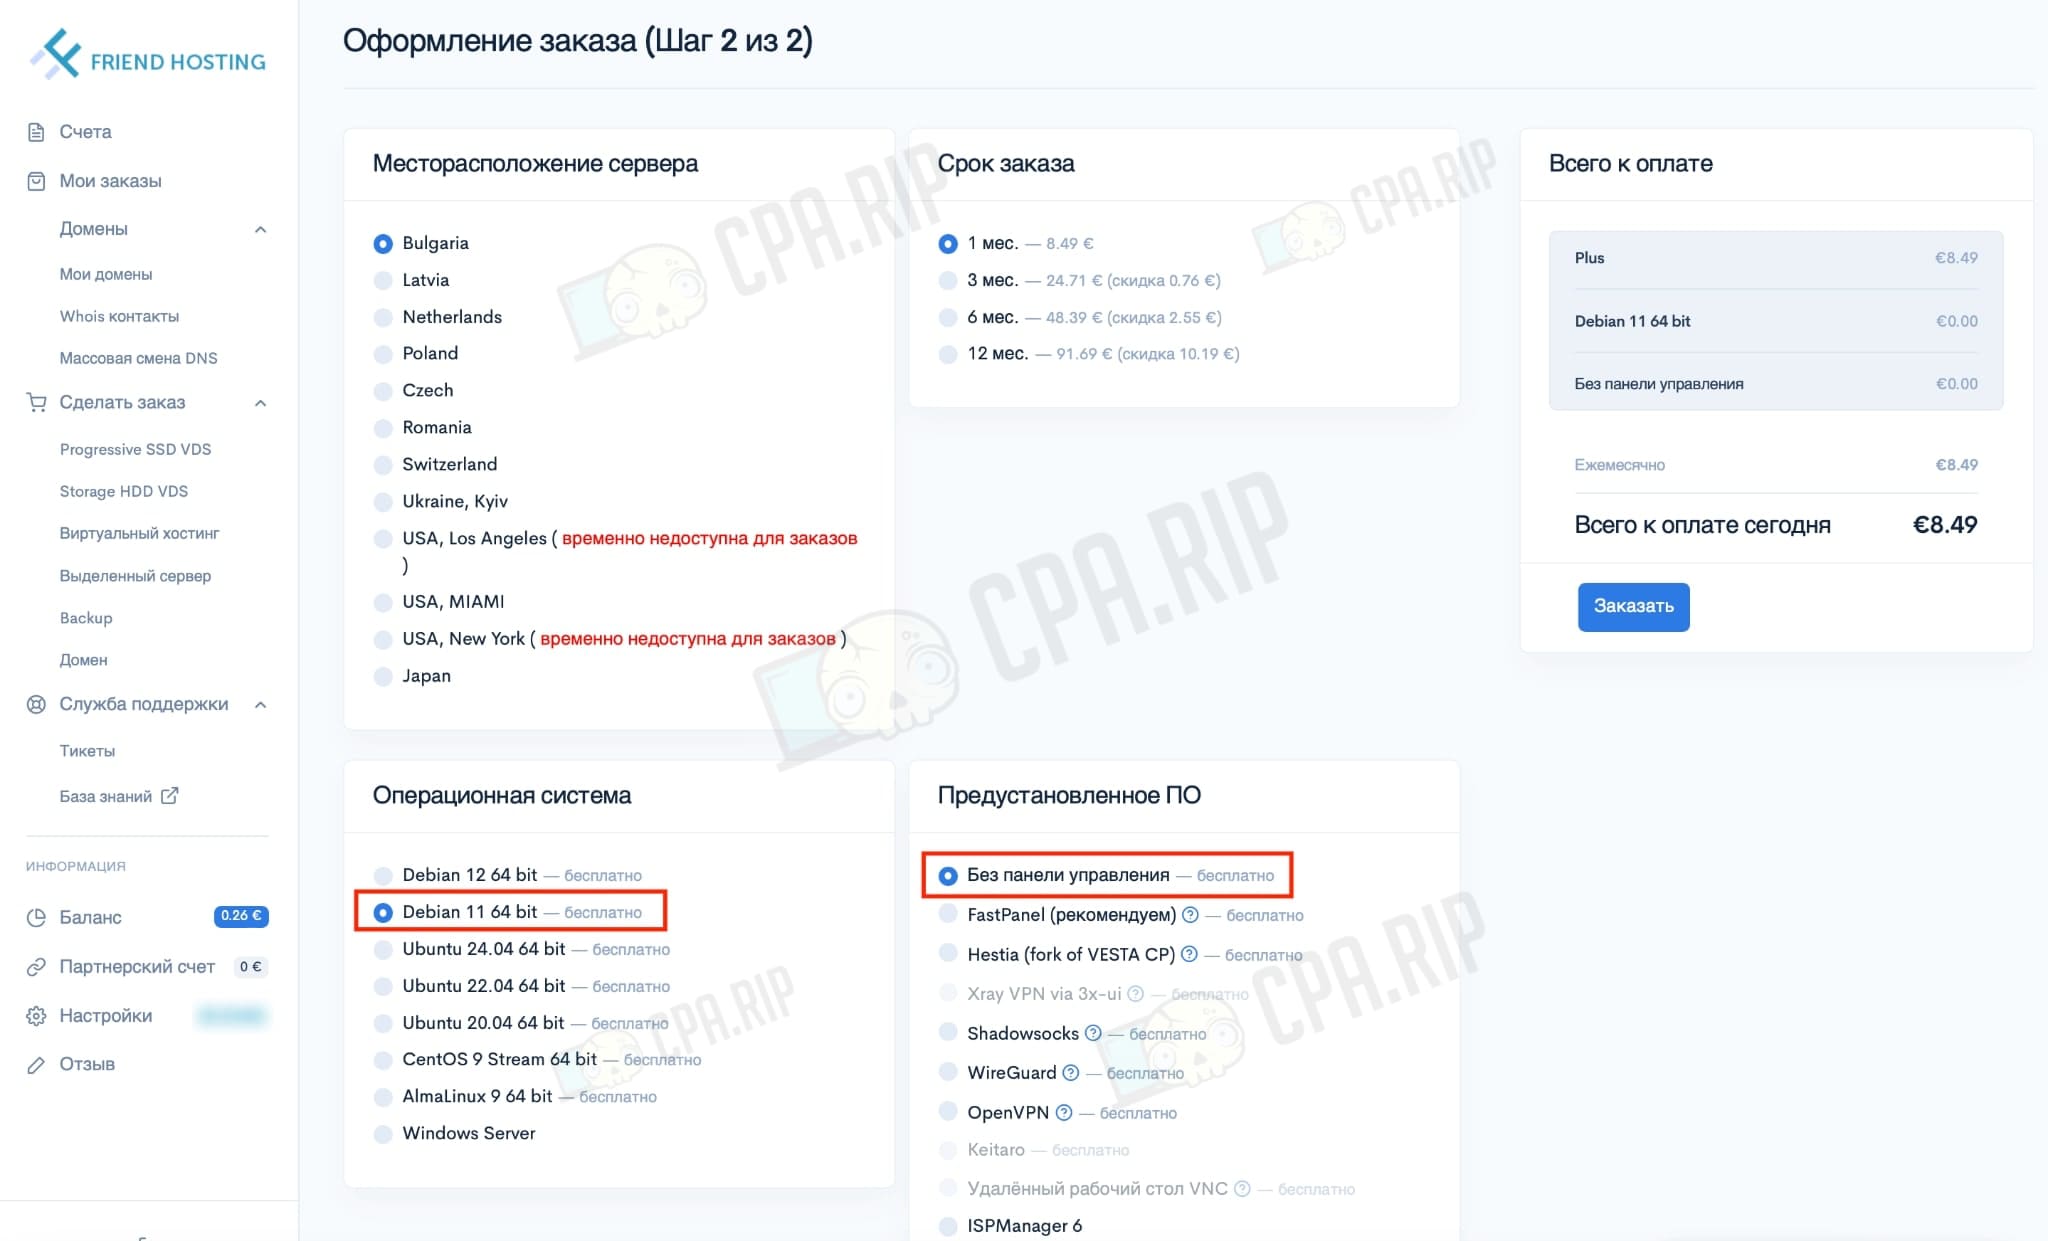
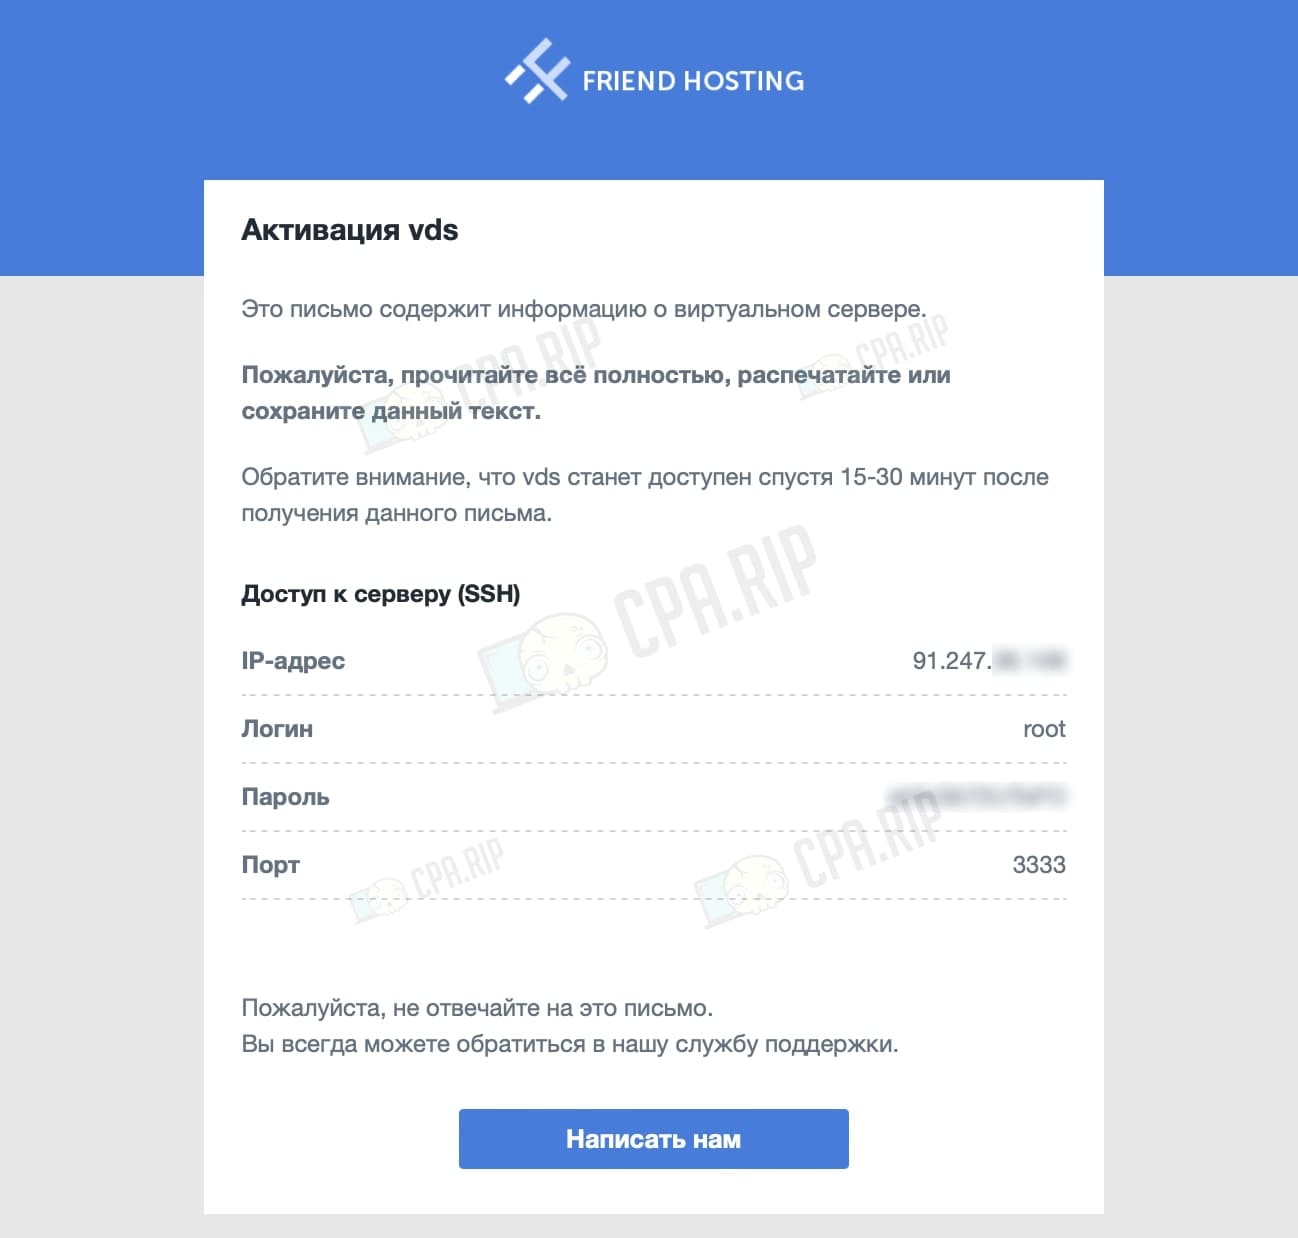
Buy a VPS with Ubuntu 22 or the Debian operating system. In the example, we have also used Friendhosting and VPS with the Debian 11 operating system.
After 30 minutes, you will receive access details via your email:
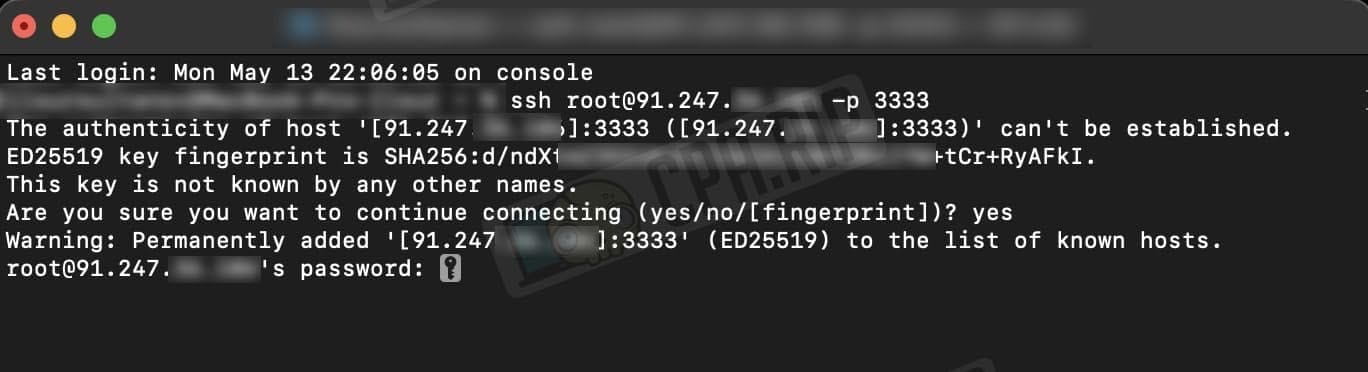
Open Putty SSH client (for Windows) or Terminal (for macOS); in this case, we will use Terminal.
Connect to the server using the command:
ssh LOGIN@SERVER-IP -p PORT
In the example:
ssh root@91.2**.*6.106 -p 3333

Enter the password:
Paste the code below into the terminal and click Enter:
systemctl stop apache2; sudo apt-get update && \
sudo apt-get install -y curl git && \
curl -fsSL https://get.docker.com -o get-docker.sh && \
sudo sh ./get-docker.sh && \
git clone https://github.com/momentum100/reverse-proxy-ui && \
cd ./reverse-proxy-ui && \
sudo ./start.sh

After installing all files and scripts you will see a link to your server and a password to log in (at the bottom):
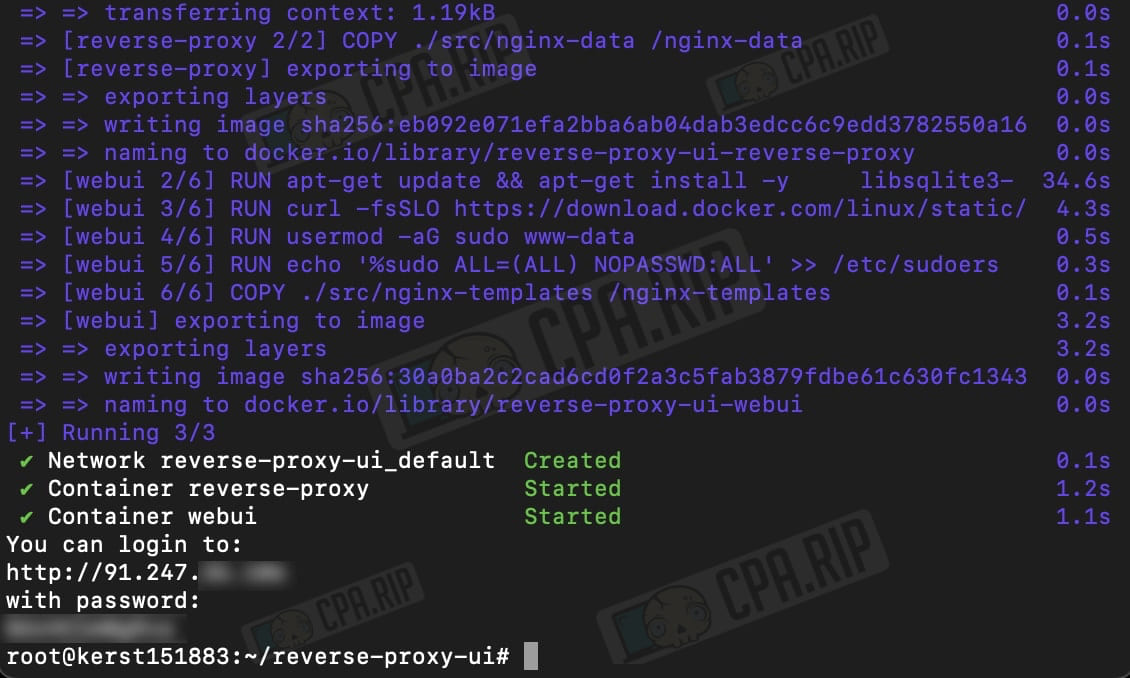
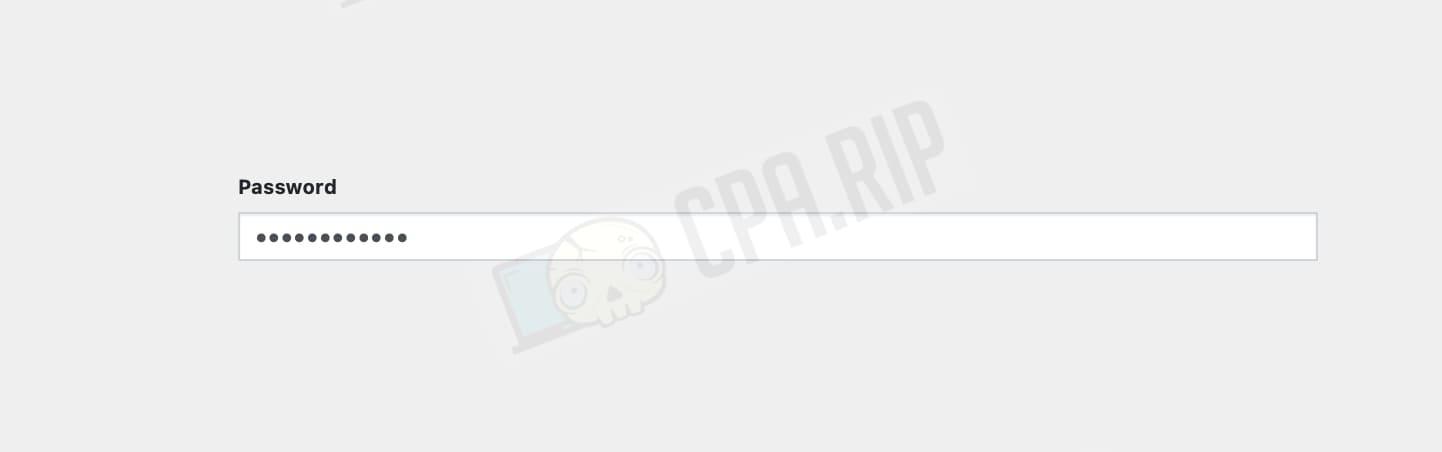
Go to the site and enter your password. Click Enter:
Adding Domains
Fill in the tabs:
- Domains: insert the domain that is bound to the VPS via the A-record.
- Destination IP: specify the web server or tracker we want to mask.
Click “Save domains”.
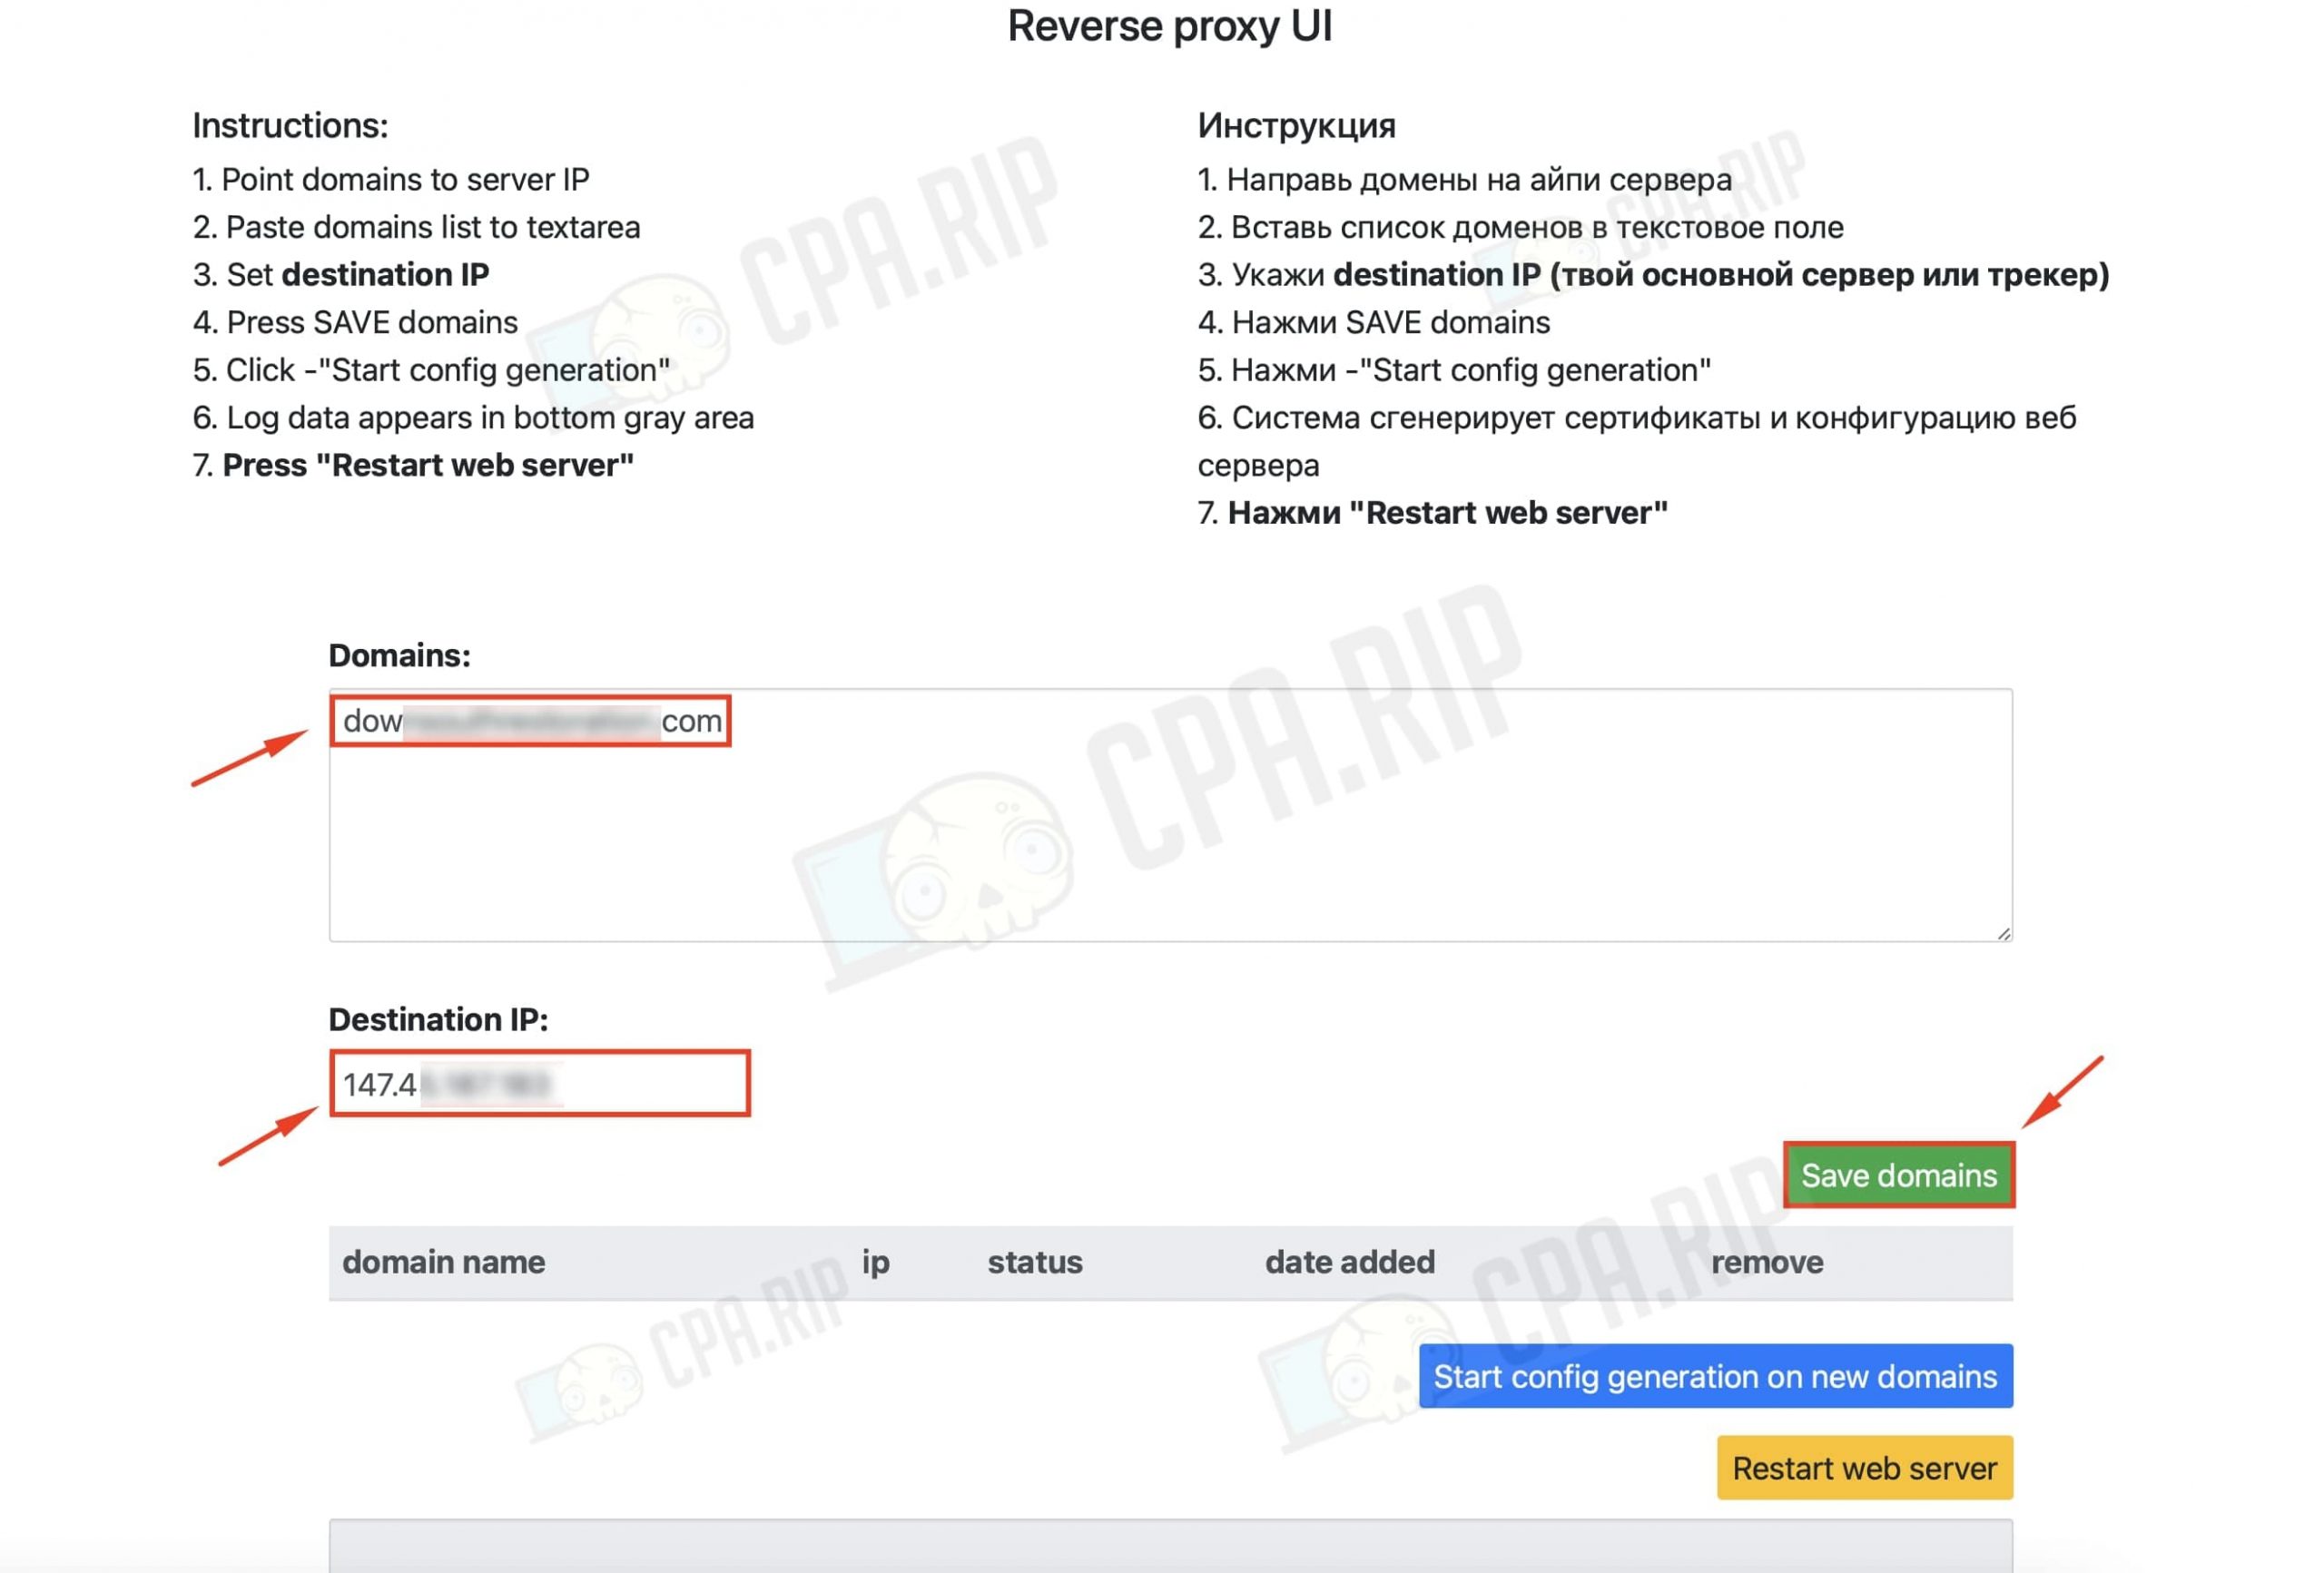
Then click on “Start config generation on new domains”.
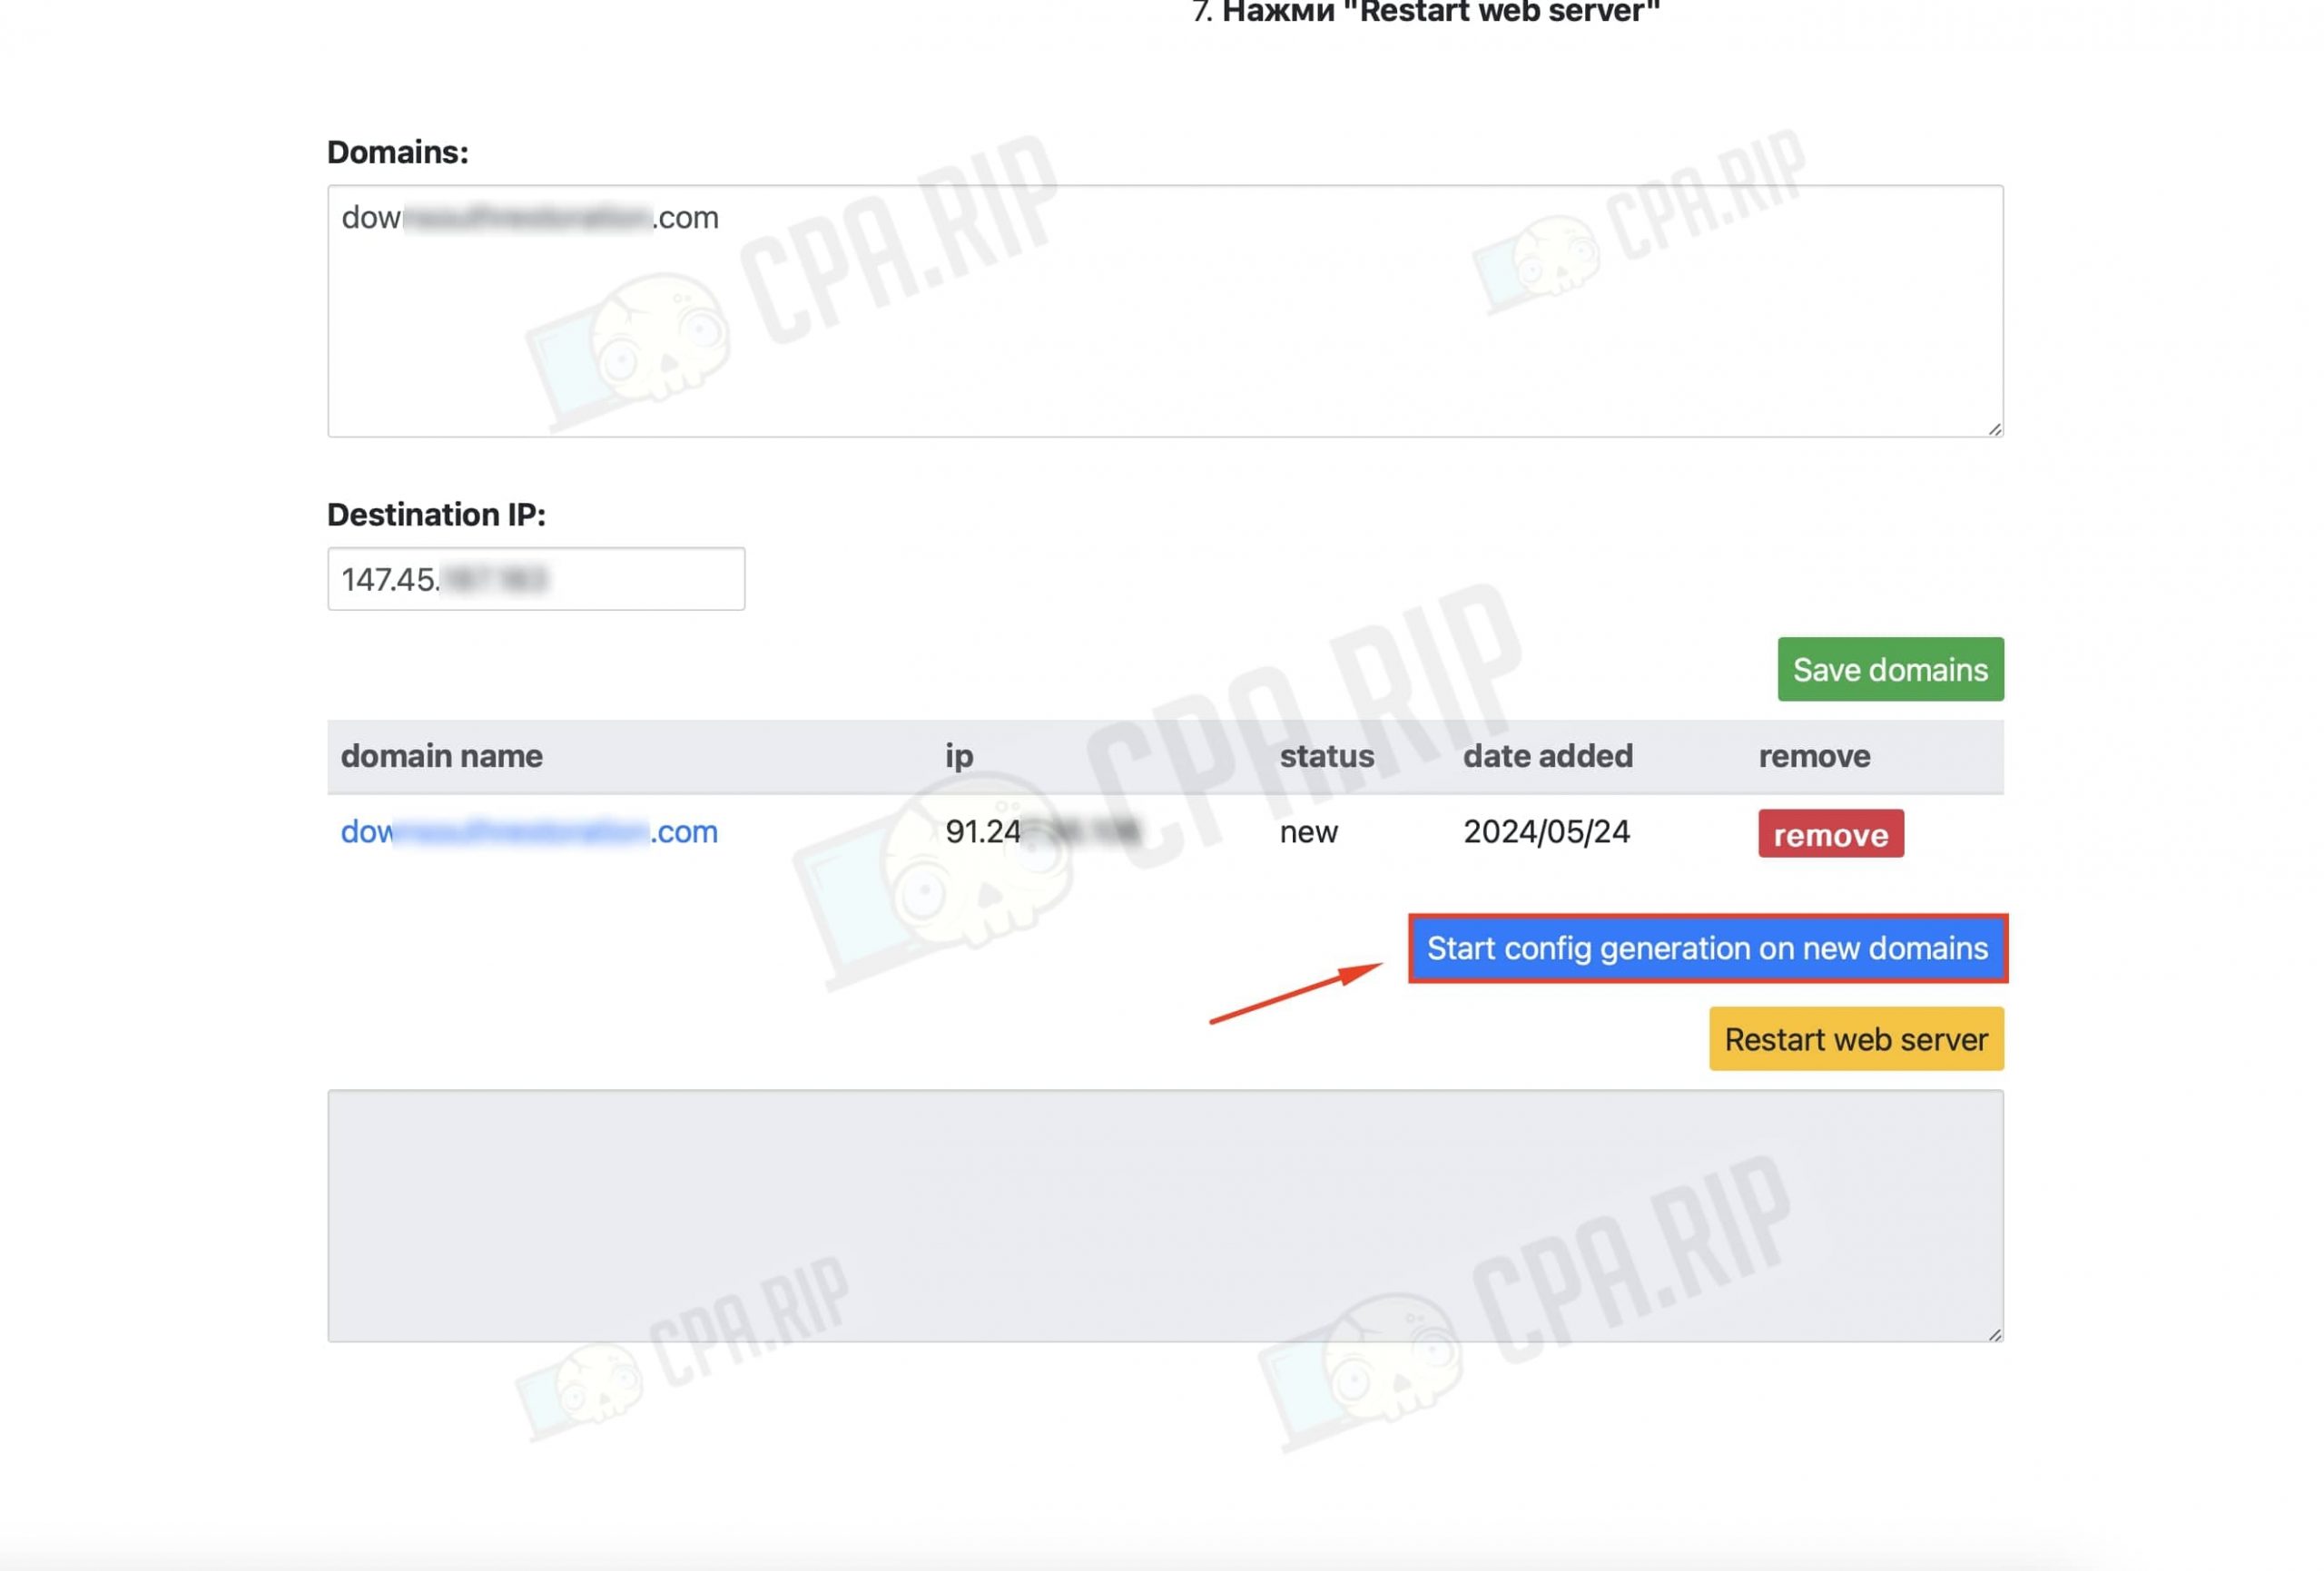
SSL certificate should be issued (the line with the domain and IP should turn green).
Then click on “Restart web server”.
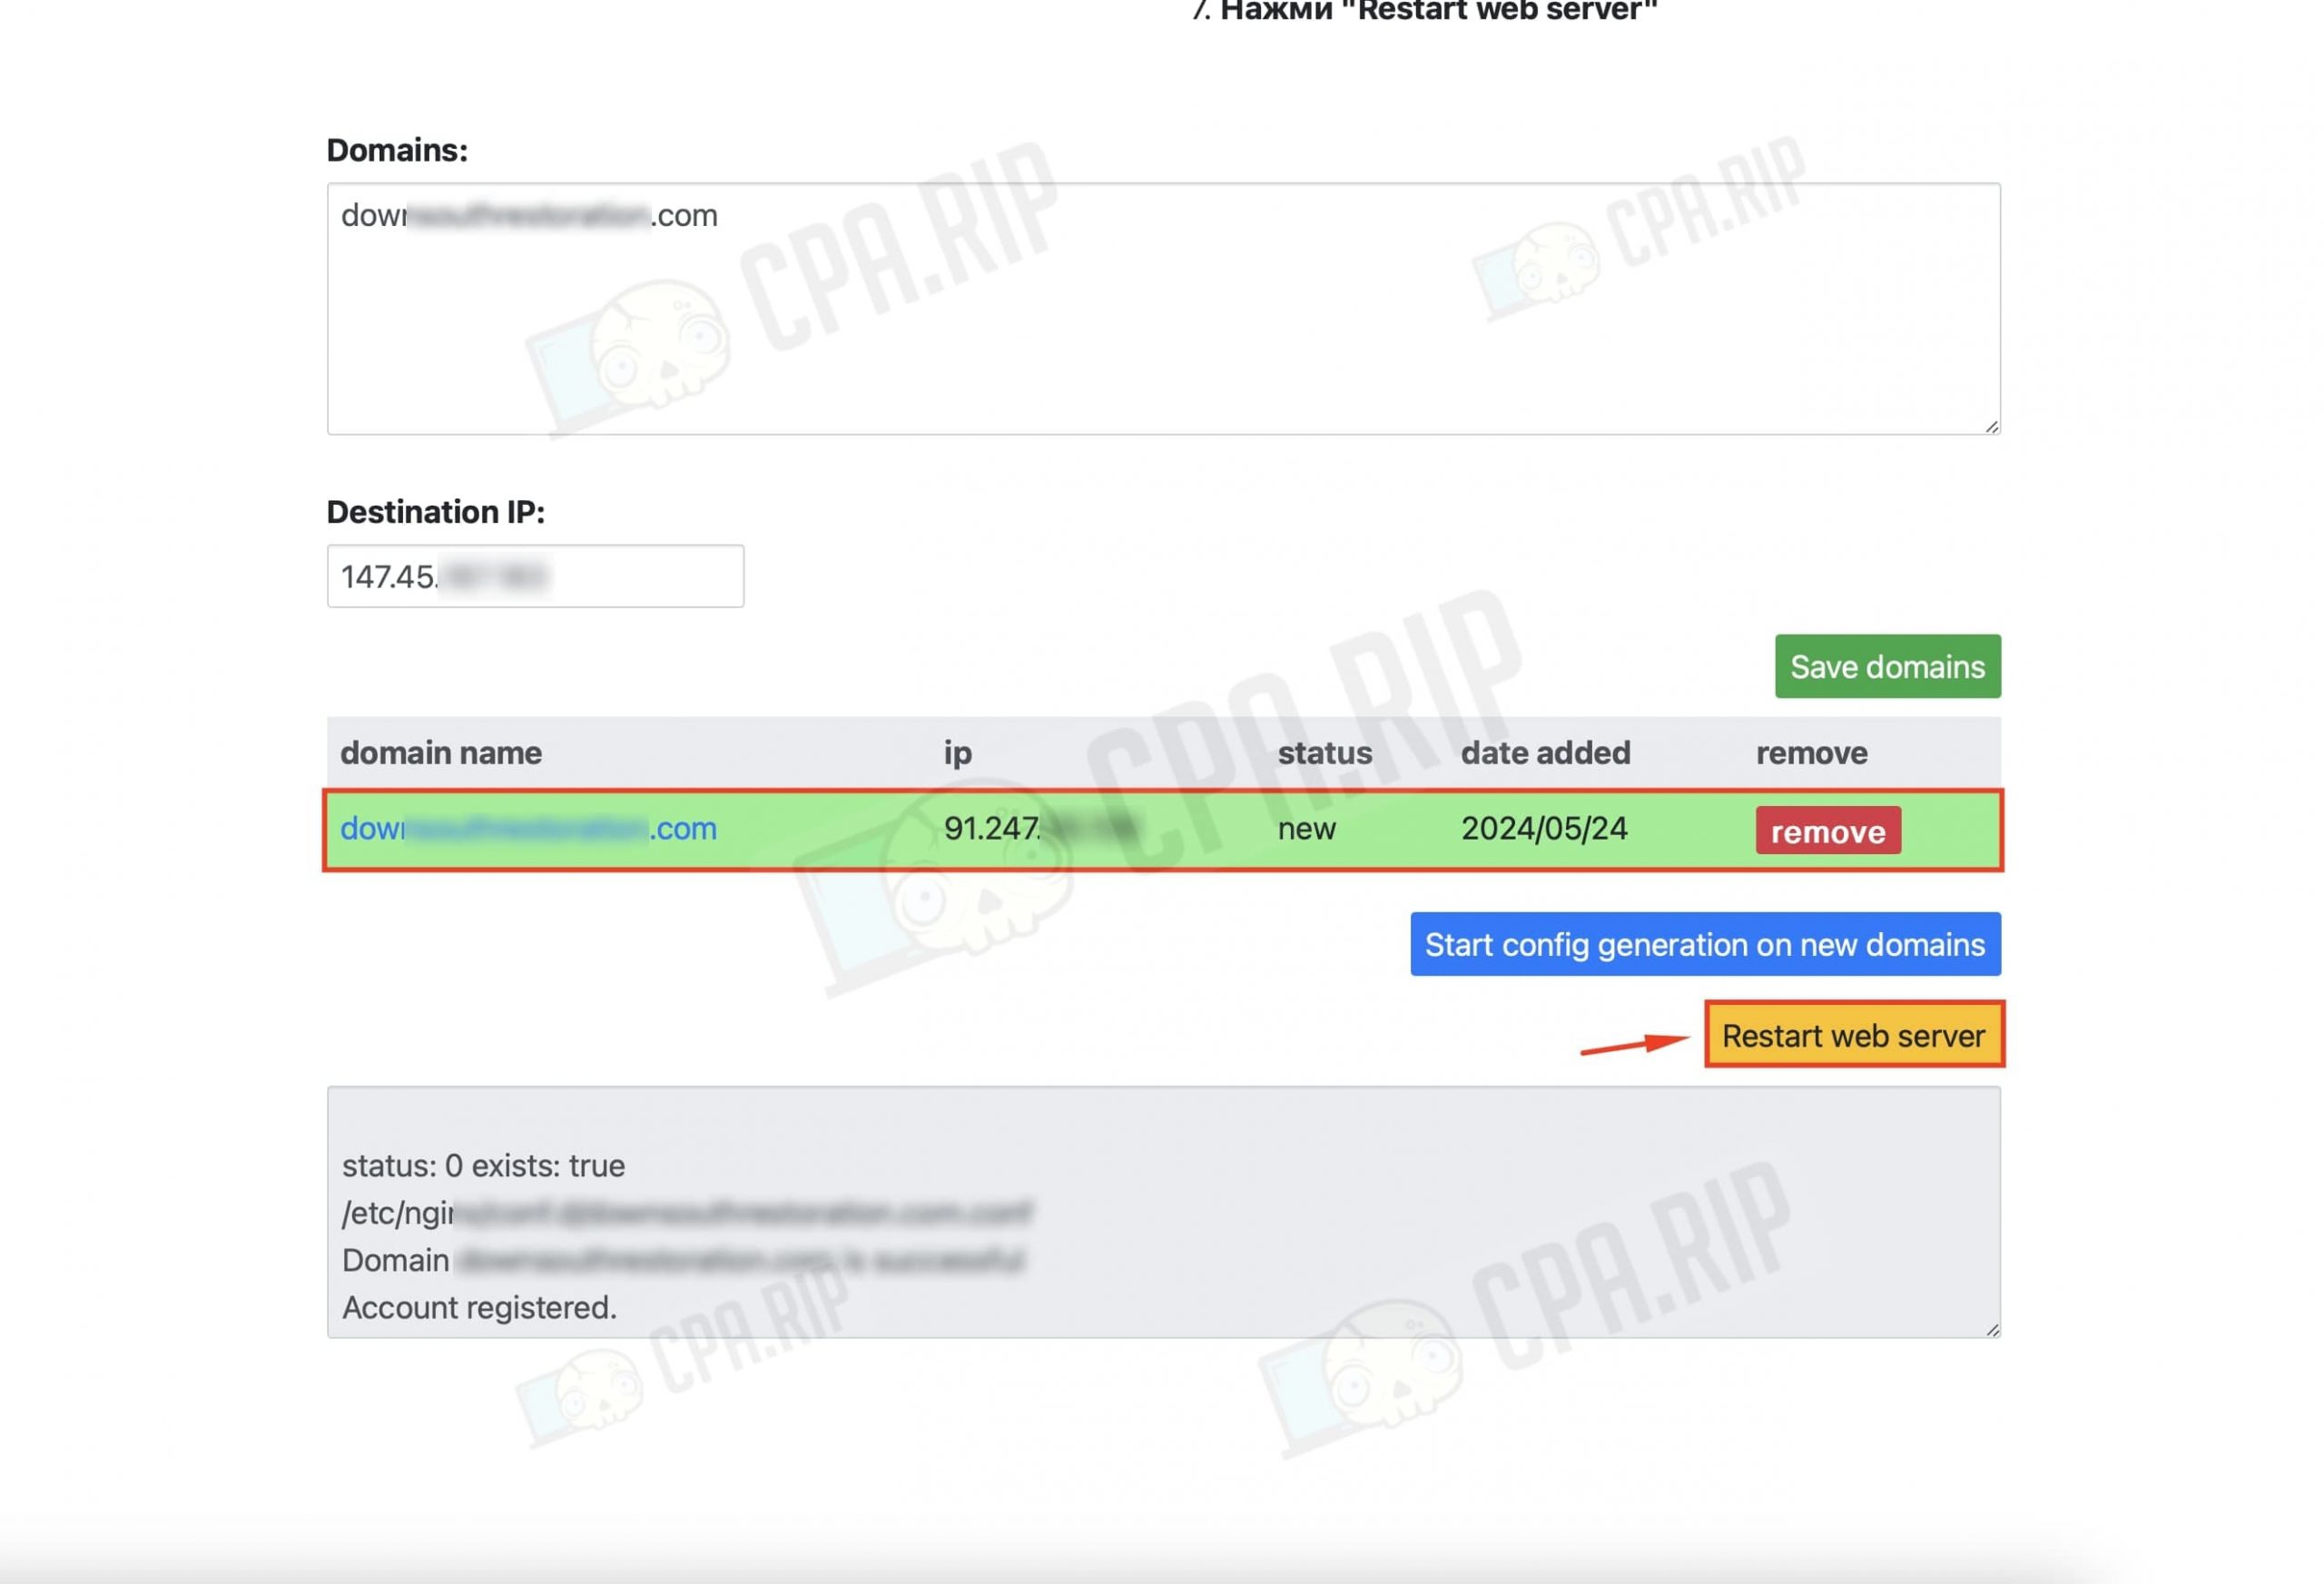
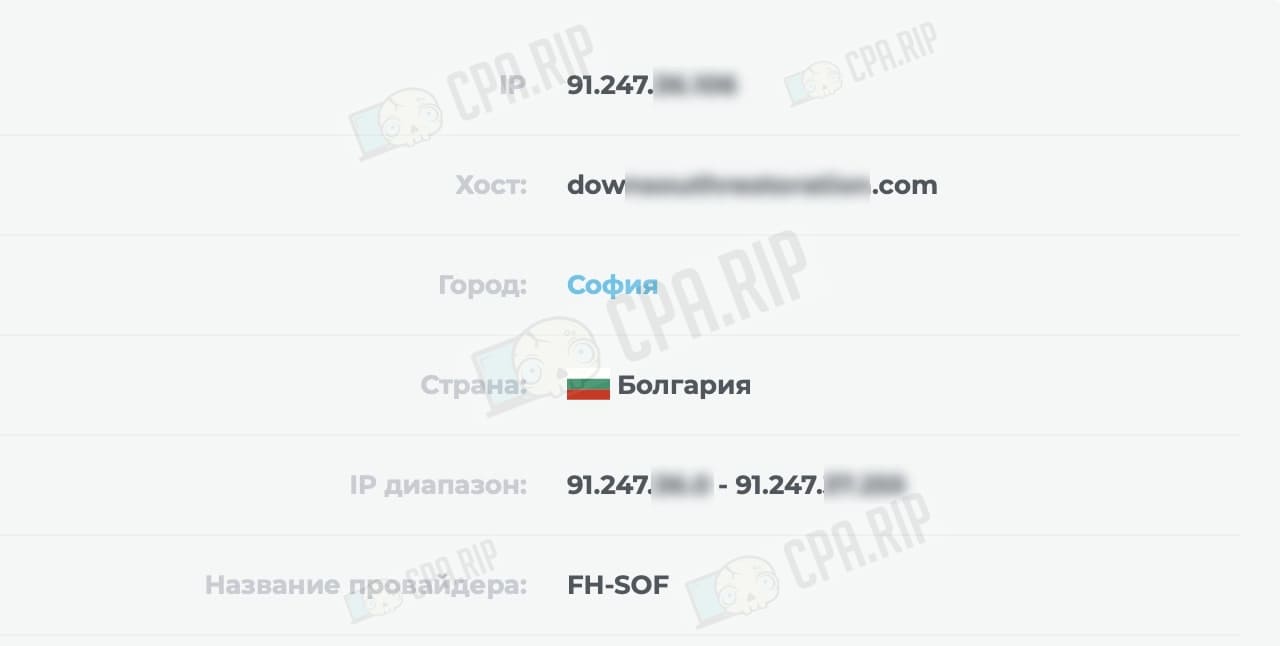
After that, the IP of the reverse proxy server will be detected by the domain, but the site or tracker will be displayed on the main server.
Setting up reverse proxy via PrivateFlare
Another option is to use the paid tool – PrivateFlare, which is also based on Nginx.
Registration on PrivateFlare
Go to https://www.privateflare.com and click “Sign in”.
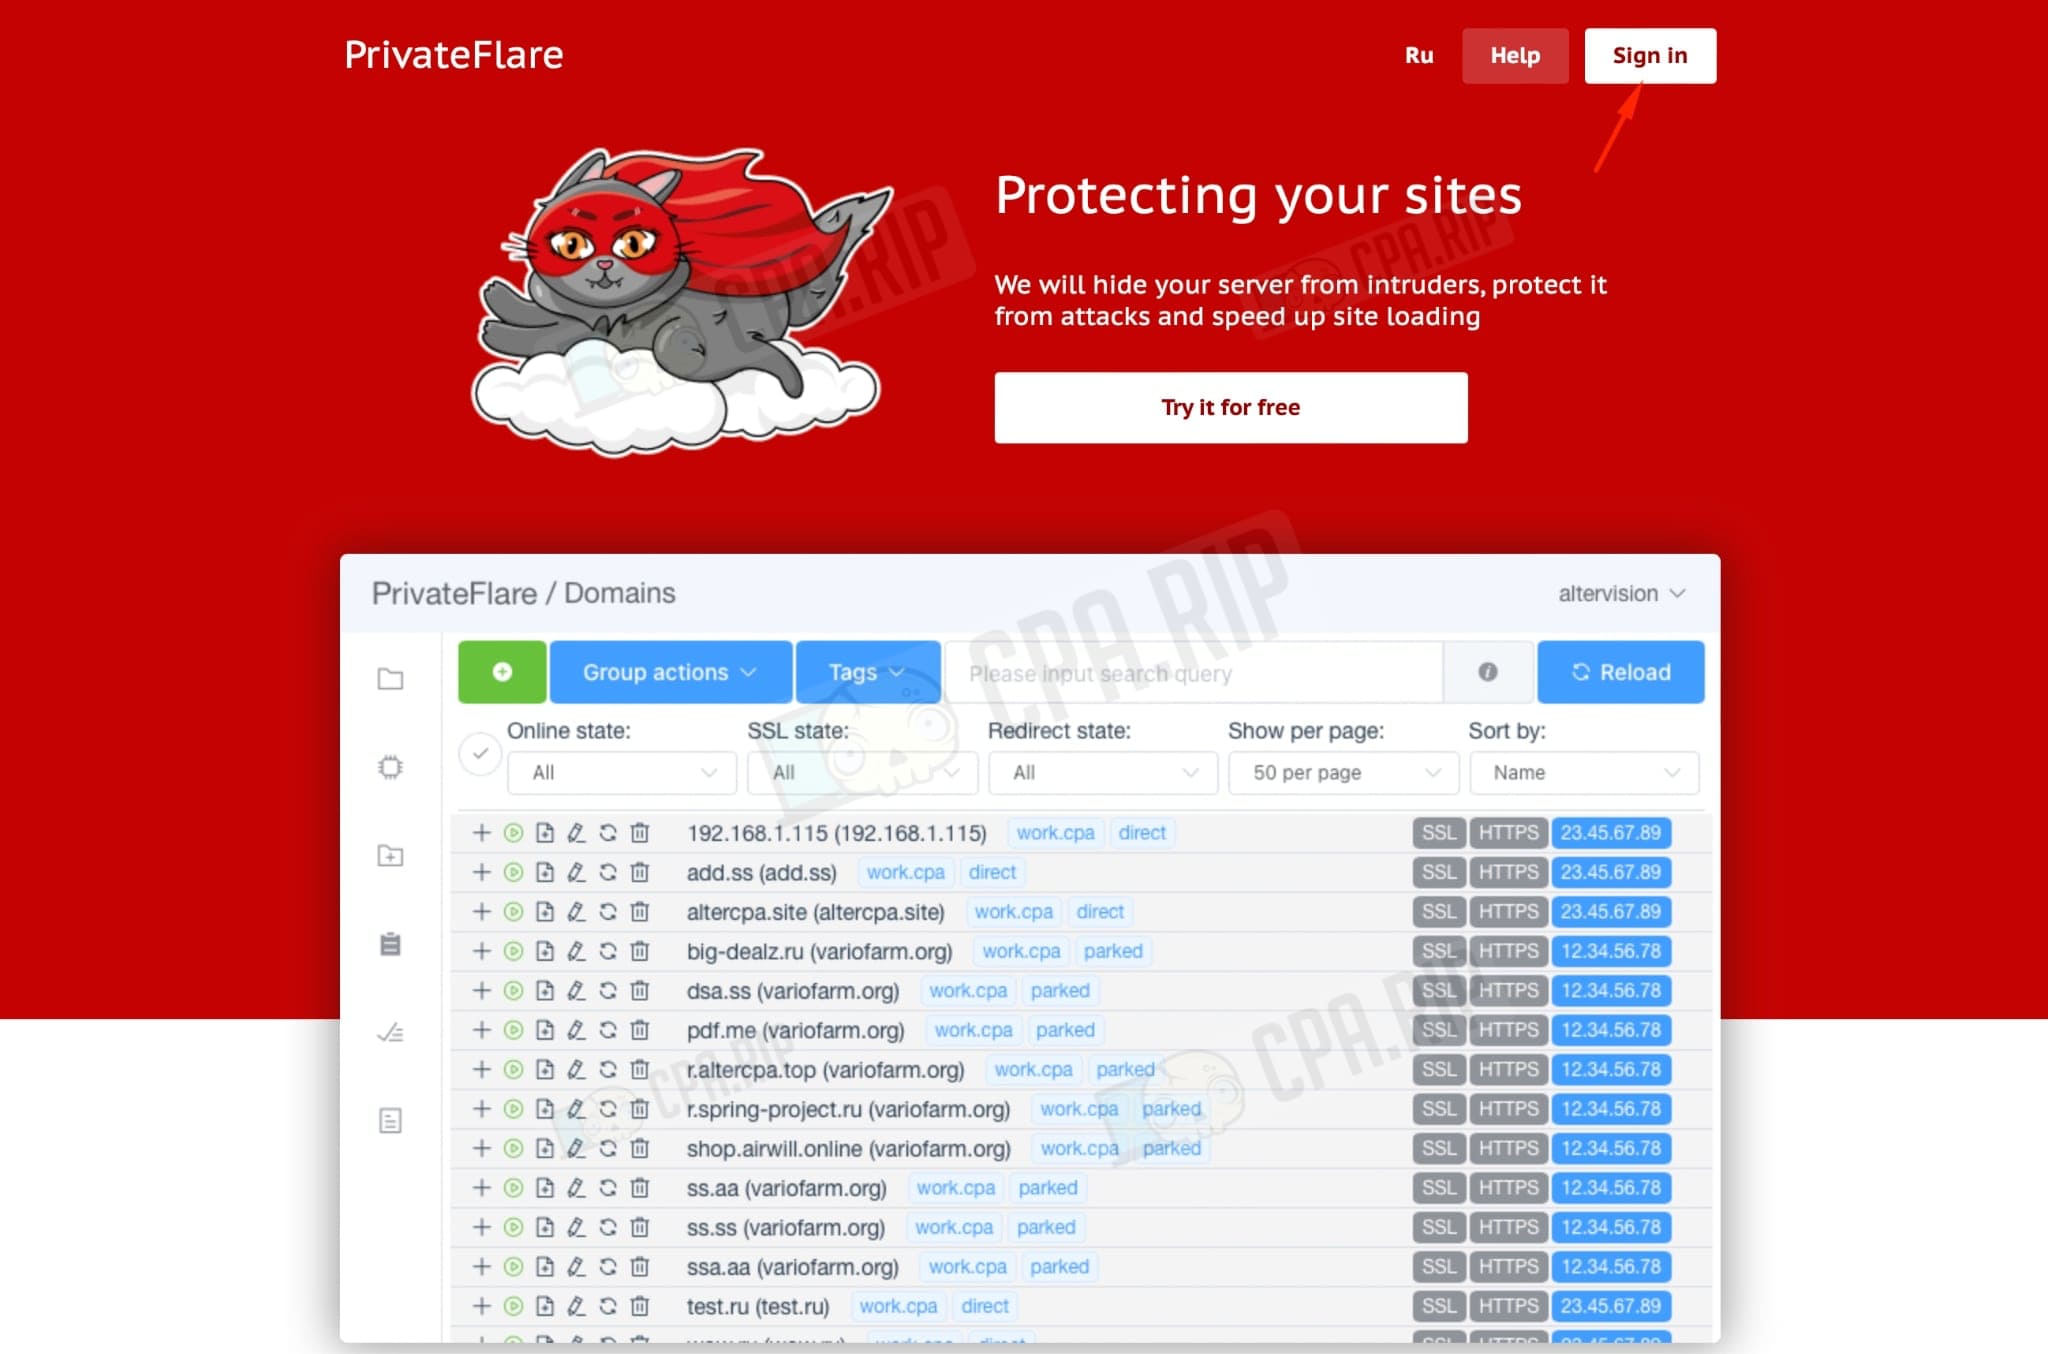
Fill in the registration fields, specifying the following information: name, login, email address, Telegram username, and password.

Tech support will contact you via Telegram to activate the account. You can also contact Telegram-Support yourself: https://t.me/privateflare.
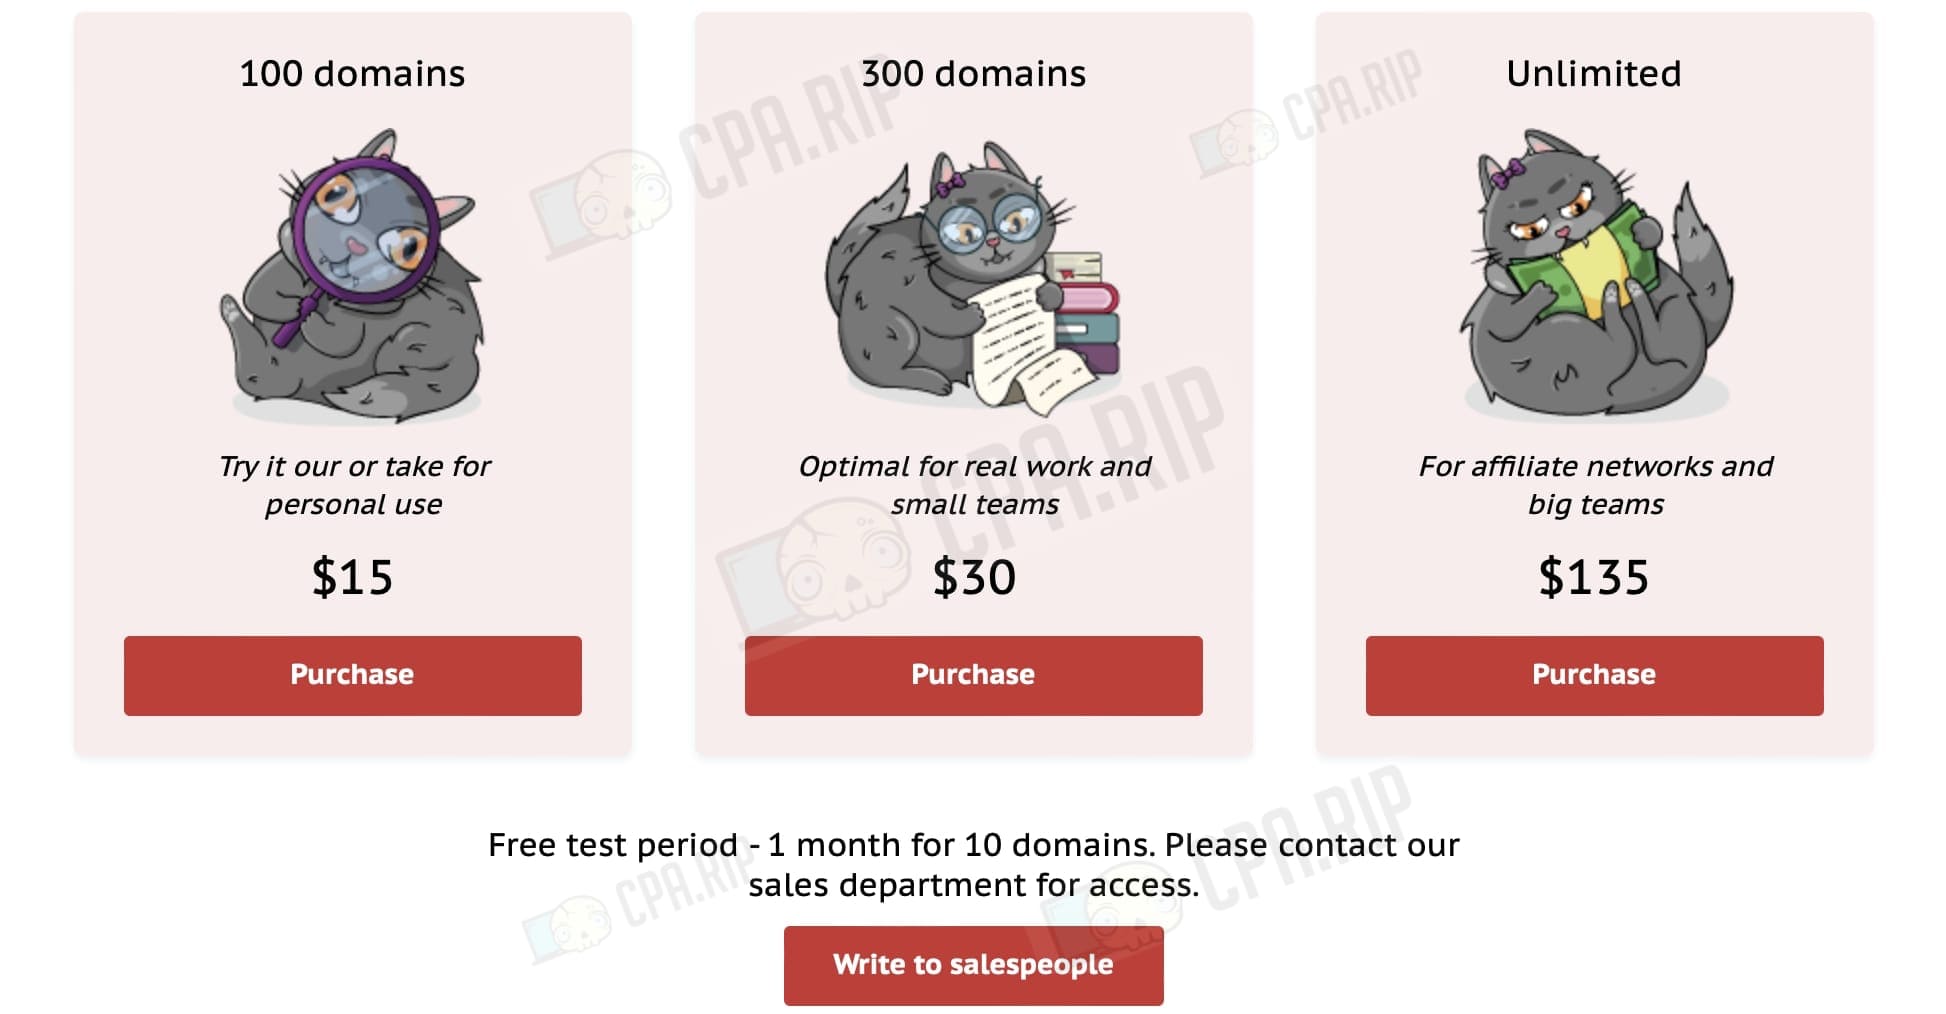
Tariff plans
The price of tariff plans depends only on the number of active domains in the service, and the number of servers is not limited. *A free trial 2 weeks period for testing the service is also provided.
Installation and configuration
PrivateFlare recommends choosing VPS with operating systems Rocky versions 8-9, CentOS versions 8-9, and Debian versions 10-11. The following system requirements are also recommended:
- For individual work and low traffic (up to 1000 conversions per day), any option is okay.
- For small teams (1000 to 5000 conversions), a minimum of 2 GB of RAM is required.
- To handle high traffic, it is recommended to choose a VPS with a reserve of resources: at least 4 GB of RAM and 4 processor cores.
Any VPS on any virtualization is suitable for work. In the example, we have used Friendhosting and VPS with the Debian 11 operating system.
After 30 minutes, you should receive access details via your email:
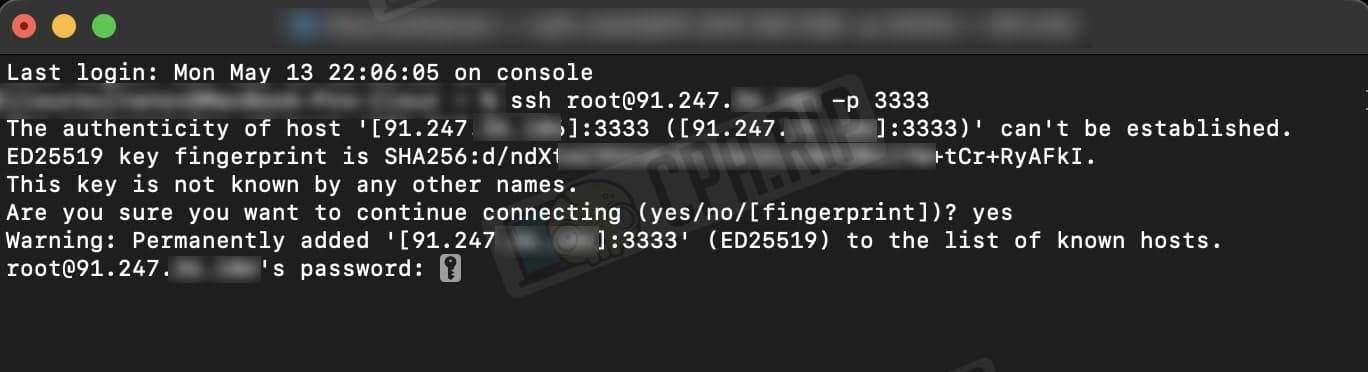
Then open Console (for Windows) or Terminal (for macOS), in this case we will use Terminal.
Connect to the server using the command:
ssh LOGIN@SERVER-IP -p PORT
In the example:
ssh root@91.247.**.*** -p 3333
Enter the password:
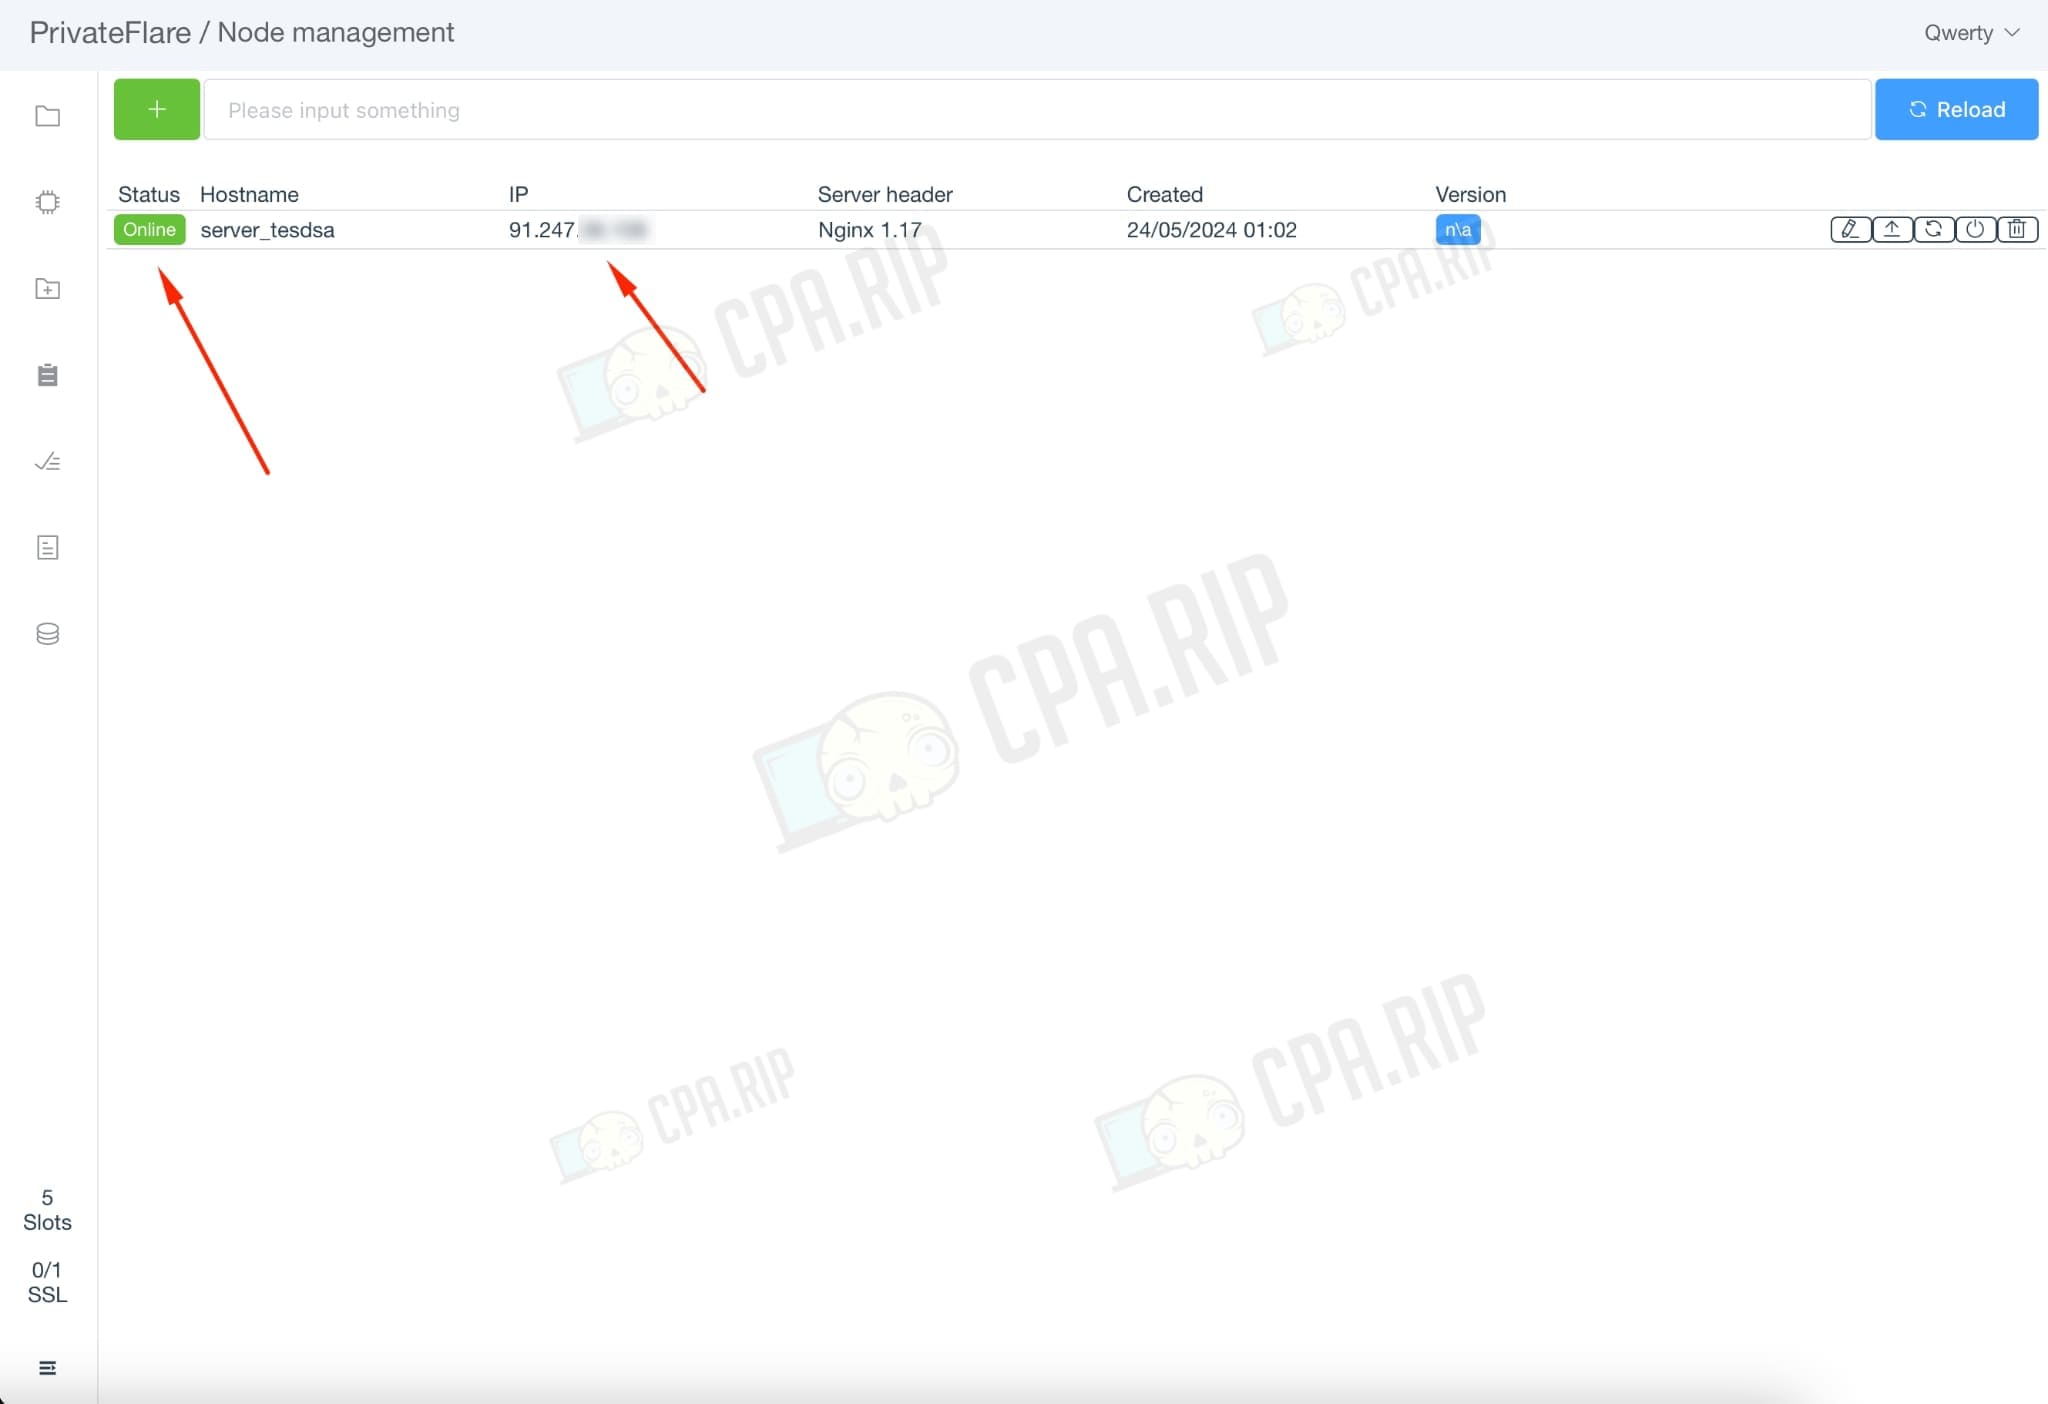
Go to the PrivateFlare control panel and select the “Nodes” section. In the “New node name” field enter the desired name for the node and copy the command below.
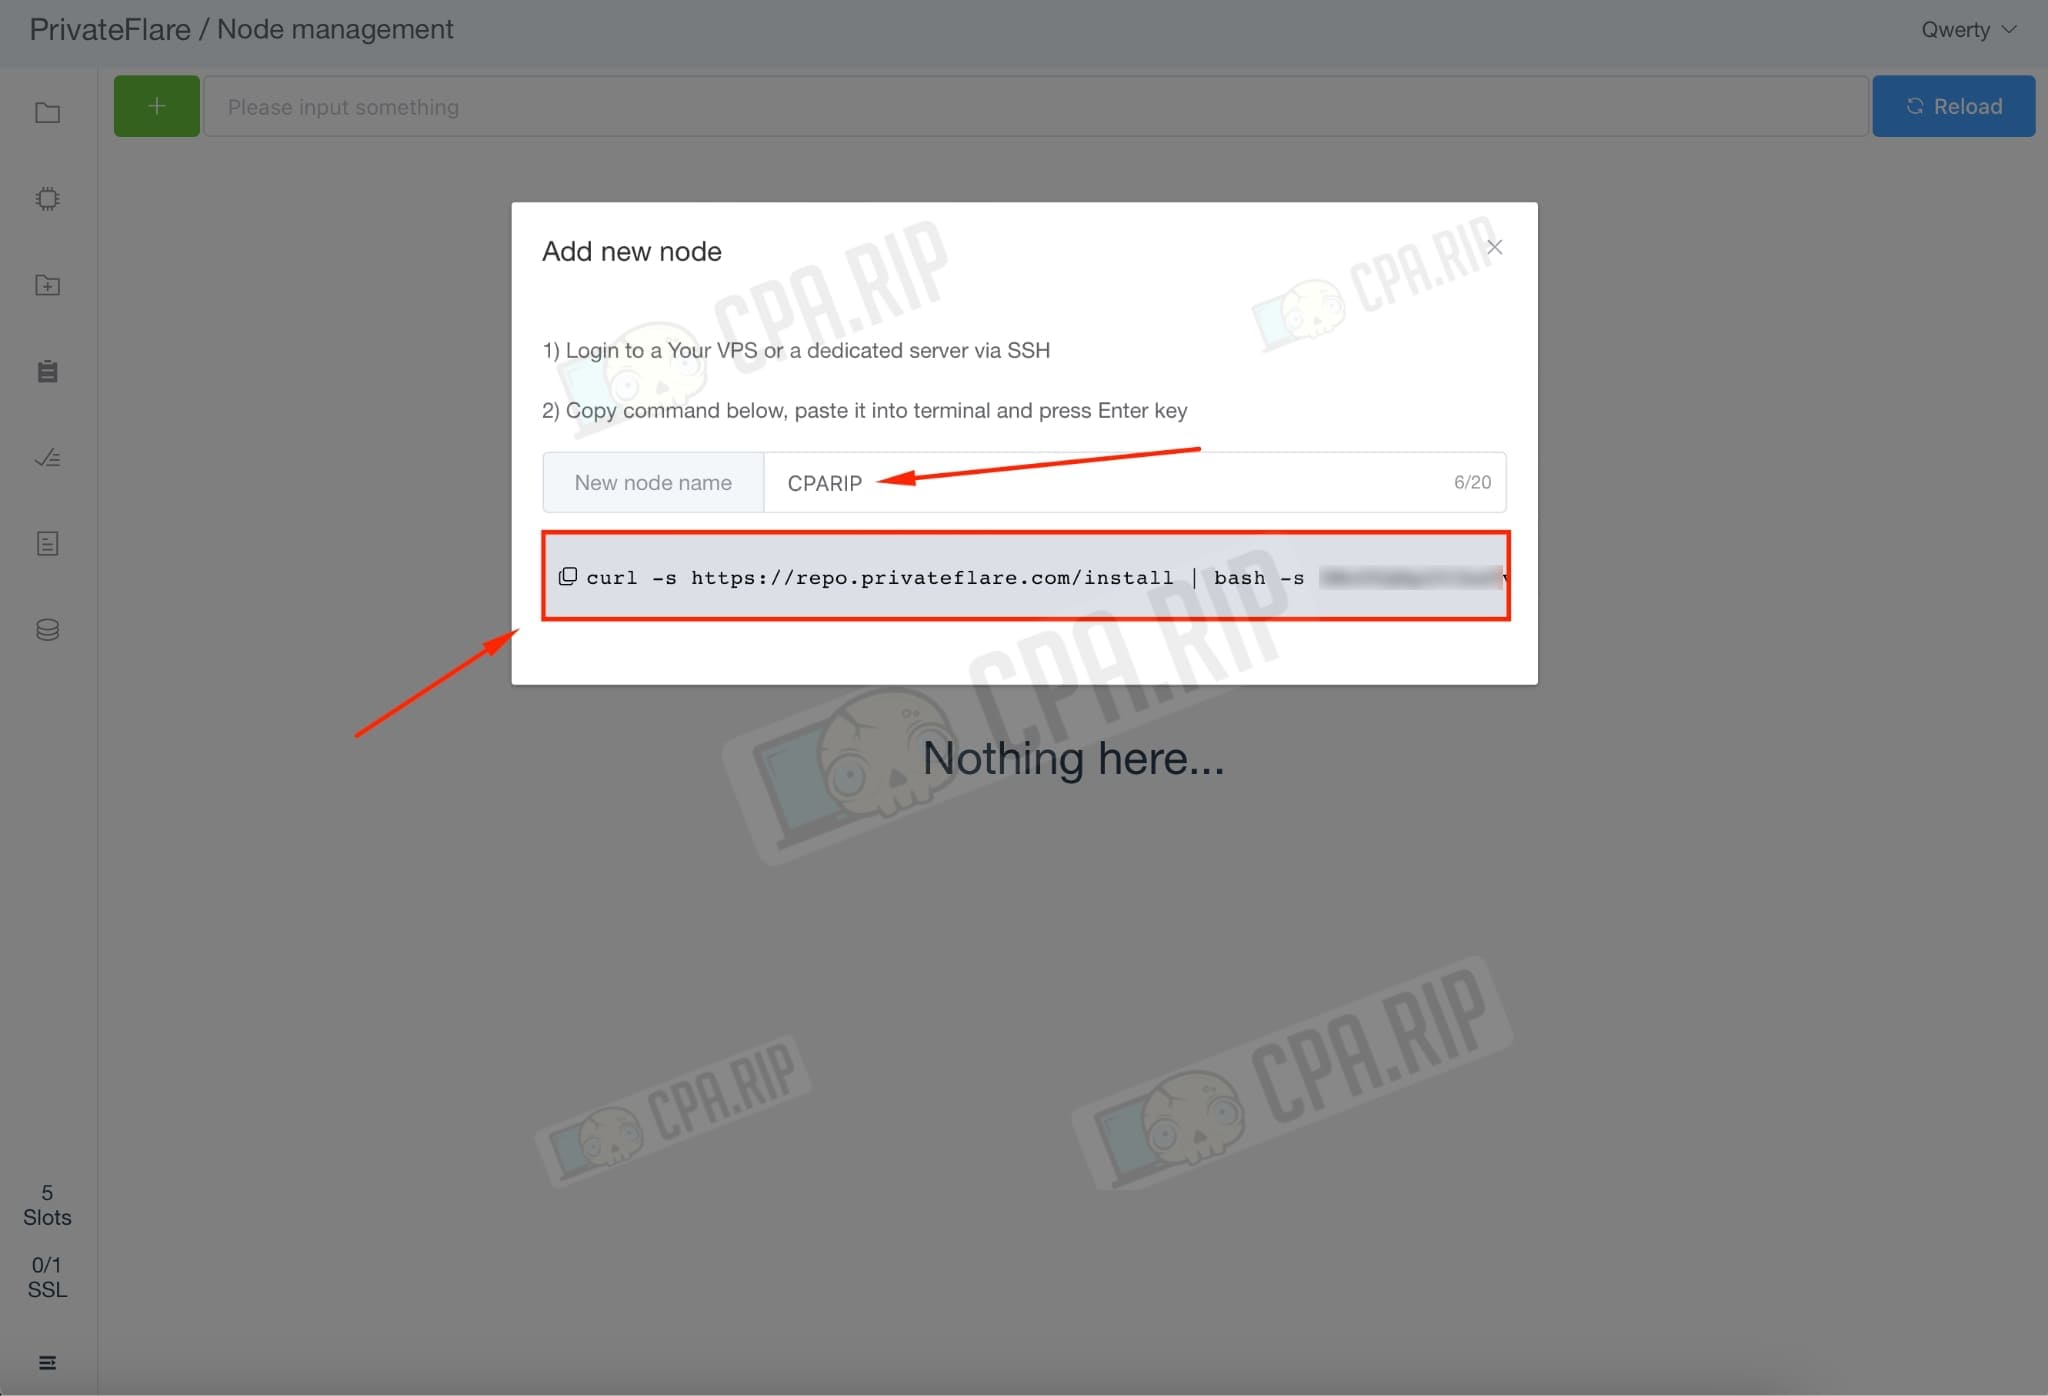
Paste the command into the terminal:

The successful completion of the installation process is as follows:

Adding domains
Go to the “Add domains” tab.
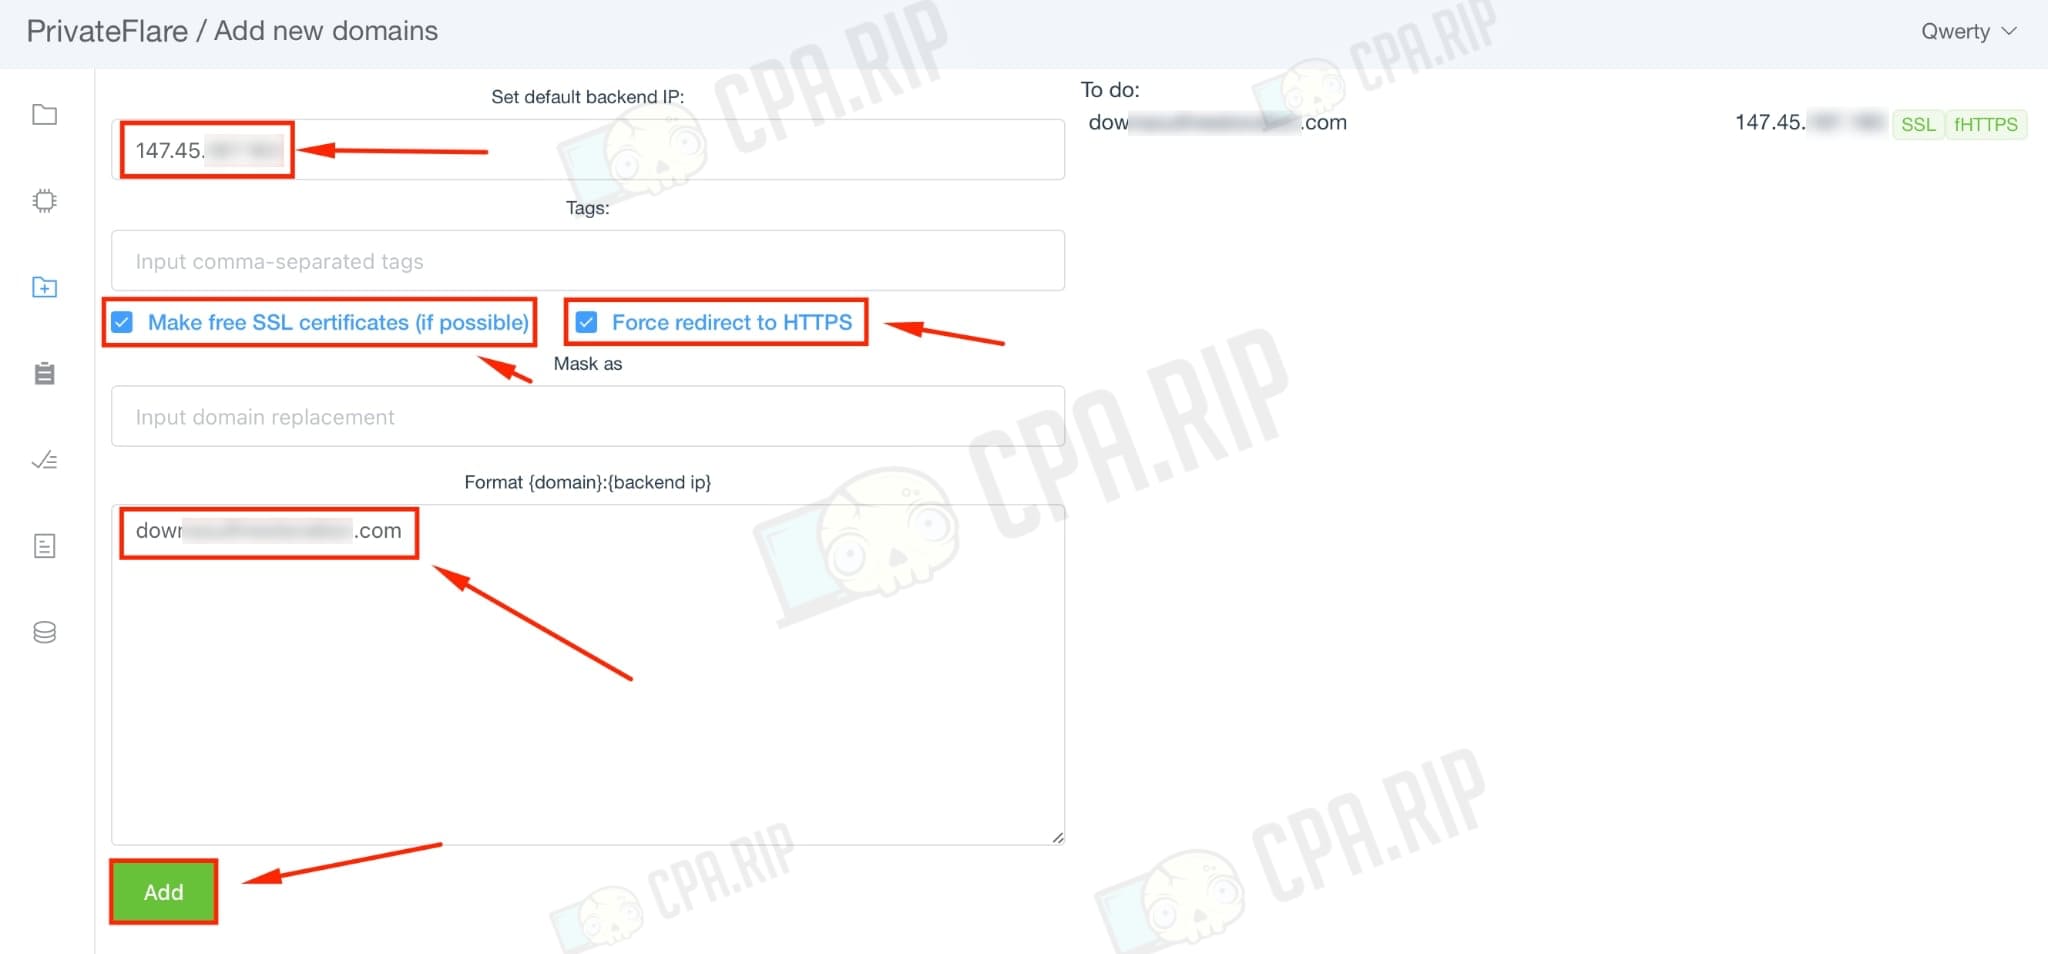
Fill in the fields for adding a domain as follows:
- Set default backend IP: Specify the web server or tracker we want to mask.
- Make free SSL certificates (if possible): Leave it enabled by default.
- Force redirect to HTTPS: leave it enabled by default.
- Format {domain}:{backend ip}: insert the domain that is bound to the VPS via A-record.
Click “Add”.
Go to the “Domains” tab and wait for the SSL certificate to be issued (the icon should turn green).
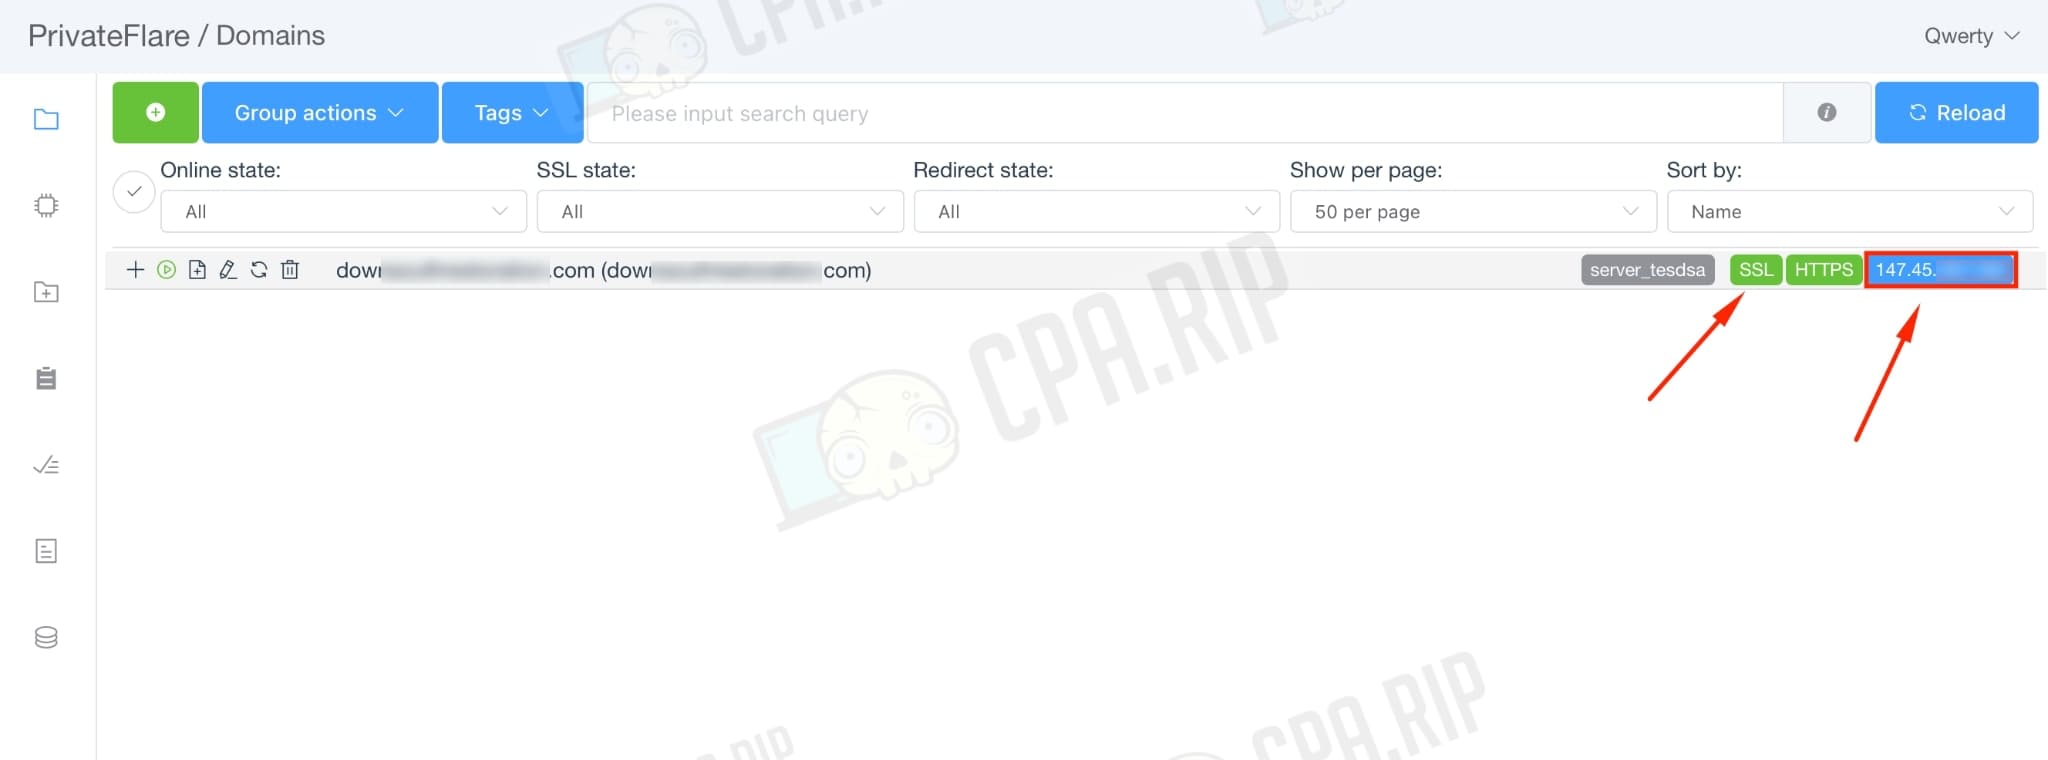
After that, the IP of the reverse proxy server will be detected by the domain, but the site or tracker will be displayed on the main server.


