We have prepared a sample “builder” in Adobe Premiere Pro which will allow you to create high-quality clips for gambling ads.
Download source archive here: https://drive.google.com/drive/folders/1PcL7kX6eJ-UGUMhWEA-BTsf7H_JDgj-H?usp=sharing
In the archive, you’ll find two project versions: for a square (1:1) and rectangular (16:9) video layout.
We did our best to organize a project and added captions for easy editing, so you can manage even without pro editing skills. You’ll require Premiere Pro 21 or a later version to make a project work.
Video Assembly Tutorial
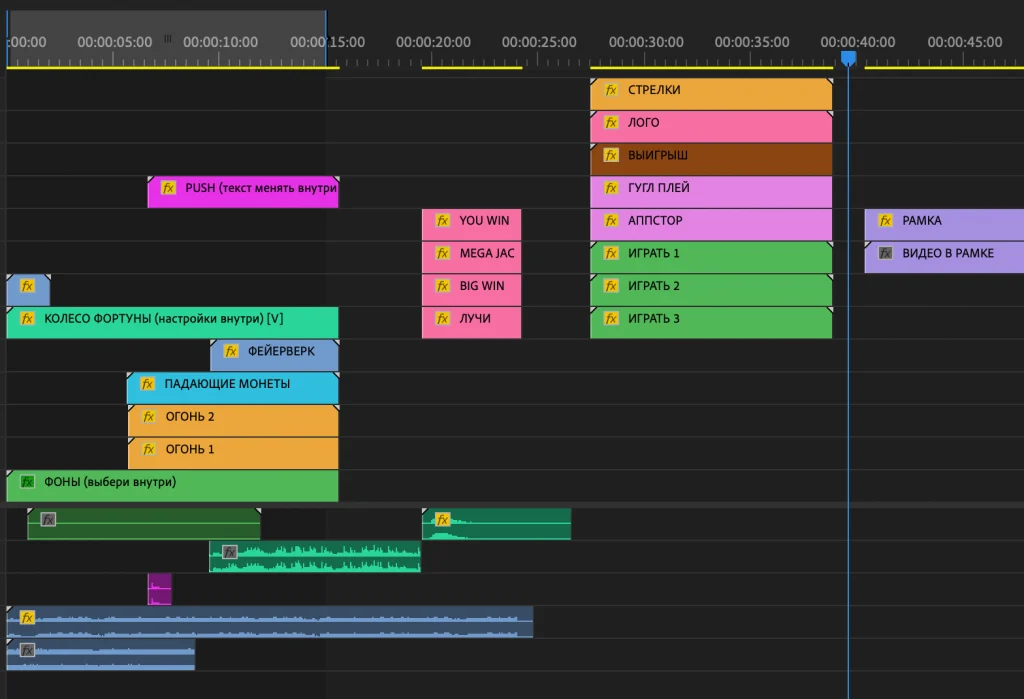
Timeline is the main workspace in the editor. All major project operations are carried out in timeline:
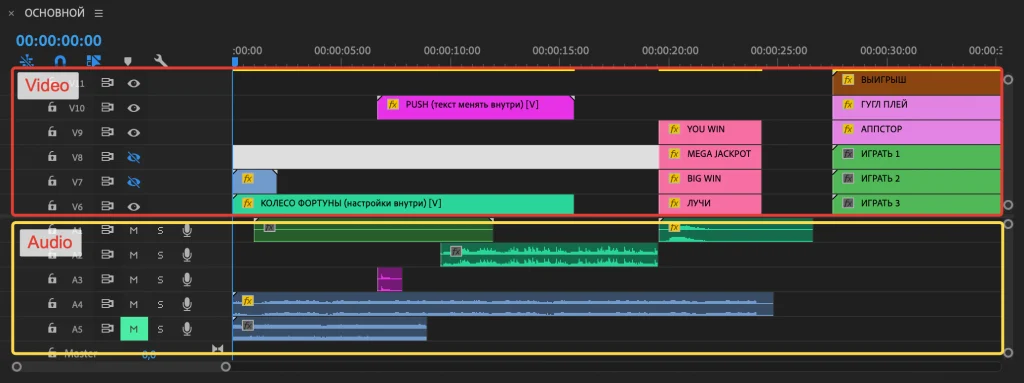
Project Editing:
Adobe Premiere Pro is a very functional and powerful tool. A single article won’t be enough to review all its features. You can learn the basics on YouTube channels. In this article, we will emphasize its key features, which will help you navigate through the project and learn Premiere Pro’s video editing capabilities.
Before you start, you might want to save a backup copy of the .prproj working files to keep the original project settings.
To create your video, you can do the following:
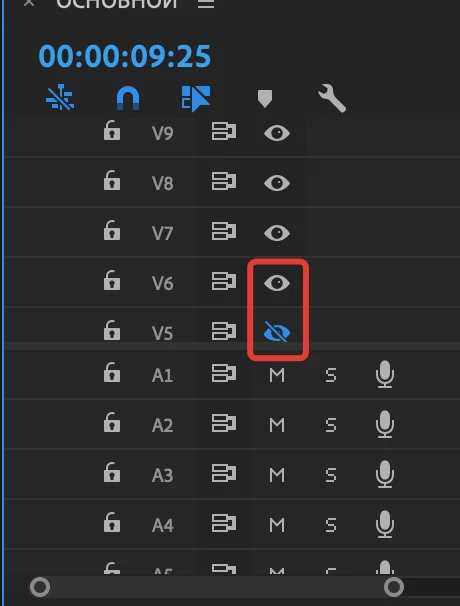
- Switch tracks on and off:
- Slip timeline
- Duplicate elements
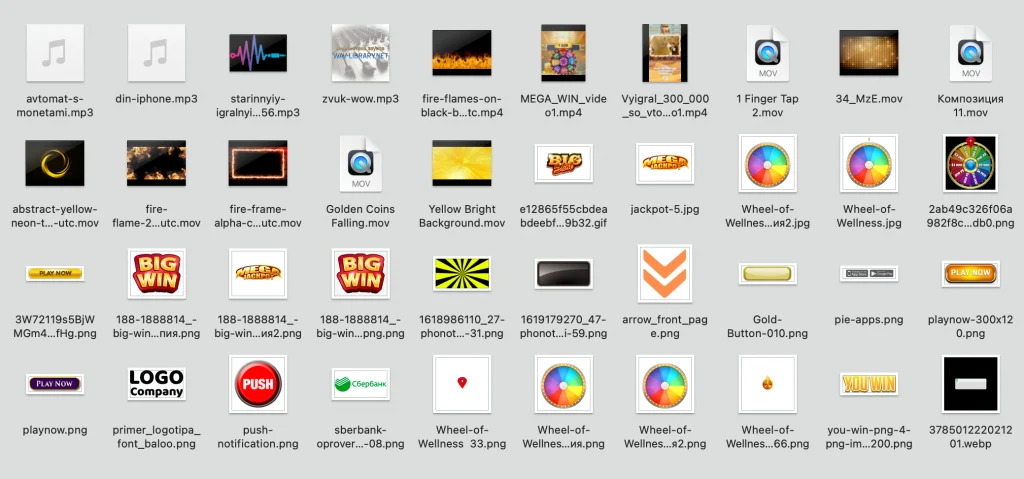
- Add your media files
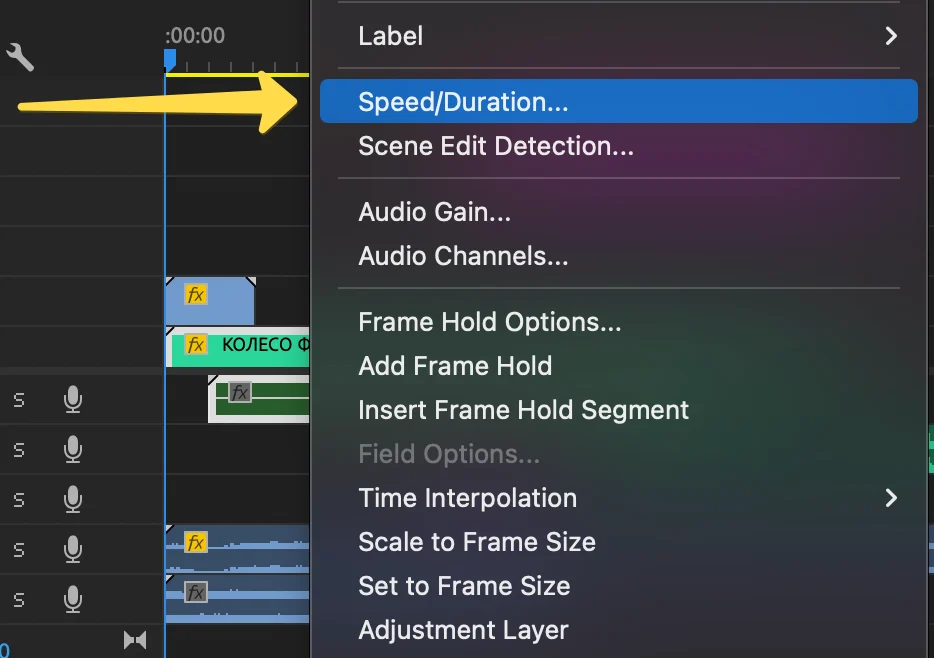
- Change the playback speed of elements
- Shift position and time limits of elements:
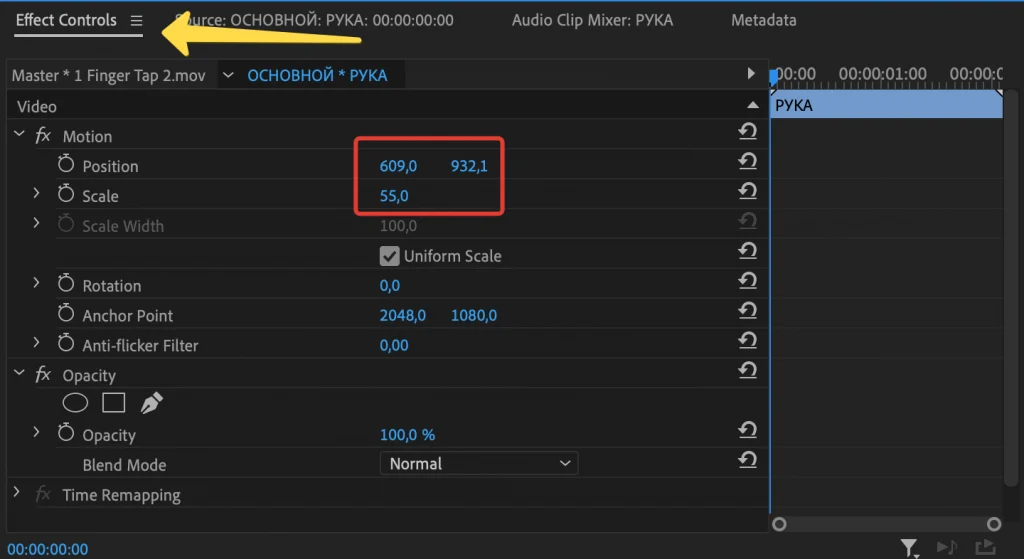
- Change media files in a project by reselecting or replacing them in the project folder:
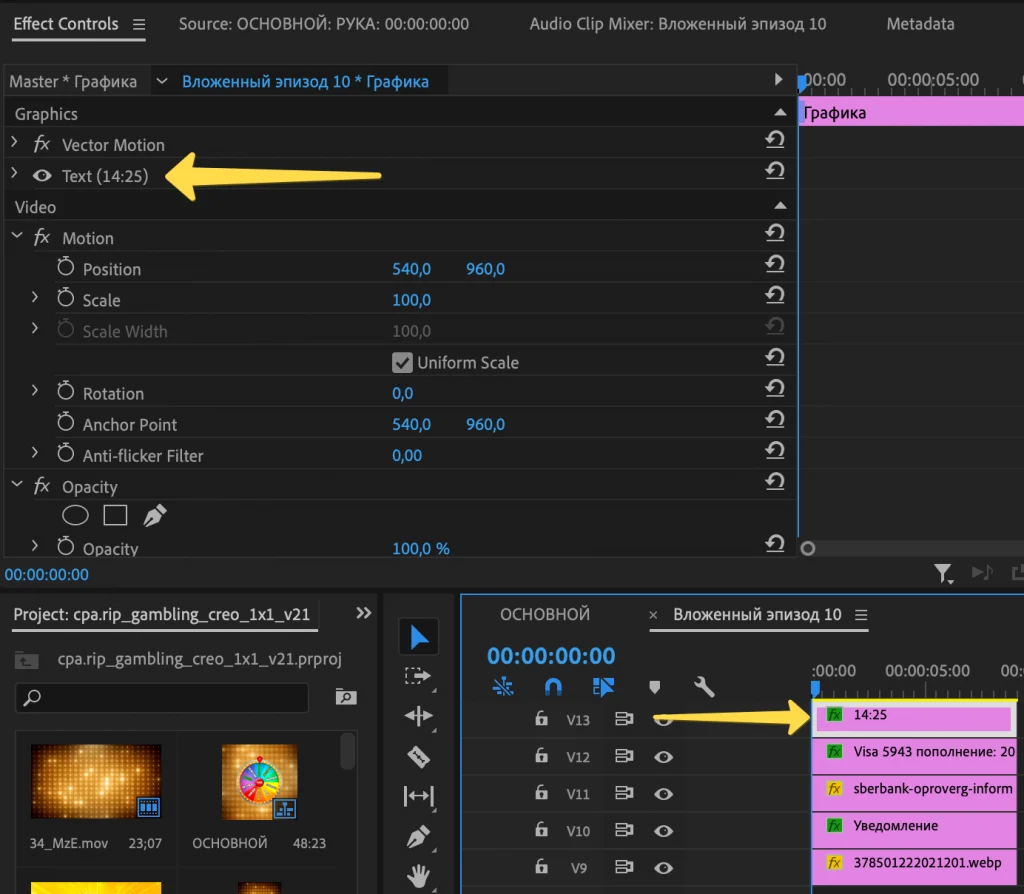
- Some elements are attached as subprojects. To edit them, double-click and go to the lower folder level. If there is one, you can tell it by the captions.
Let’s consider the case of the Wheel of Fortune which is a complex element. To view the text you have to go down a few folder levels where you can either disable the text, write something else, or change text parameters such as font, color, size, etc.
Video Export
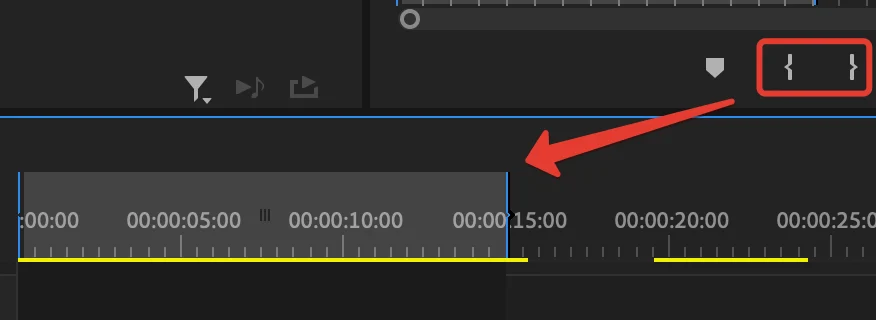
To save a final video, there’s a 15-second clip set by default. A longer video will not be exported. You can easily edit a video segment by dragging or by setting new “Mark In” and “Mark Out” marks:
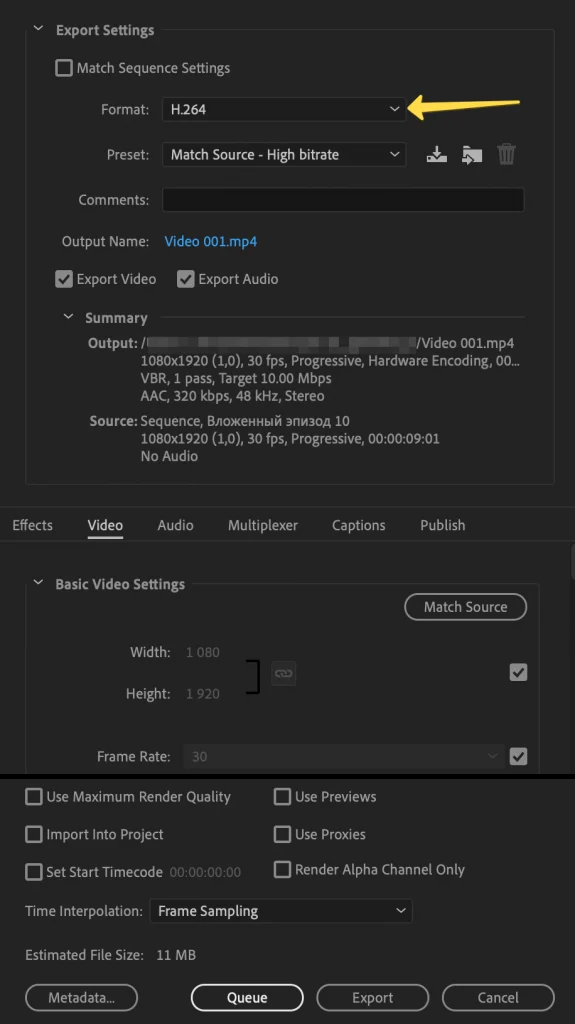
- Go to “File” -> “Export”.
- Select the “H.264” format. You can leave other settings by default.
- Press “Export” and wait for the rendering to complete.
Creatives Showcase