


To work with the Google Ads advertising network, you can use purchased accounts, agency accounts, or register your own. Let’s consider step-by-step instructions on how to create Google Ads autoregs.
Antidetect Browser for Google Ads
Be sure to use an antidetect browser to register accounts and work with Google Ads. According to feedback on Google chat rooms, most people use Octo Browser, Dolphin{anty}, Vision, and AdsPower are also popular.
We have used the Dolphin{anty} antidetect browser since it was already paid.
The CPARIP promo code gives a 21% discount on the Dolphin{anty} antidetect browser. This is the biggest promo code on the market!
In Dolphin{anty}, we left the default settings when creating a profile and added noise to Canvas. Here you can experiment and draw your conclusions.

Quality proxies are very important for successful work with Google. A selection of proxy services https://cpa.rip/en/stati/mobile-proxy-ipv4/.
Action randomization
When working with Google, we strongly recommend randomizing your actions so you don’t get the same pattern. Timing of actions, ways to go to Google Ads, and the data you fill are very important. Also, don’t use Copy/Paste when filling out text fields!
Registering a personal Google Ads account
Let’s move on to Google Ads registration.
- Open https://mail.google.com.
- In the registration form click “Create account”
- Select “For my personal use”.

- In the next step, enter your first name, last name and click “Next”

To generate data such as name, address, and others, you can use the following service: https://www.fakenamegenerator.com.

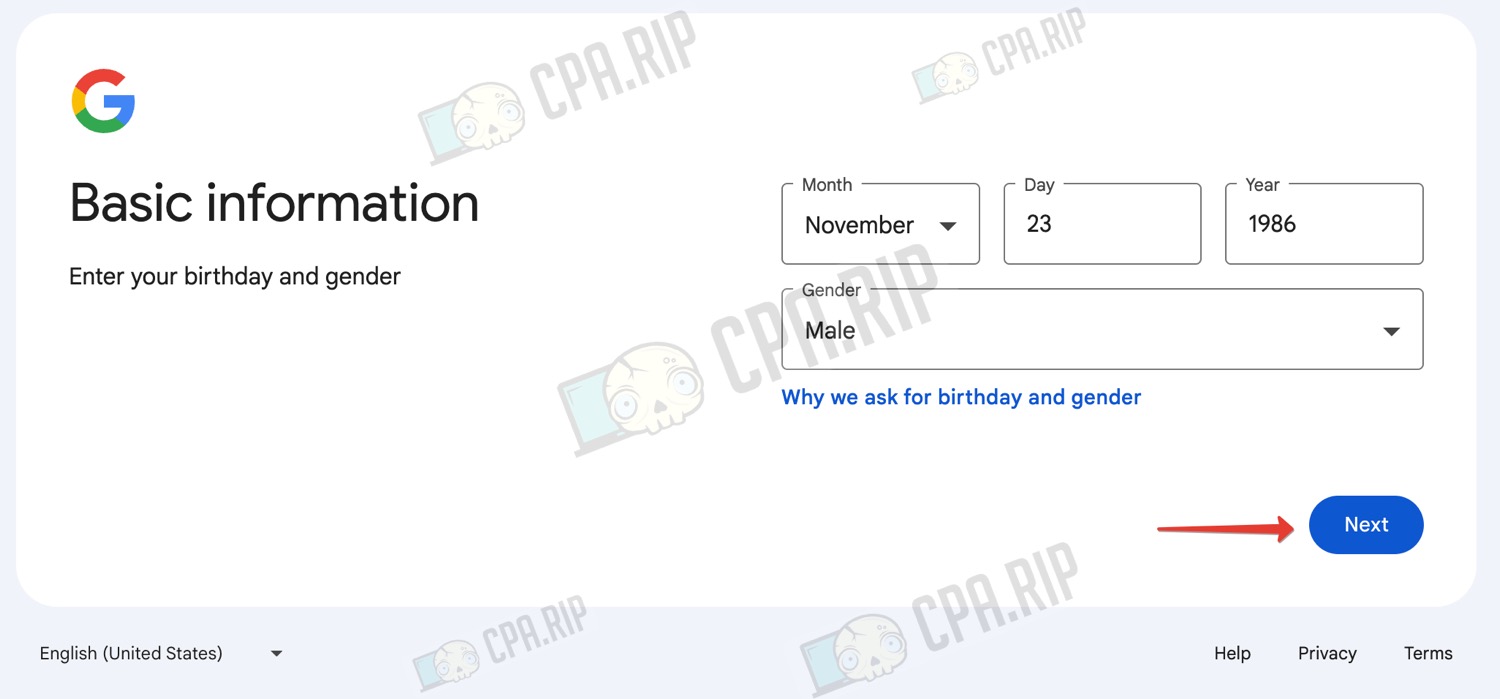
- Fill in a random date of birth and gender corresponding to the name and click “Next”. According to the date of birth, the user must be of legal age.
- At this stage, think of a unique login and click “Next”

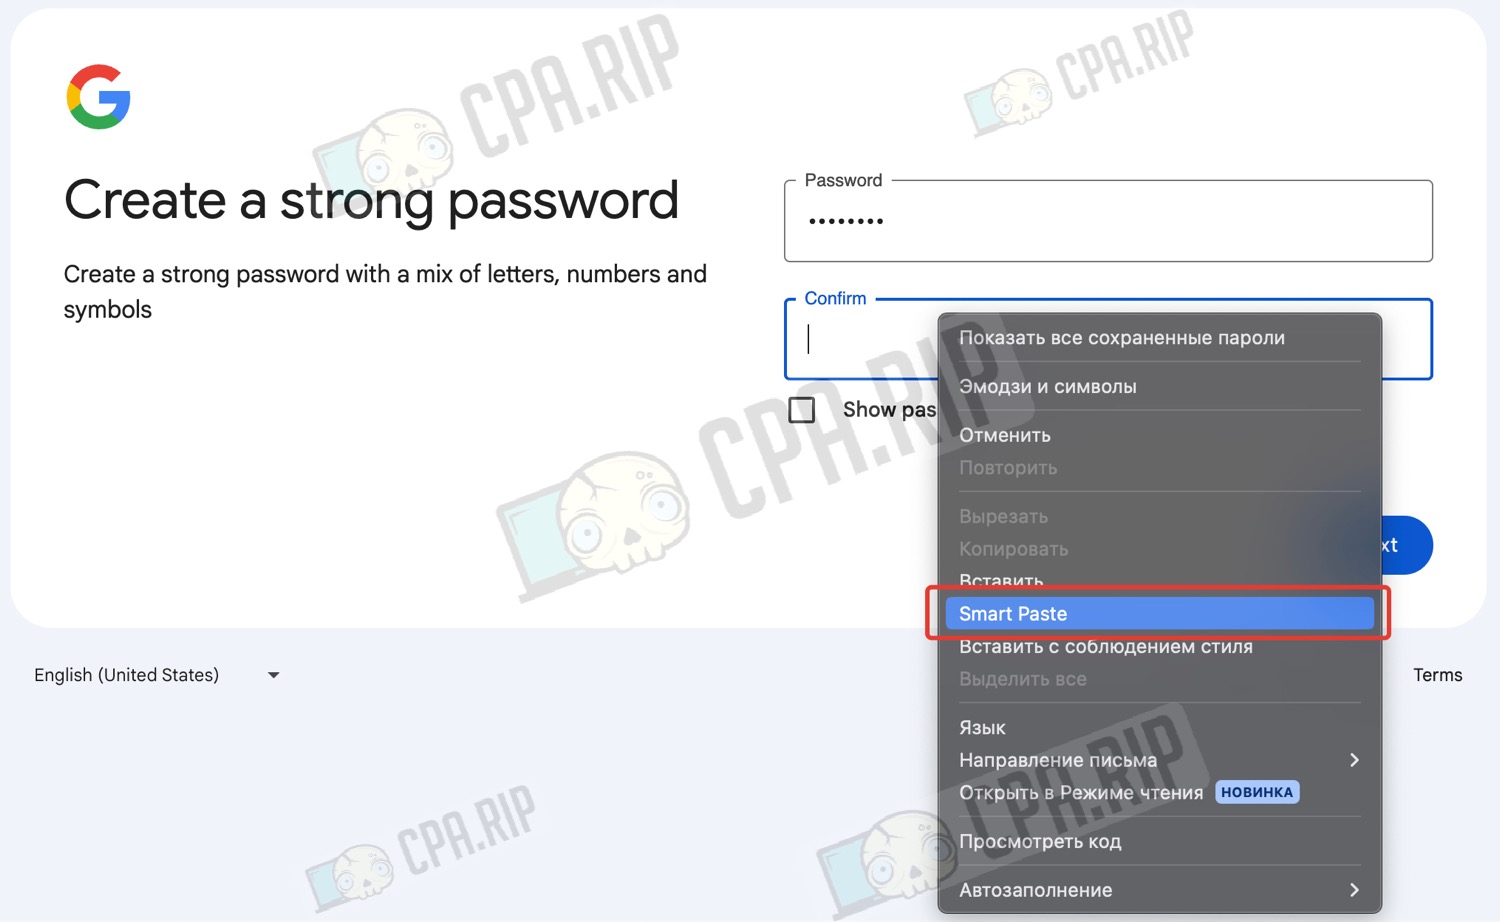
Next, you need to come up with a password, you can use any online password generator.
Do not use copy/paste – all texts should be typed manually. In the extreme case, you can use special antidetect browser functionality to simulate manual input. For example, Smart Paste in Dolphin{anty}.
- After entering your password, click “Next”

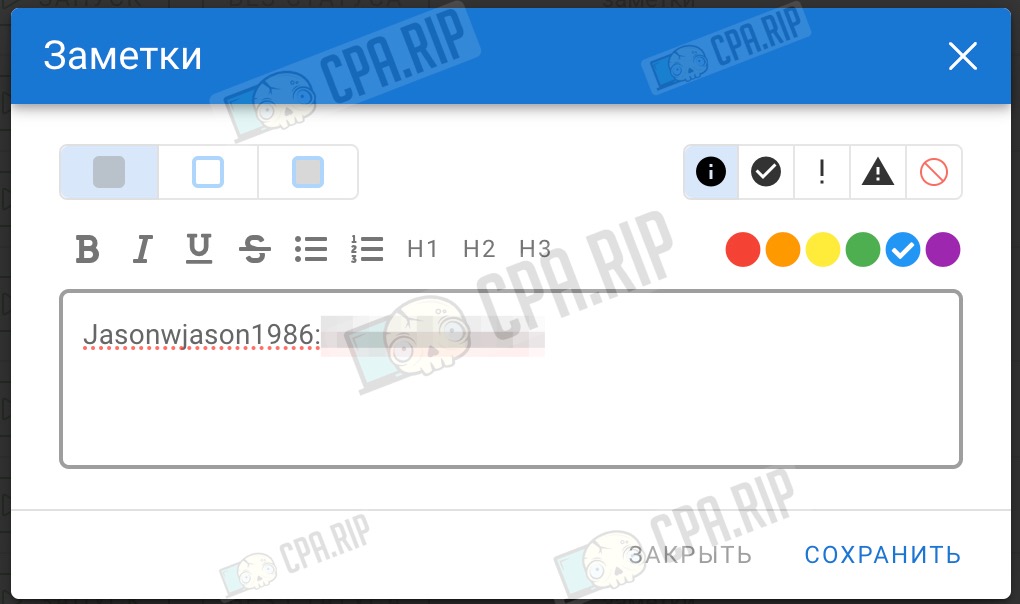
Be sure to save your account login/password and backup email address, e.g. in the profile notes of your antidetect browser.
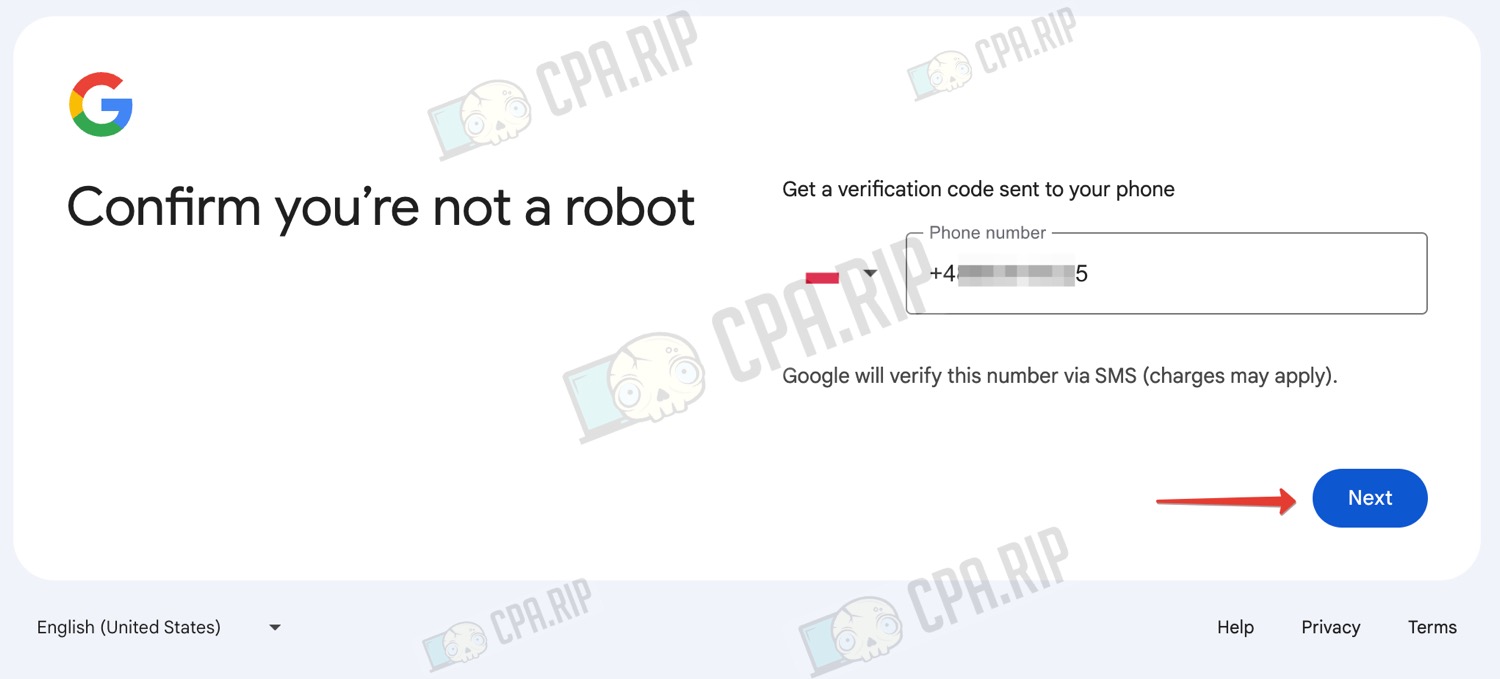
In the next step, you need to specify the phone number to which the confirmation code will be sent. Use SMS receiving services: https://cpa.rip/en/services/sms-services/. Here you will have to spend some time to find the number to which Google will successfully send the SMS. The country of the phone number and the country of the account you are registering do not have to be the same.
- Enter your phone number and click “Next”
- Enter the received code in the special field and click “Next”.

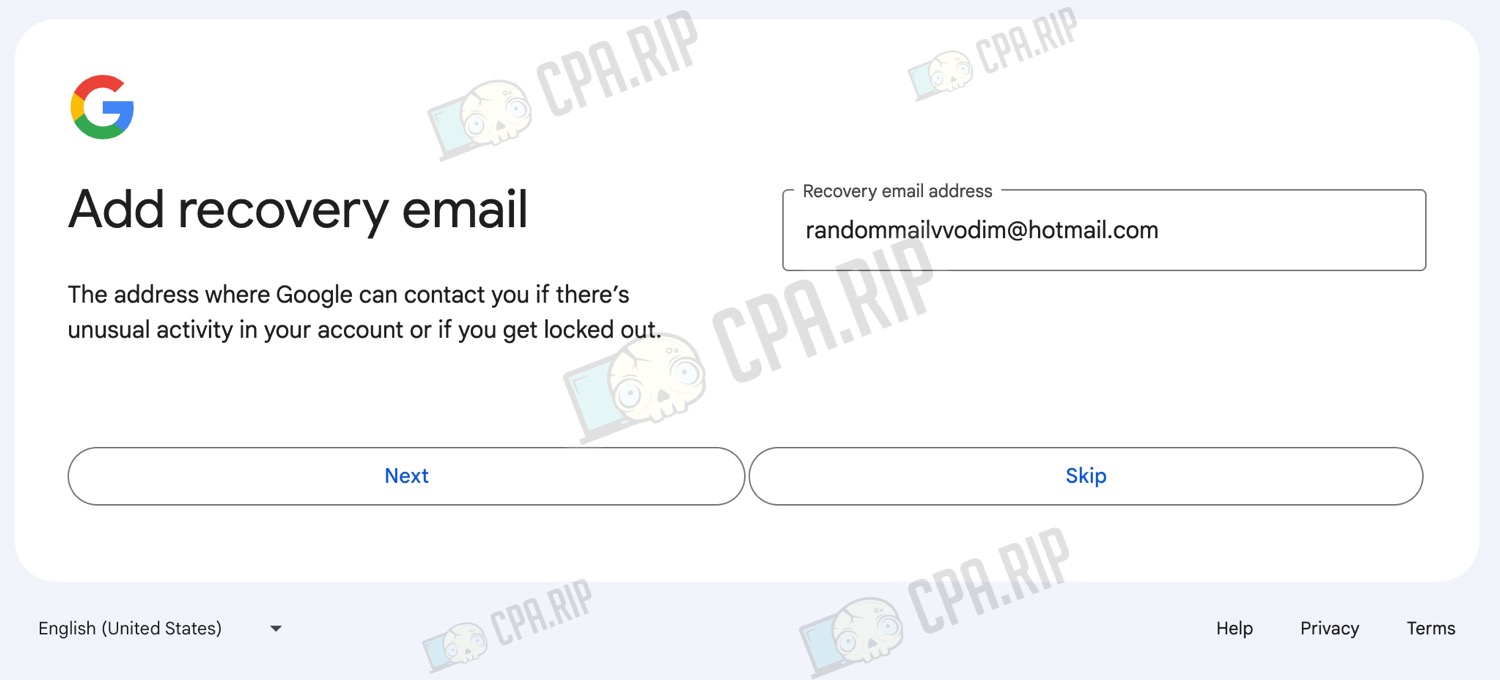
- Enter a random backup email address and click “Next” or just skip this step.
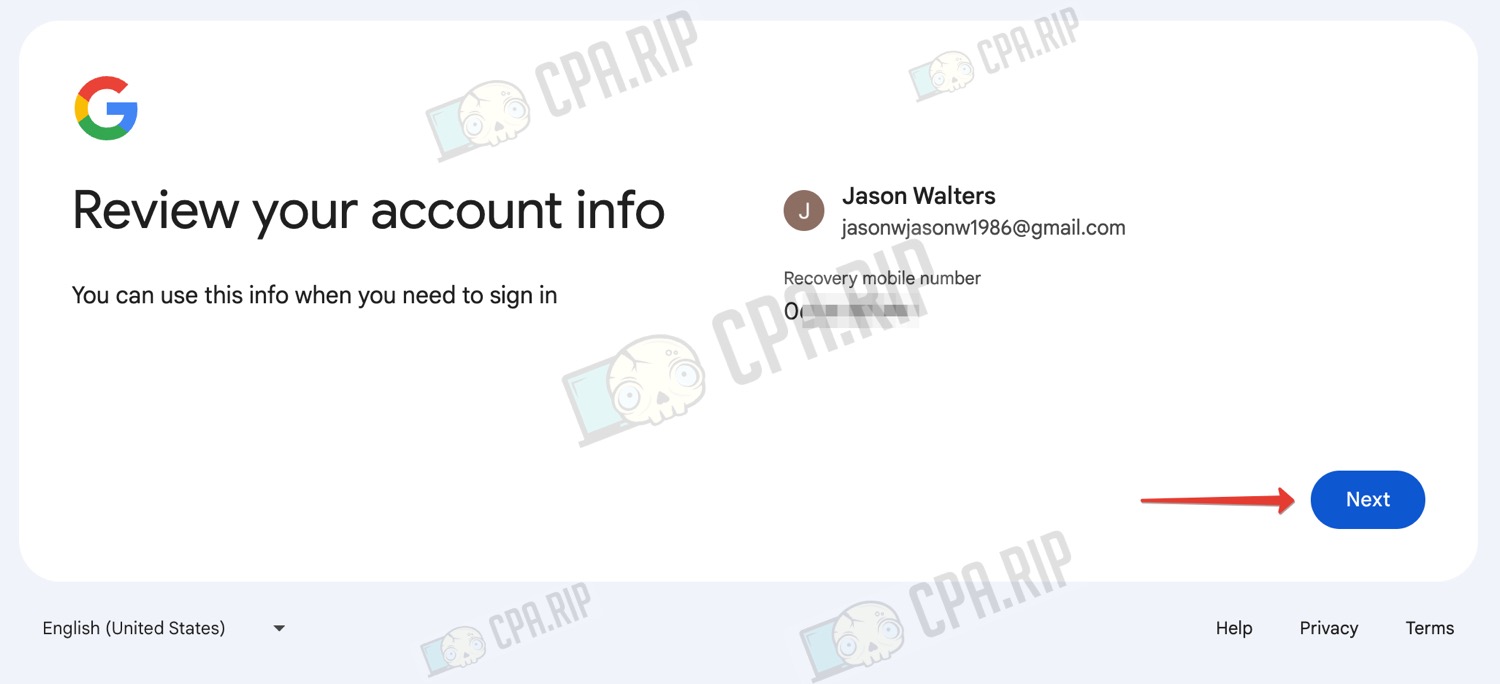
- Confirm your account details by clicking “Next”
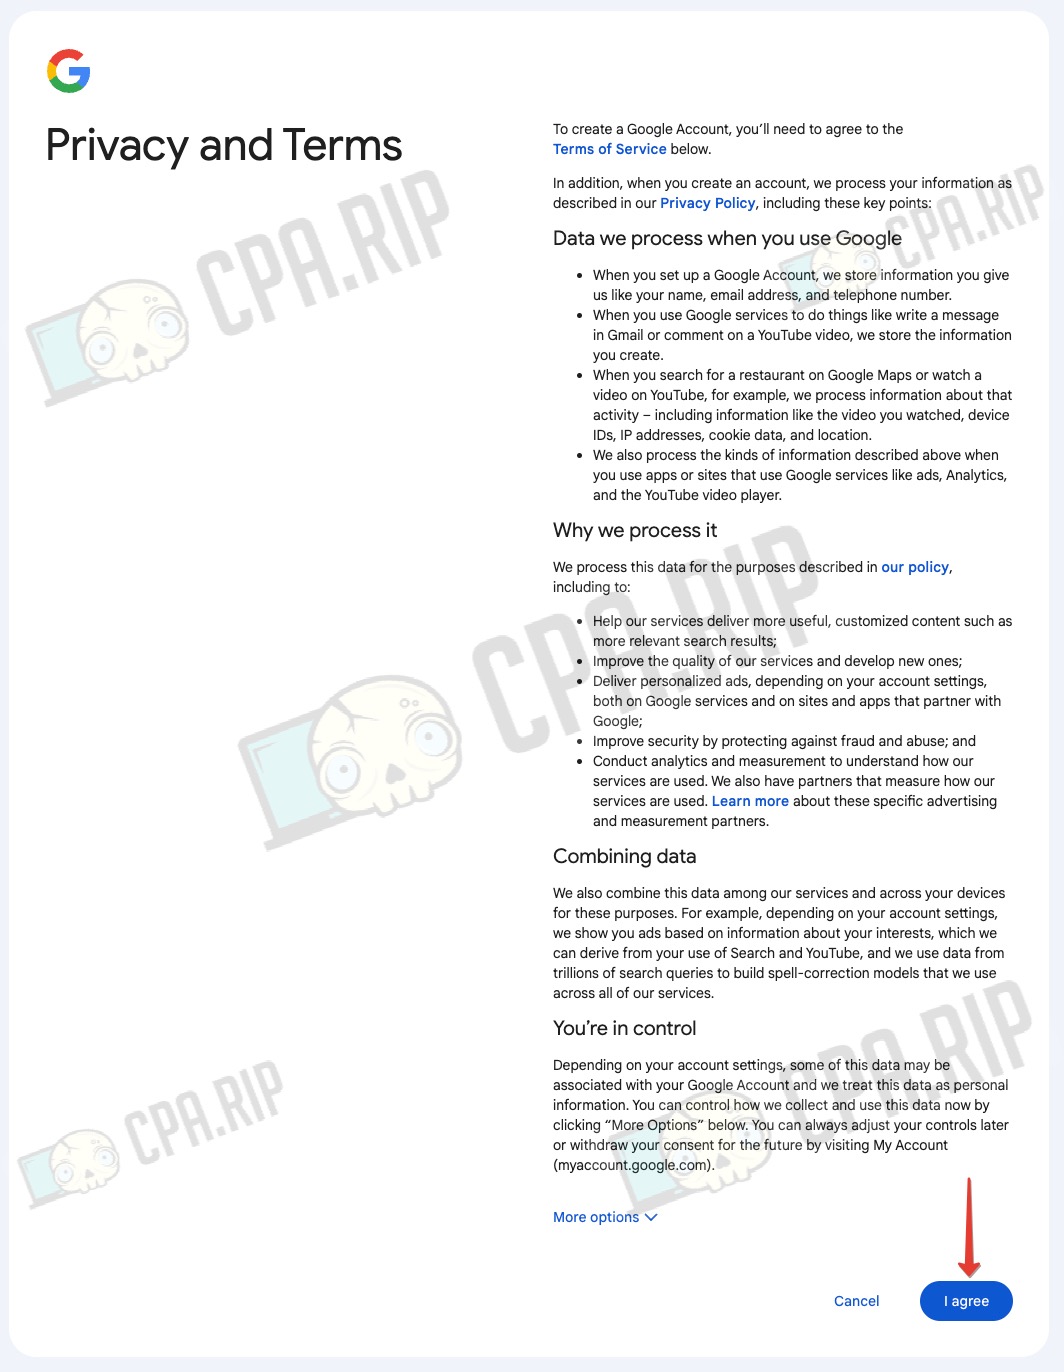
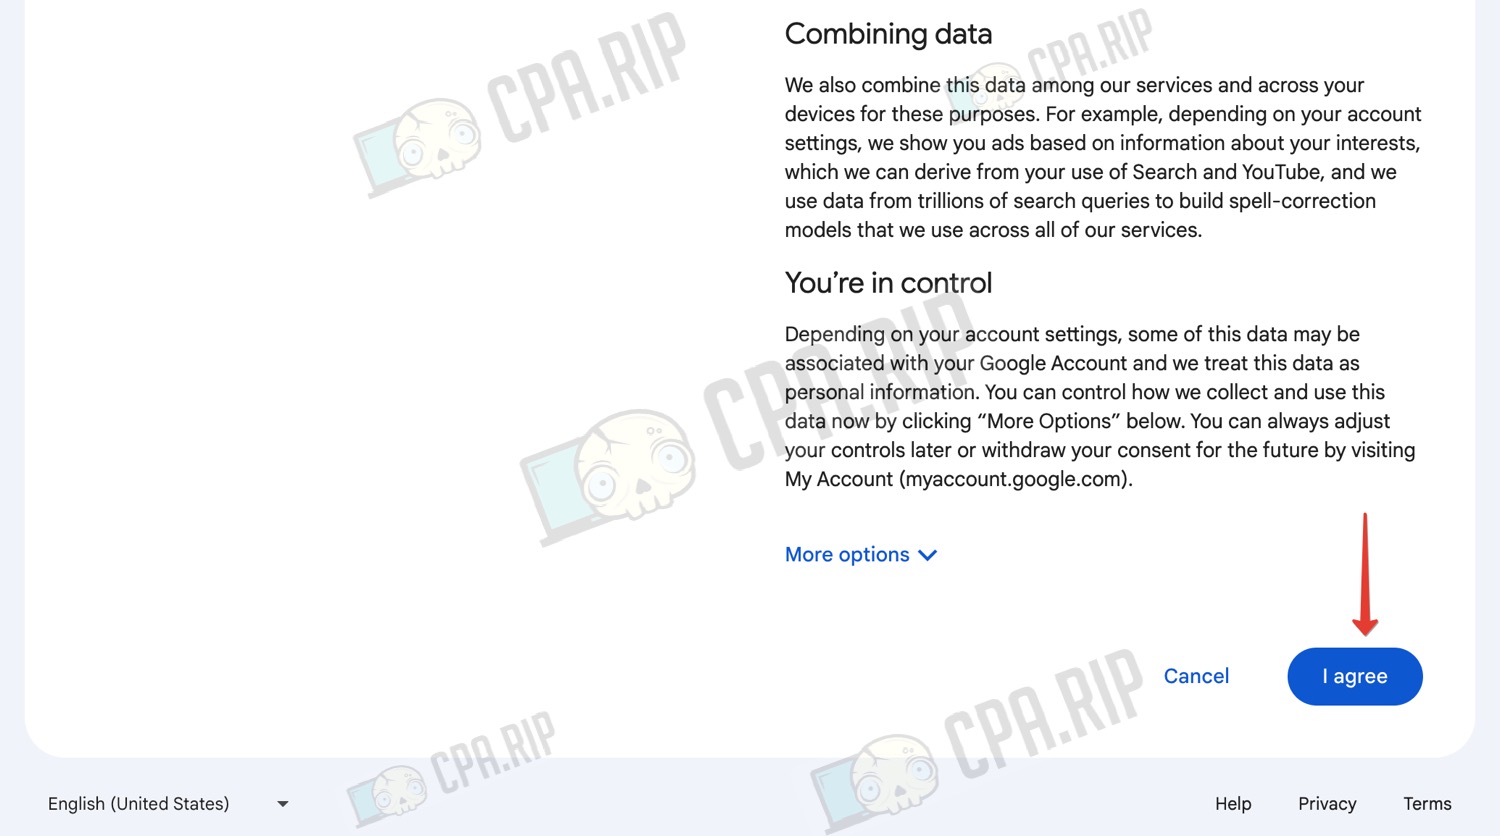
- Agree to the policy by clicking “I agree”
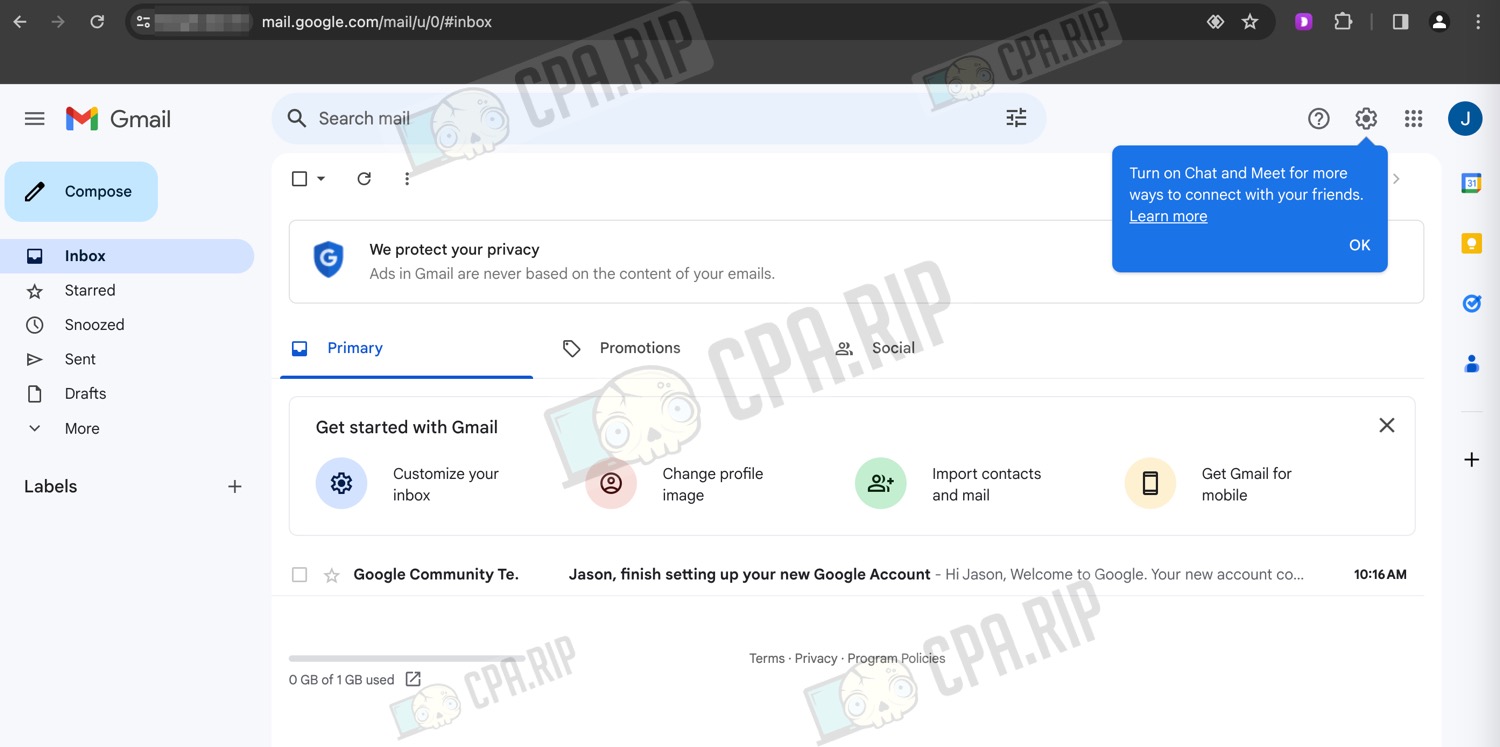
Your Google account is created!
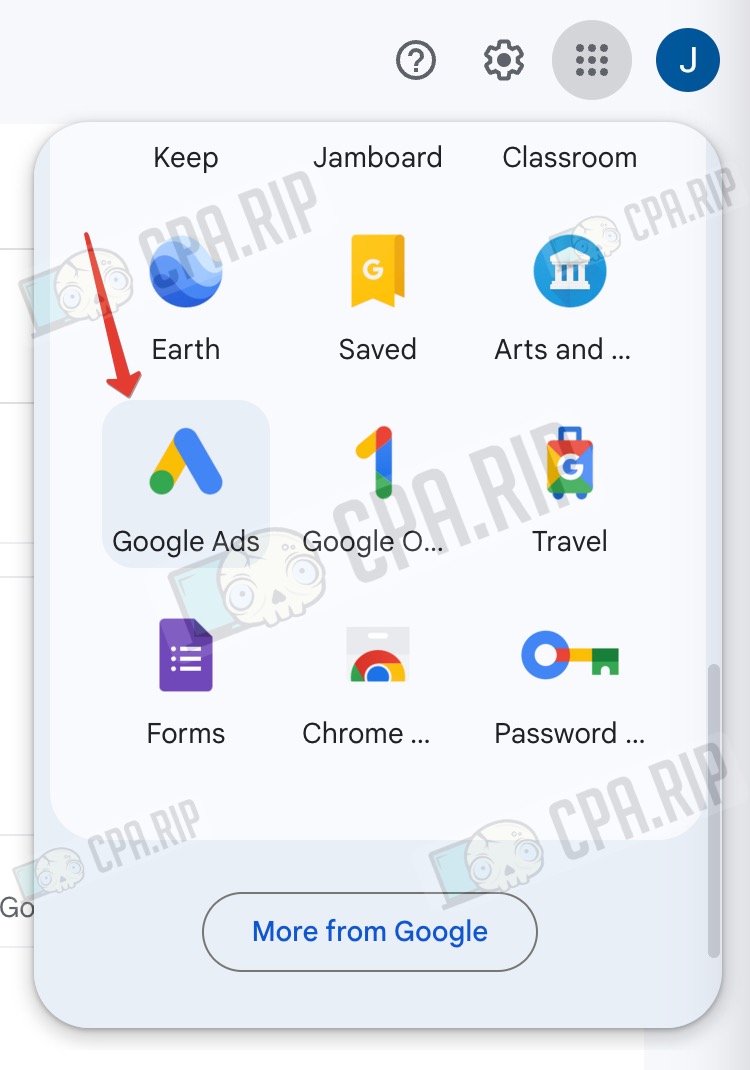
You can move on to signing up for an advertising account. Here we also recommend you to randomize your actions and go to the Google Ads page in different ways. For example, by finding it via different search engines or simply through the account menu:
- On the page that opens, click “Start now”

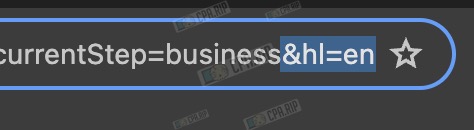
Depending on the country of the proxy you are using, the language of the interface will be different. For clarity, we will perform all actions in English. For convenience, let’s change the language on Google Ads without changing the settings in the account, using a lifehack from our article: https://cpa.rip/en/google-ads/google-ads-language-change/.
Just add &hl=en at the end of the link.
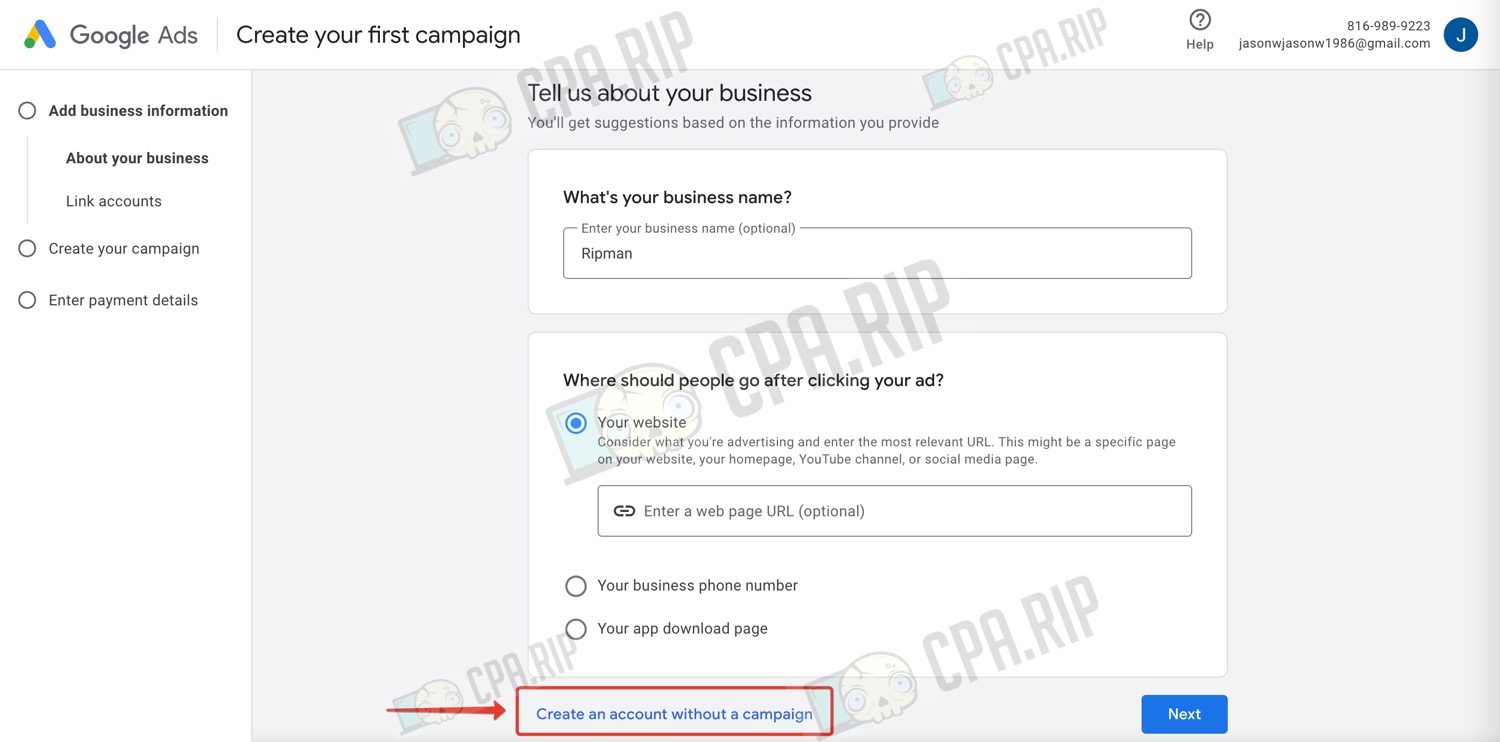
- Click “Create an account without a campaign” to go straight to filling in the advertising account details
- Select the country, appropriate time zone, and currency (currency cannot be changed later!).
- Click “Submit”

- Click “Continue to your account”
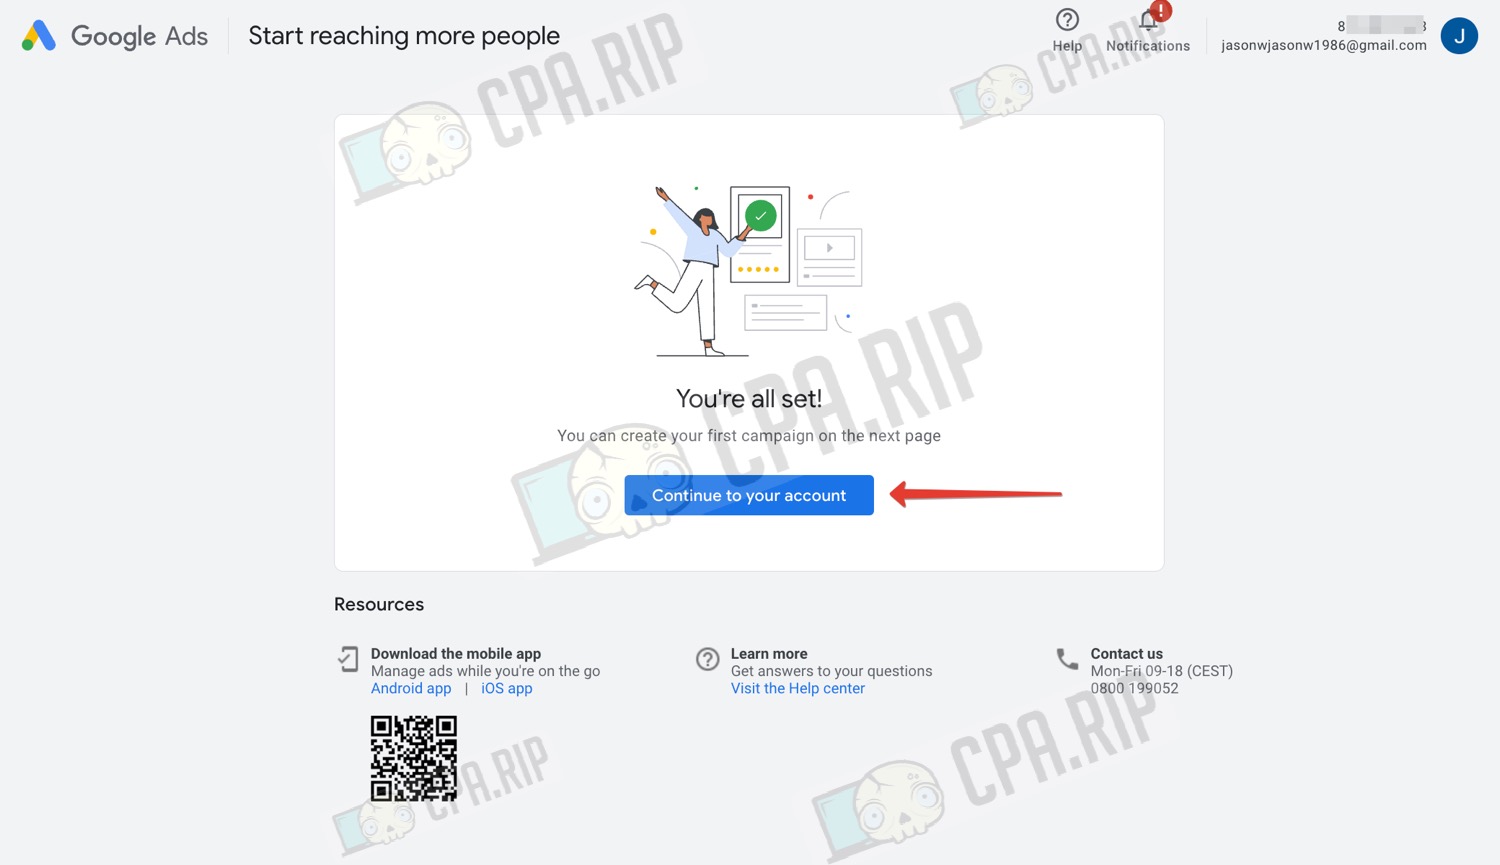
Google Ads account for advertising is created!
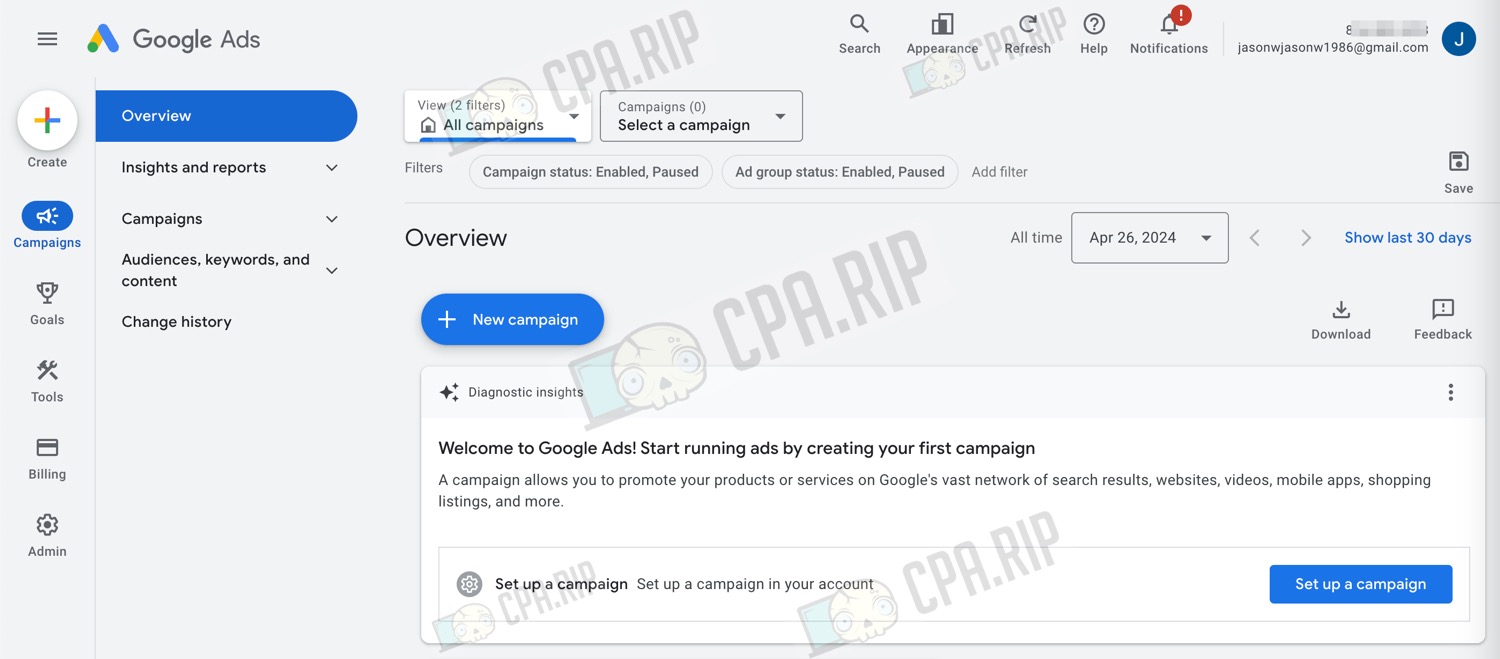
We recommend you leave the created account for a few days to make sure that Google won’t disable it.
Google Ads business account registration
According to reviews, business accounts are a bit stronger than personal accounts.
You need to go to the page https://ads.google.com/intl/ru/home/. It is desirable to do this in different ways – type in the address bar, use a search engine, etc.
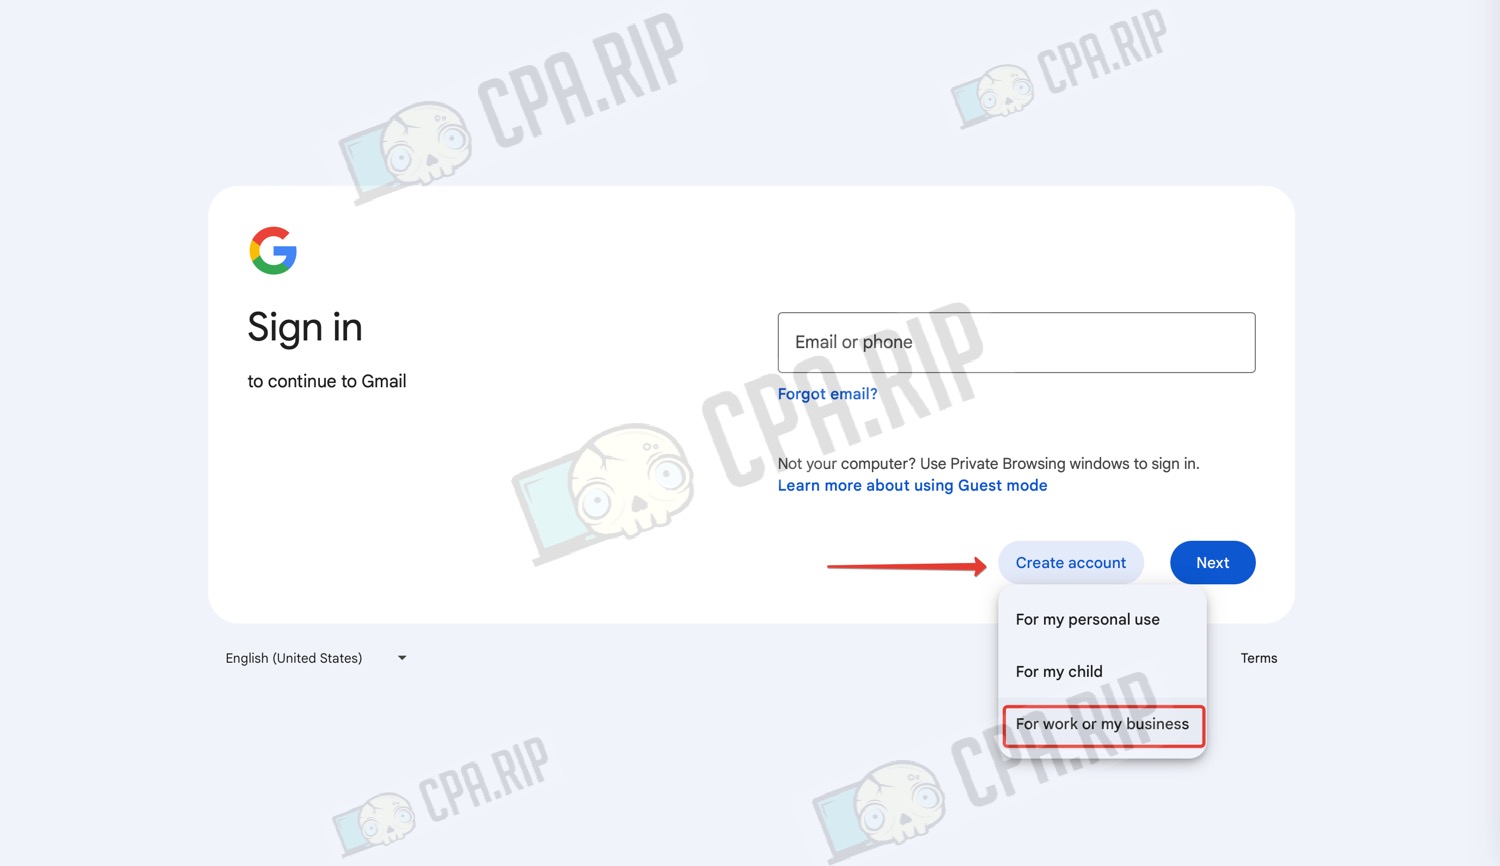
- In the registration form that opens, click on the “Create account” button and select the “For work or my business” option
The next steps are similar to the steps of registering a personal account.
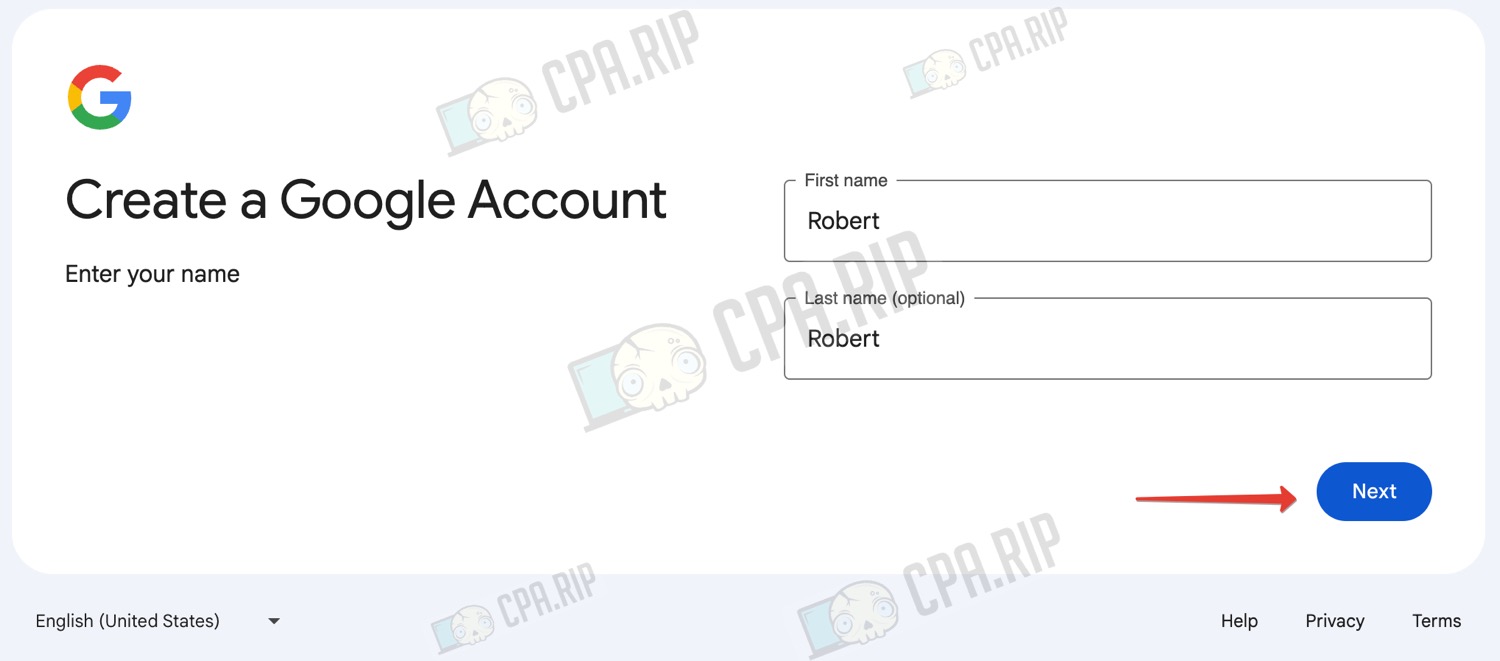
- Enter your first and last name and click “Next”
- Enter your date of birth and click “Next”

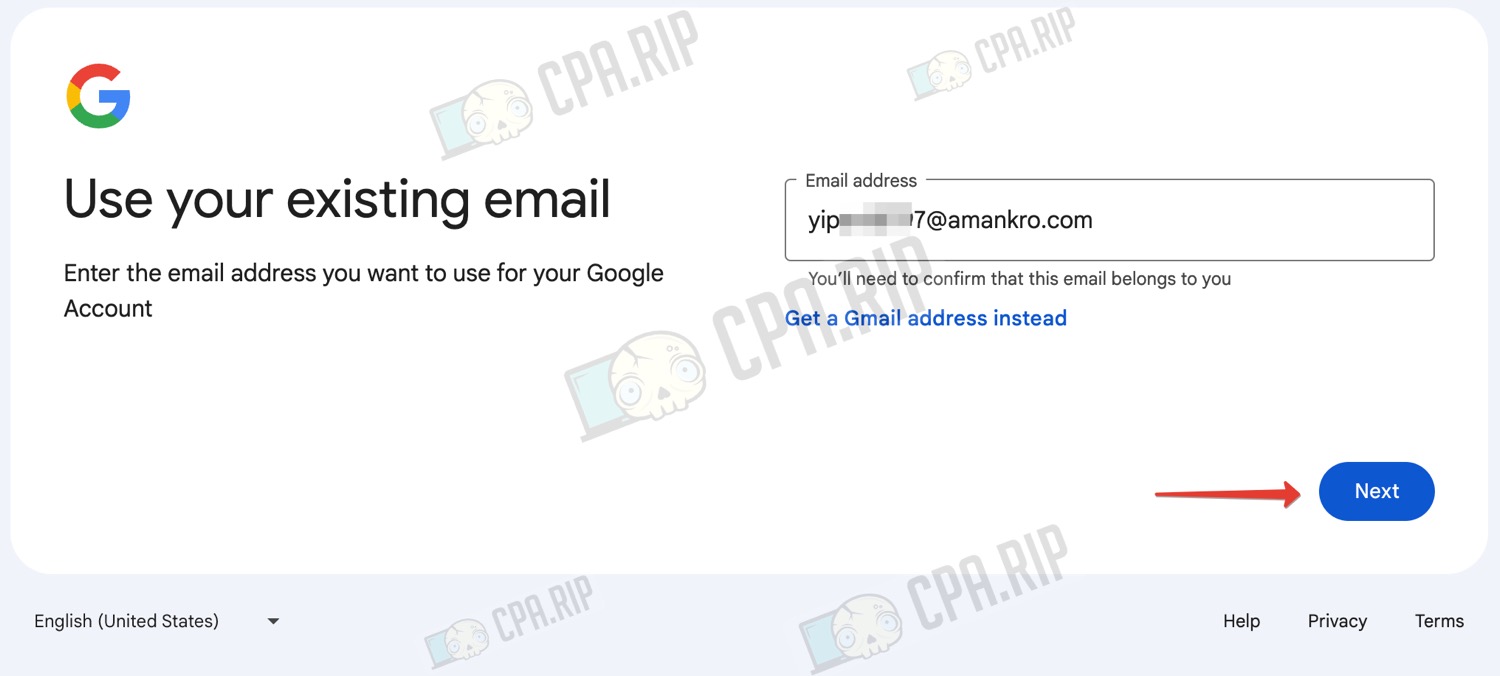
In this case, we do not create a Gmail account, but register a Google Ads account, so here you need to specify your working email and receive a confirmation code.
- Generate a temporary email using one of the services from our selection https://cpa.rip/en/services/temp-emails/.
- Enter your email in the appropriate field and click “Next”
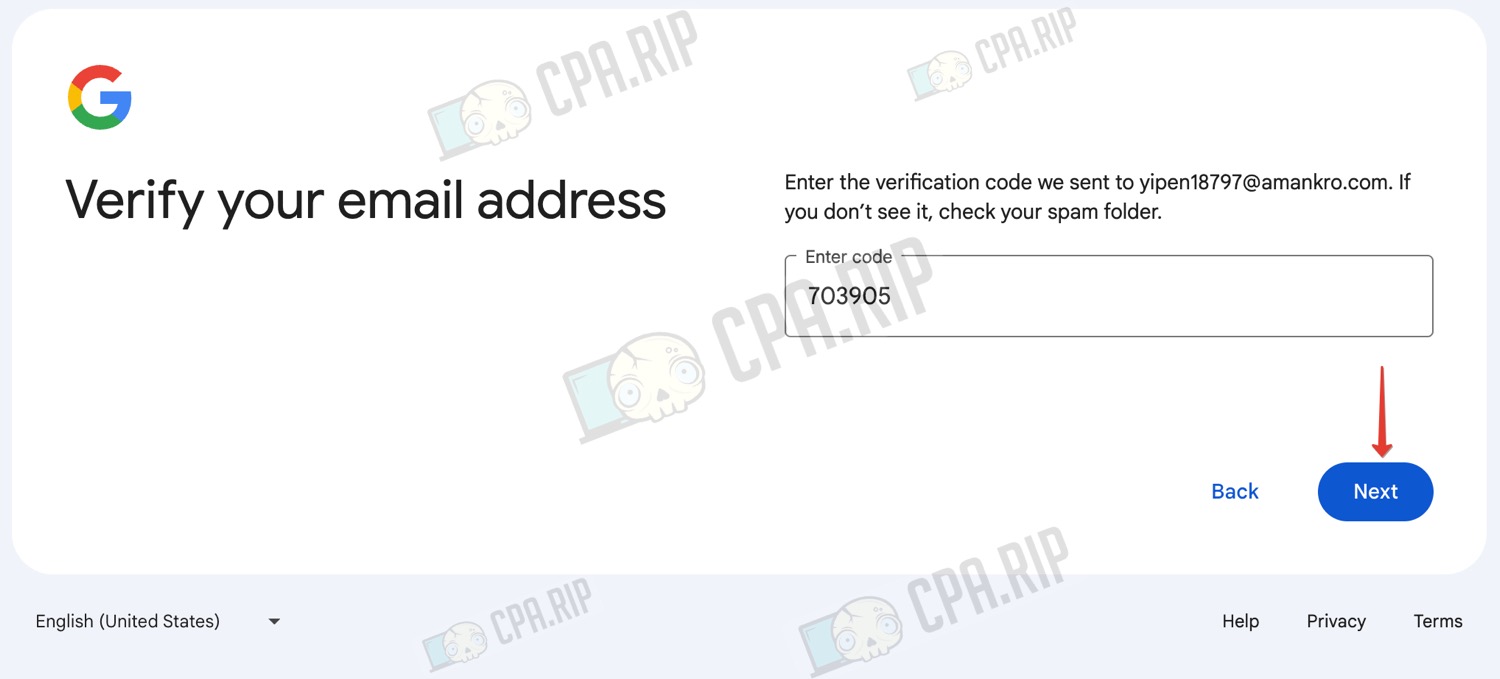
- A 6-digit code will be sent to your email. If you don’t receive it, try to change the temporary email service.
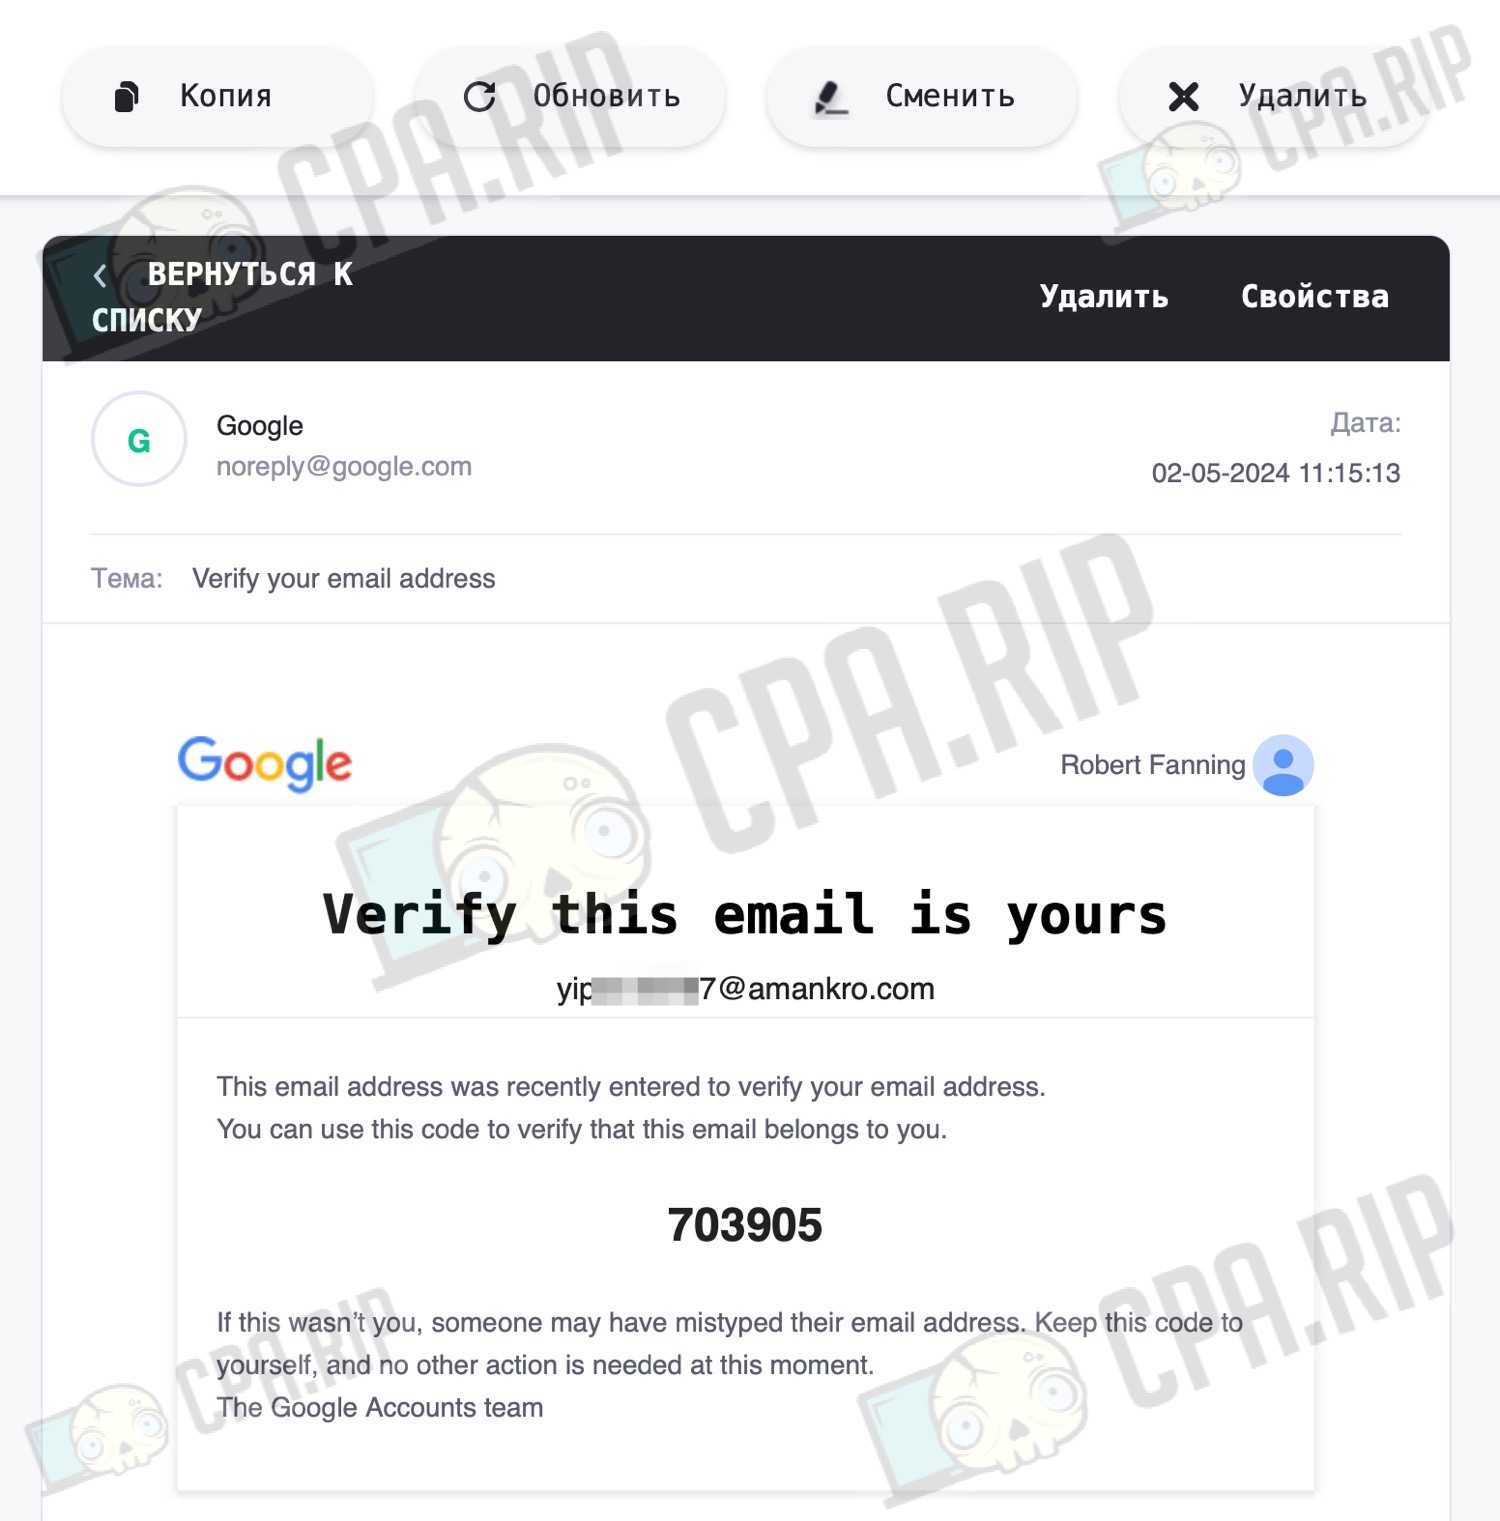
- Enter the received code in the field and click “Next”
- Enter a password and click “Next”. Don’t forget to save your email and password in your profile notes.

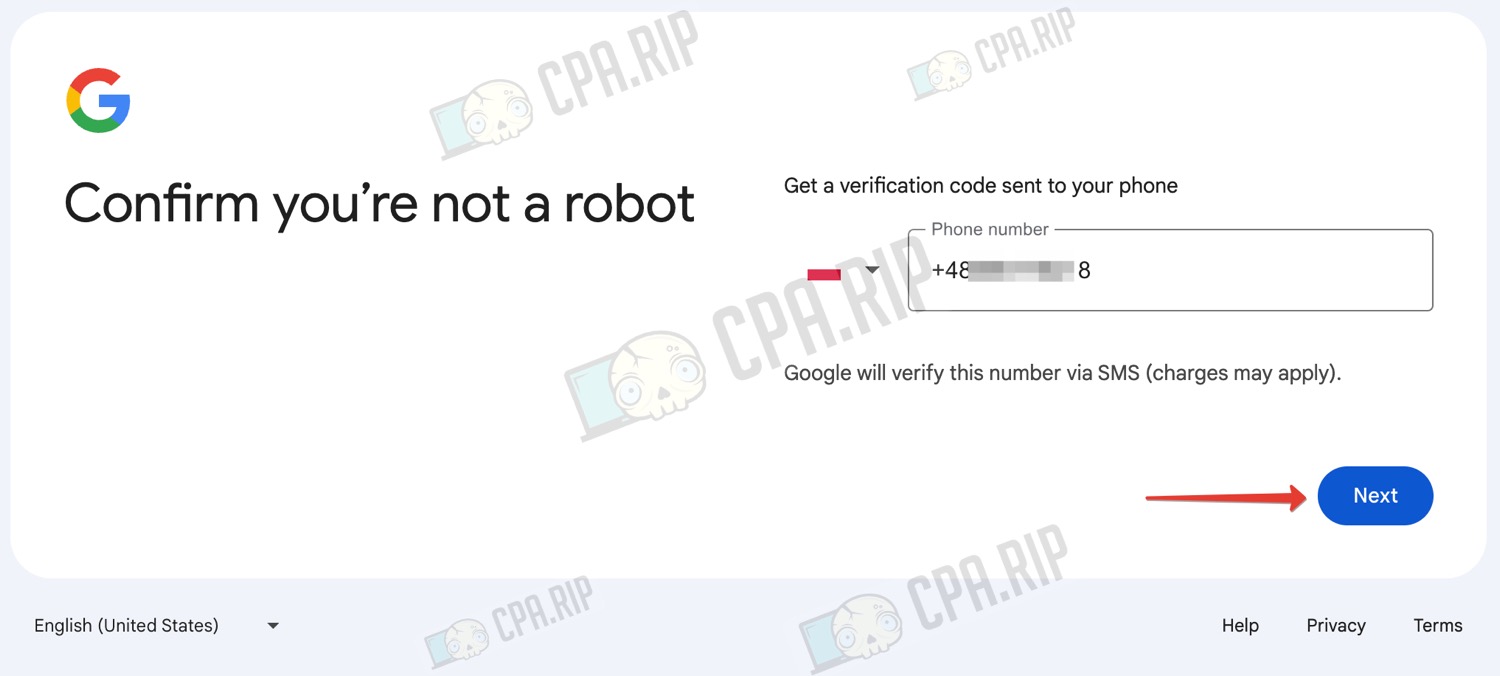
To receive an SMS code also use the services of SMS receiving: https://cpa.rip/en/services/sms-services/.
- Enter the number and click “Next”
- Enter the received code and click the “Next” button

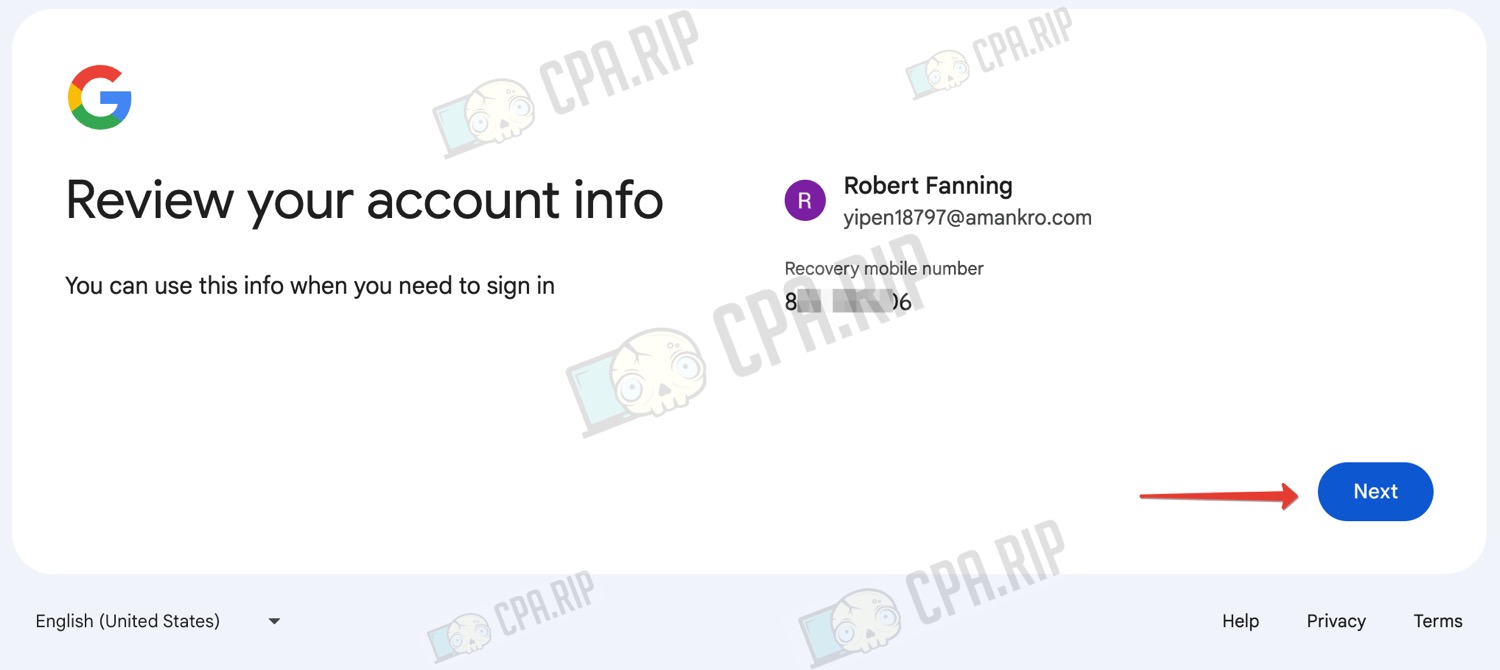
- Confirm your account details by clicking “Next”
- Agree with the policy and rules of the service by clicking “I agree”
- At this point, our account is created. Click “Continue”

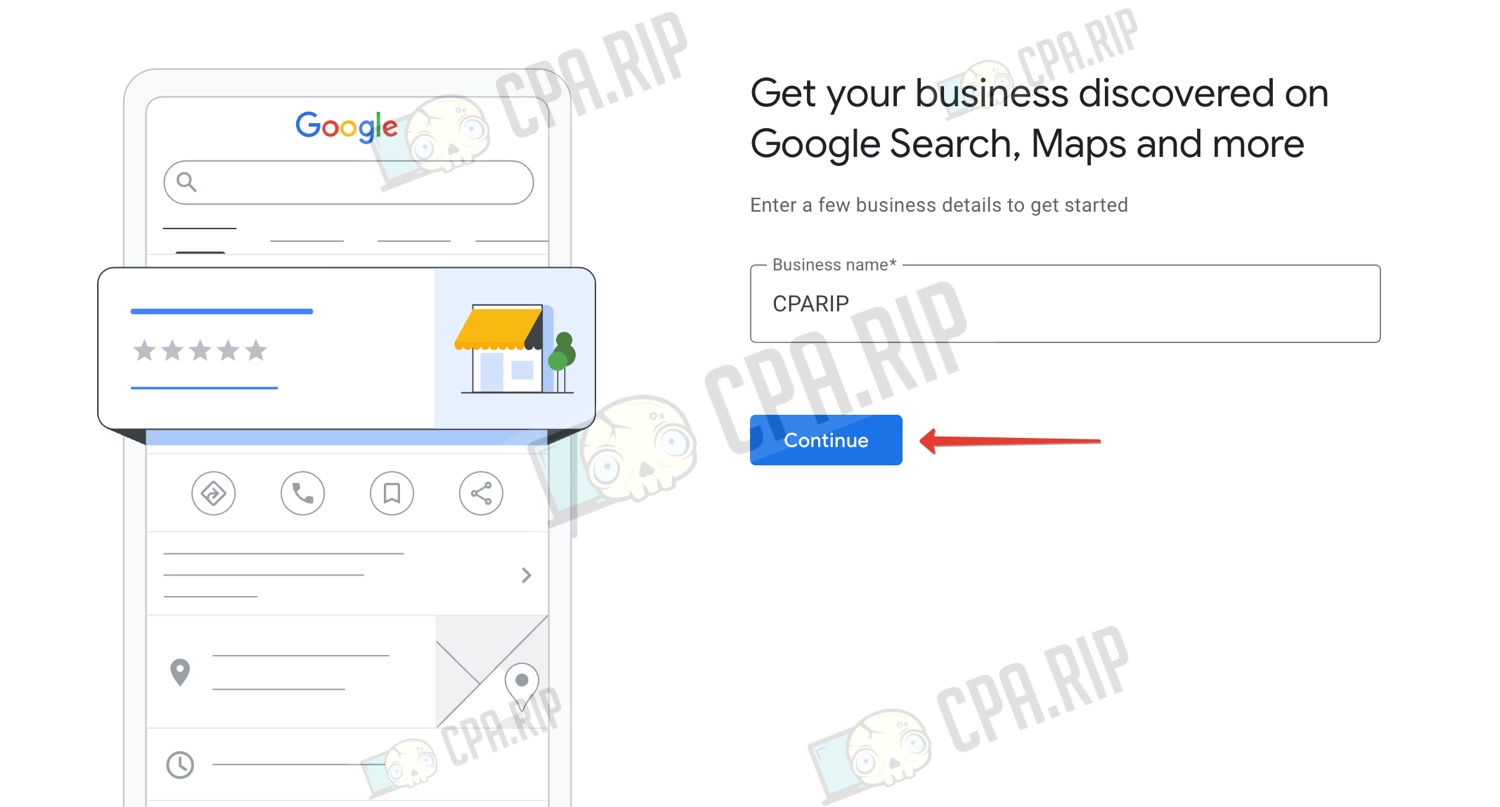
A new tab where you need to fill in your business information will open. Do this a little differently for each account.
- Enter a name and click “Continue”
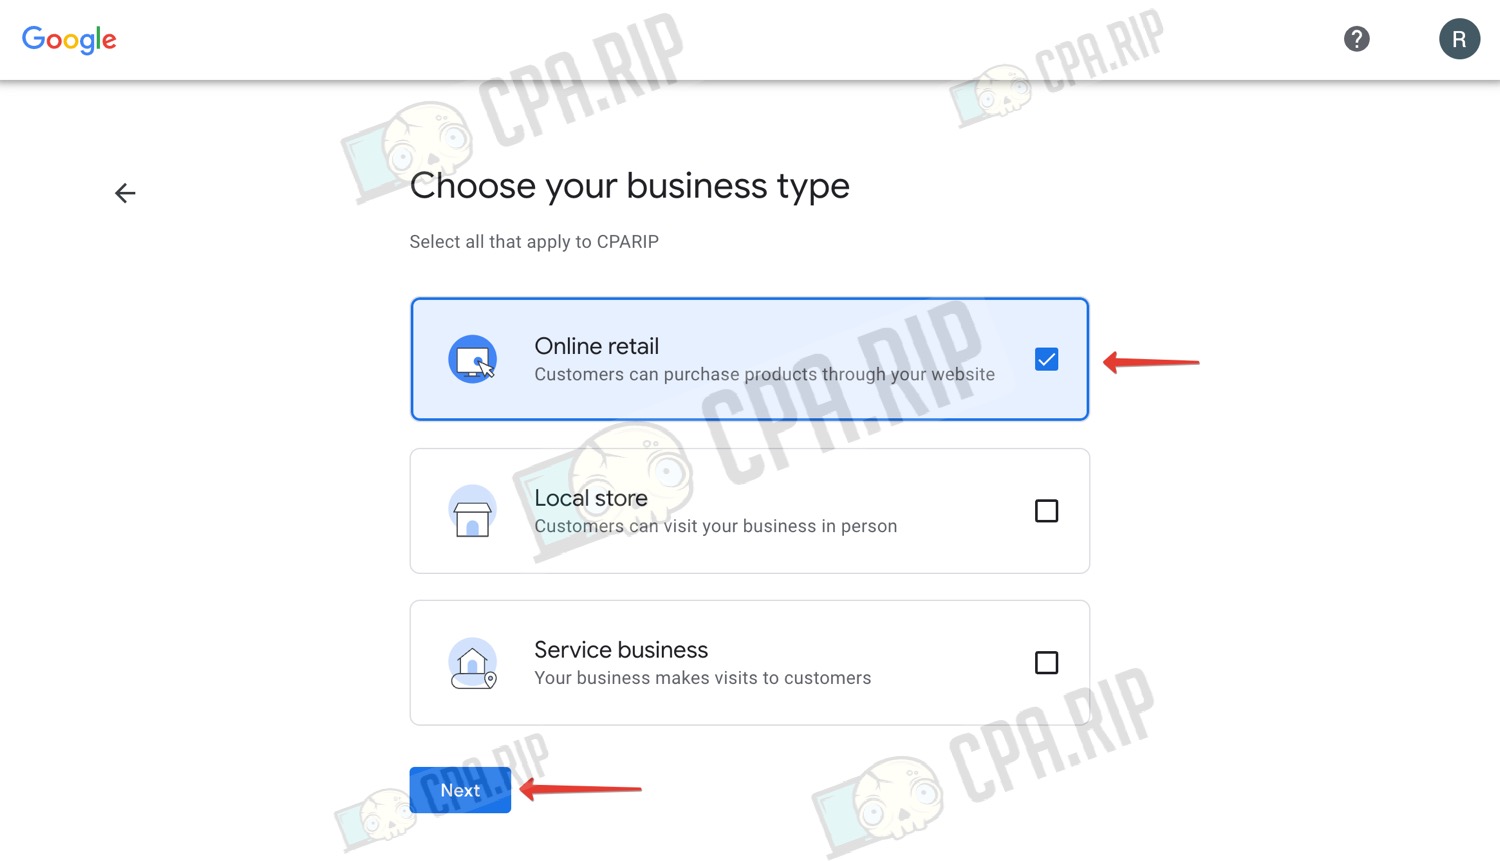
- Select the type of business, for example, “Online retail”
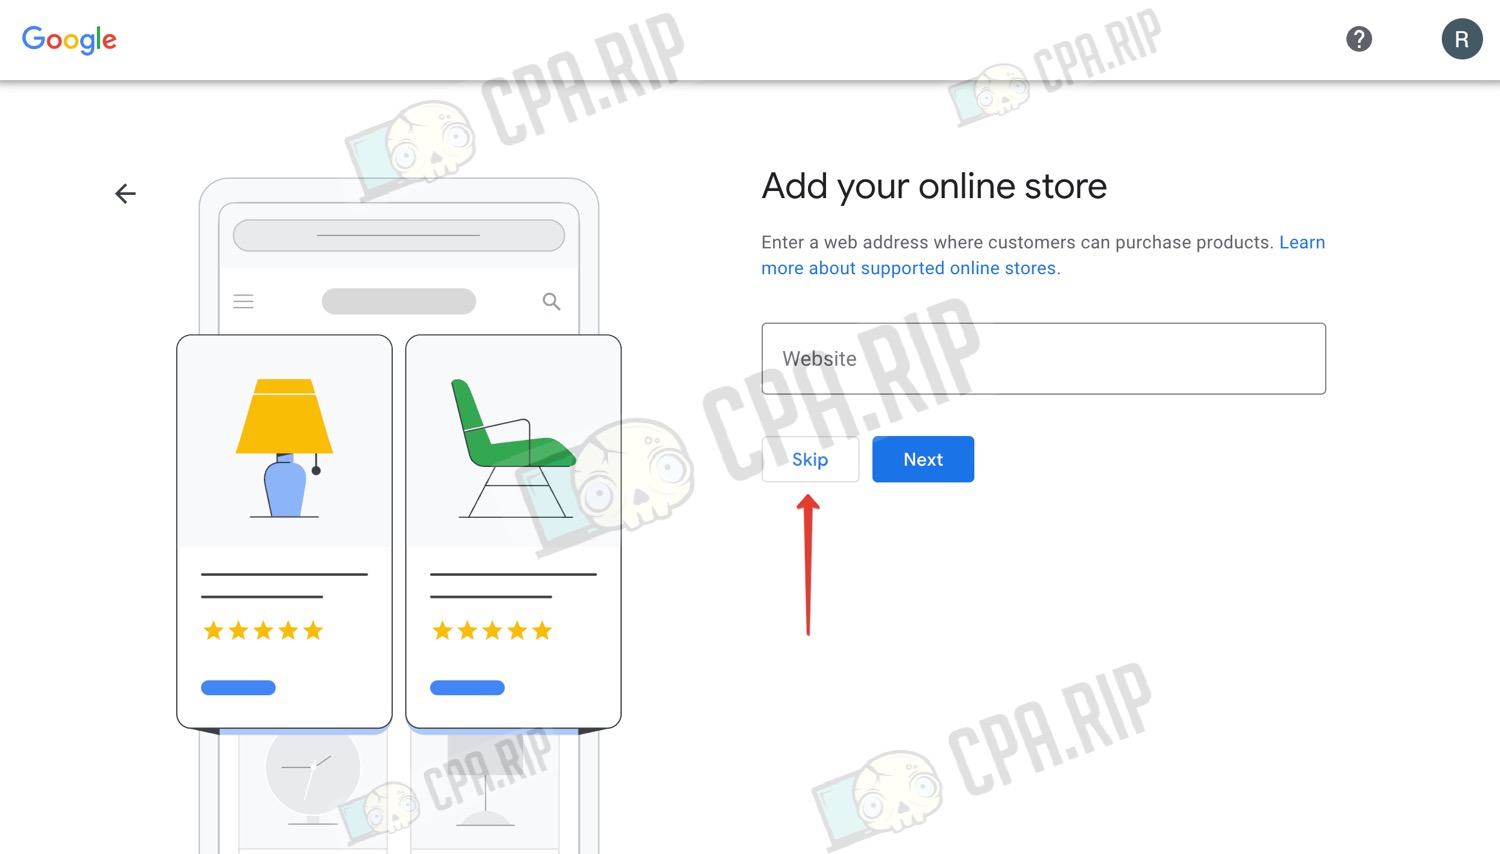
- You don’t have to enter the website address, click “Skip” to skip it.
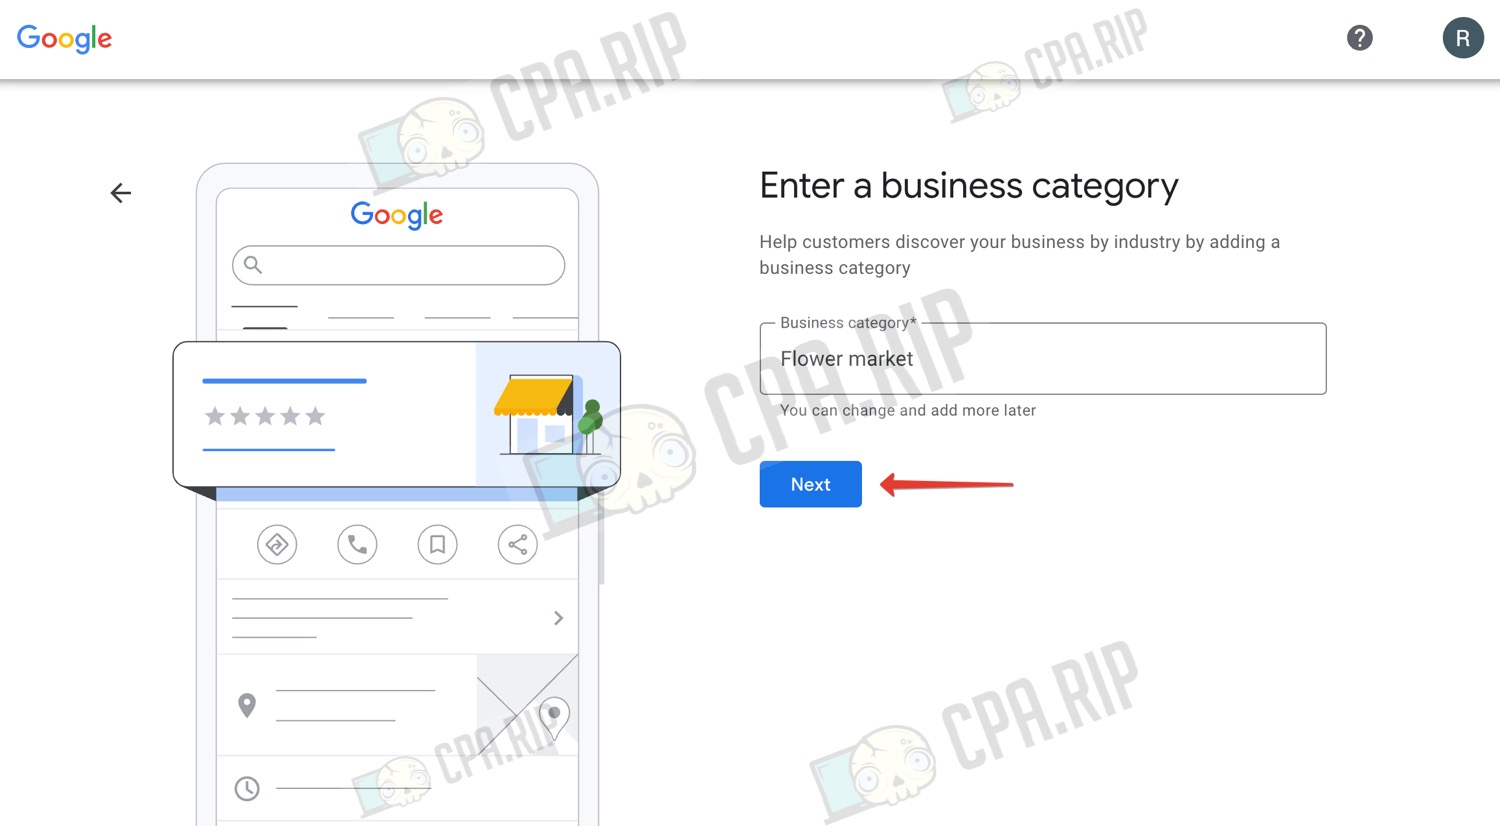
- Specify the category of business, here it is better to choose something suitable for your ads and white page.
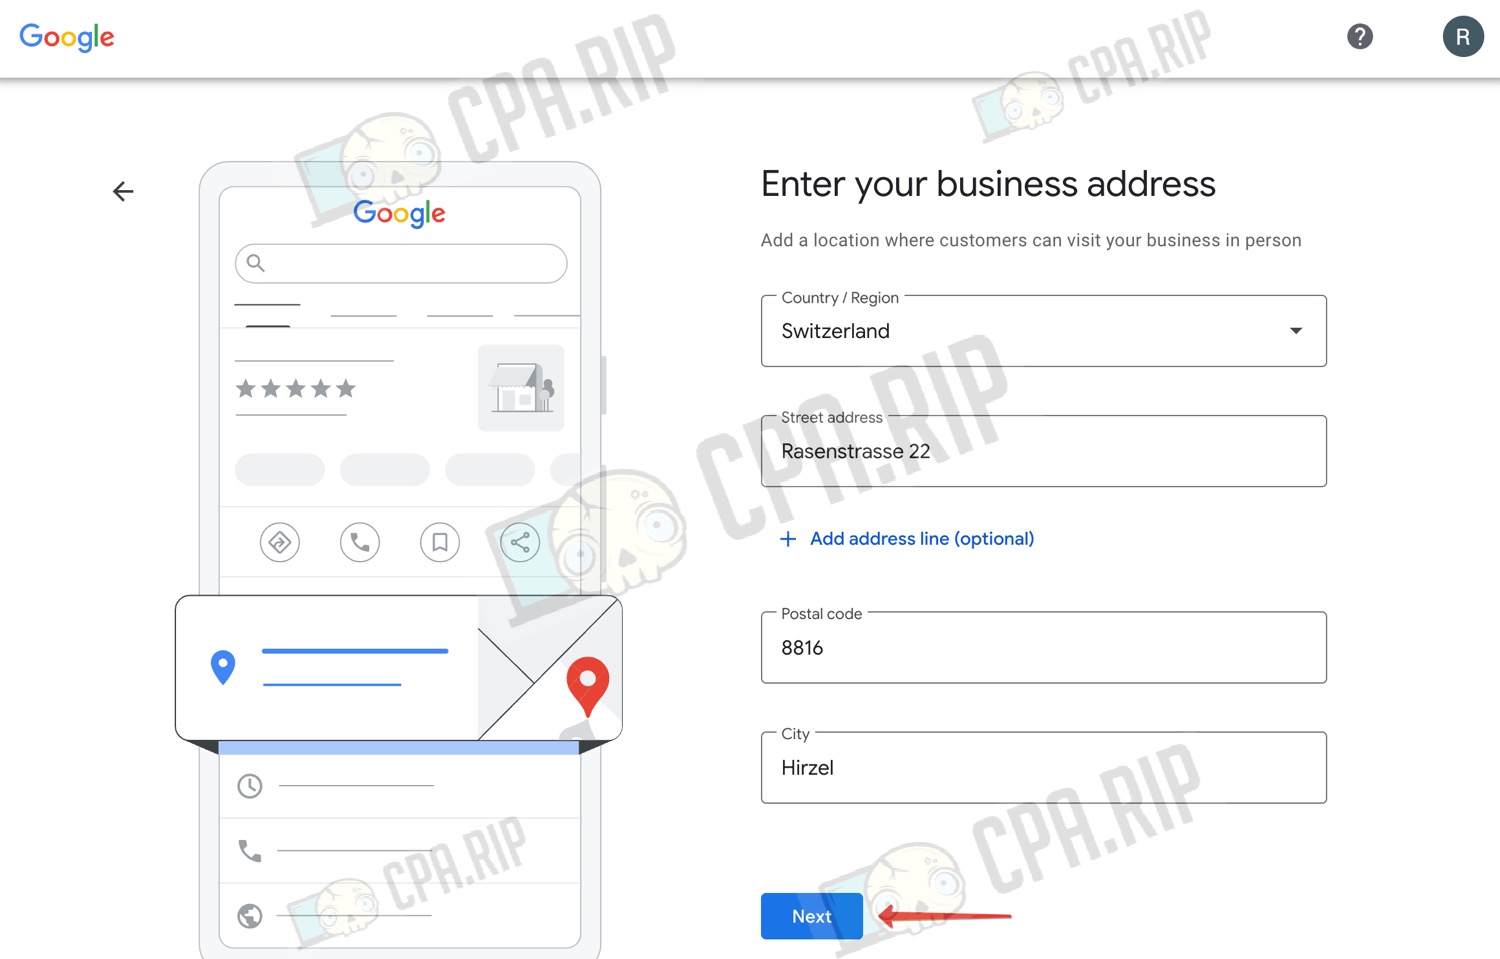
- Fill in the address of your company. You can take any from Google Maps or use the one generated via https://www.fakenamegenerator.com.
- Click “Next.”
- Click “Next” again

- It is not necessary to specify a phone number, click “Skip”

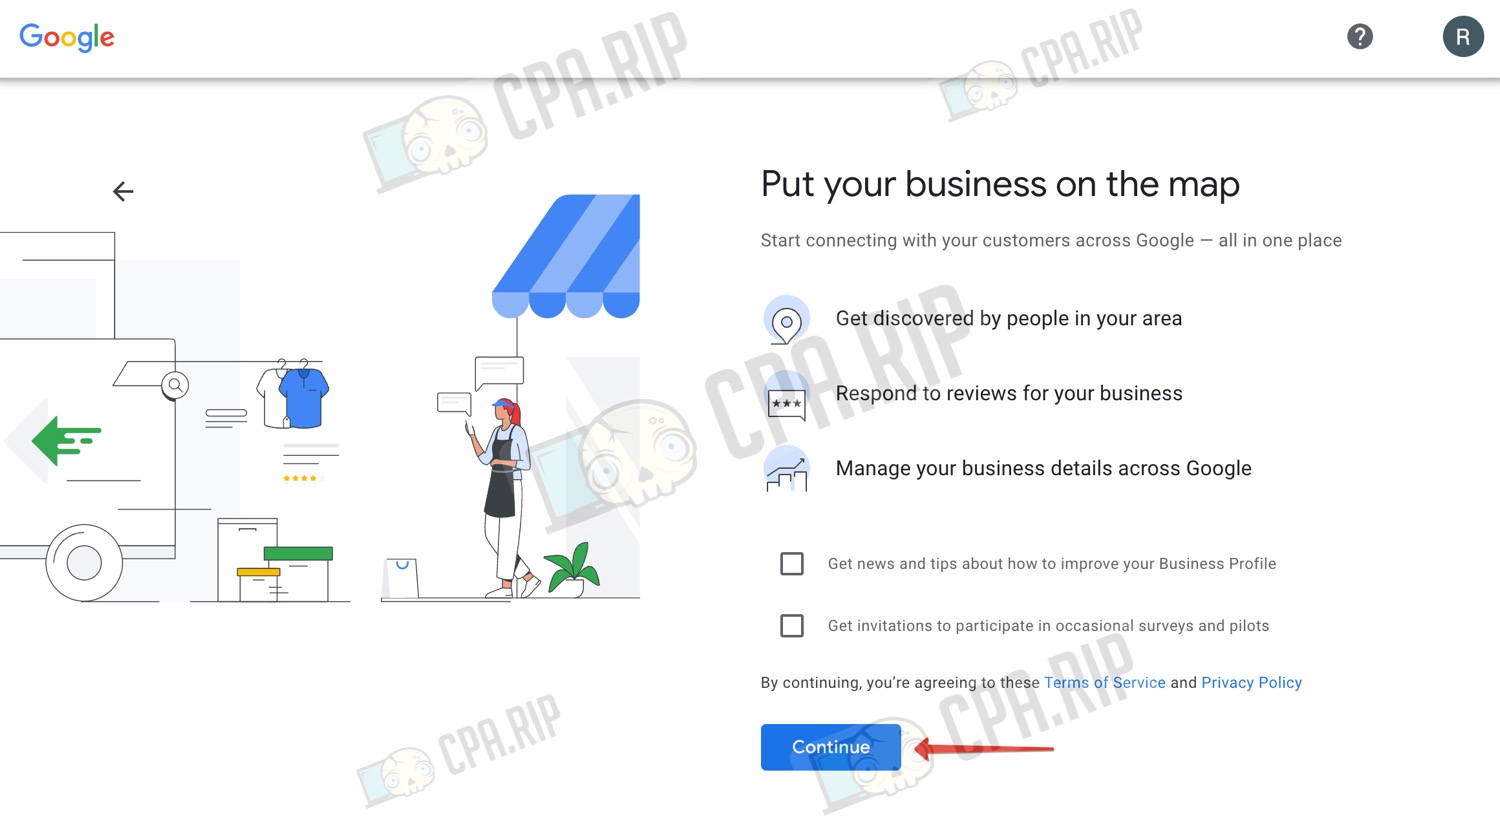
- Click “Continue”
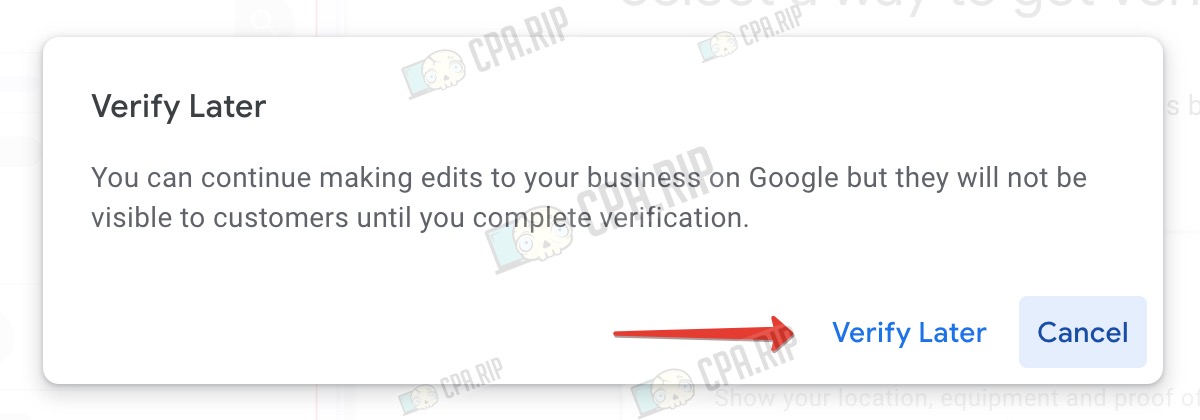
- Next, Google will offer to verify your business, skip this step by clicking “Verify Later”
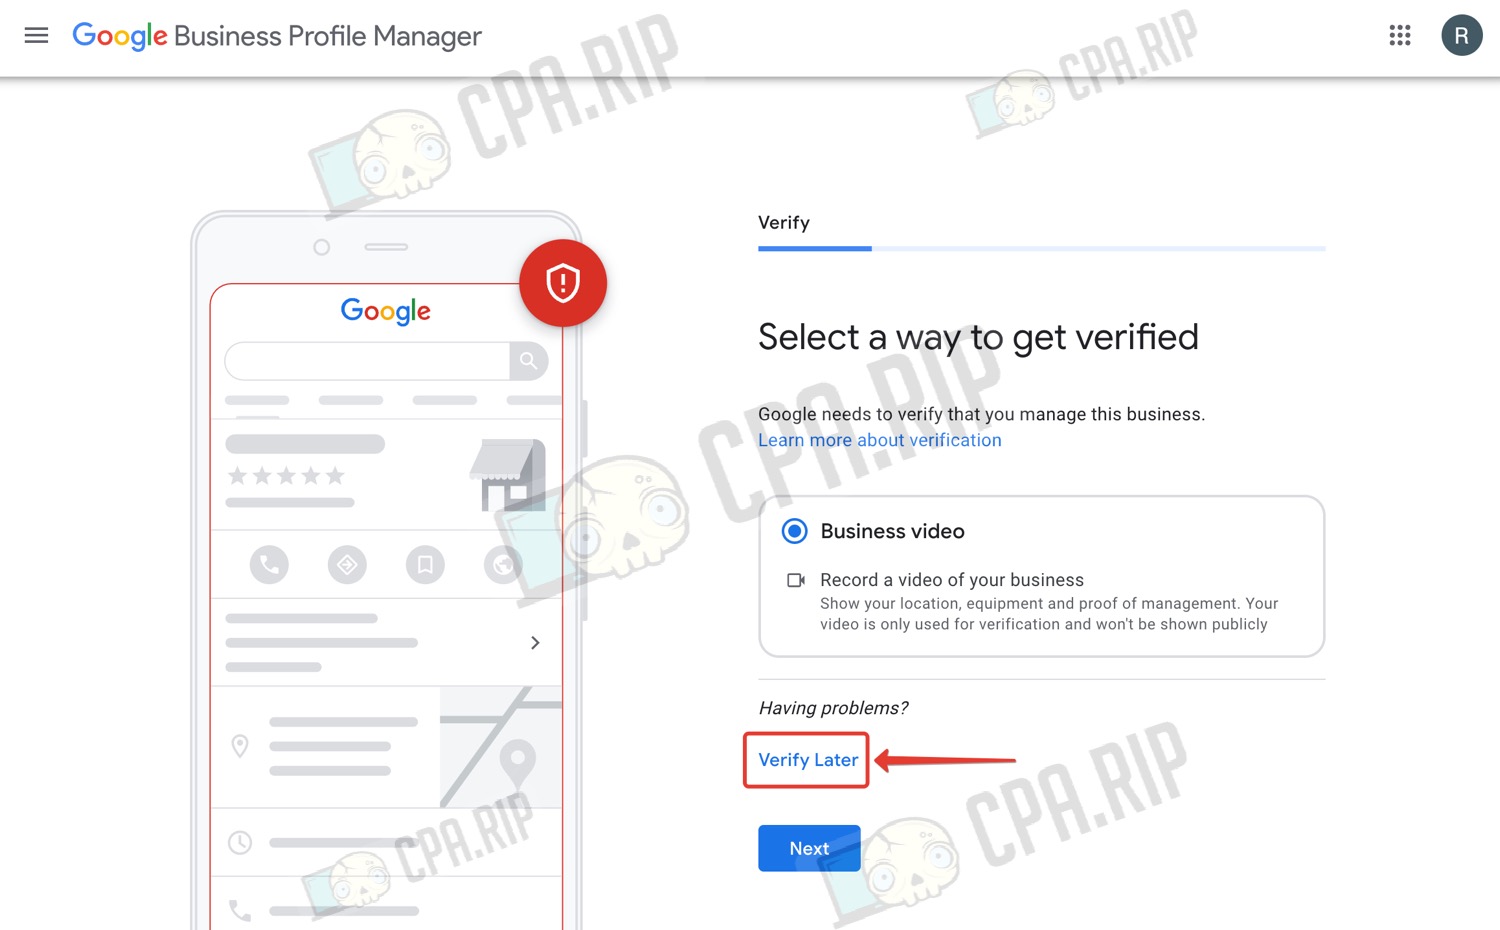
- In the pop-up window also click “Verify Later”.
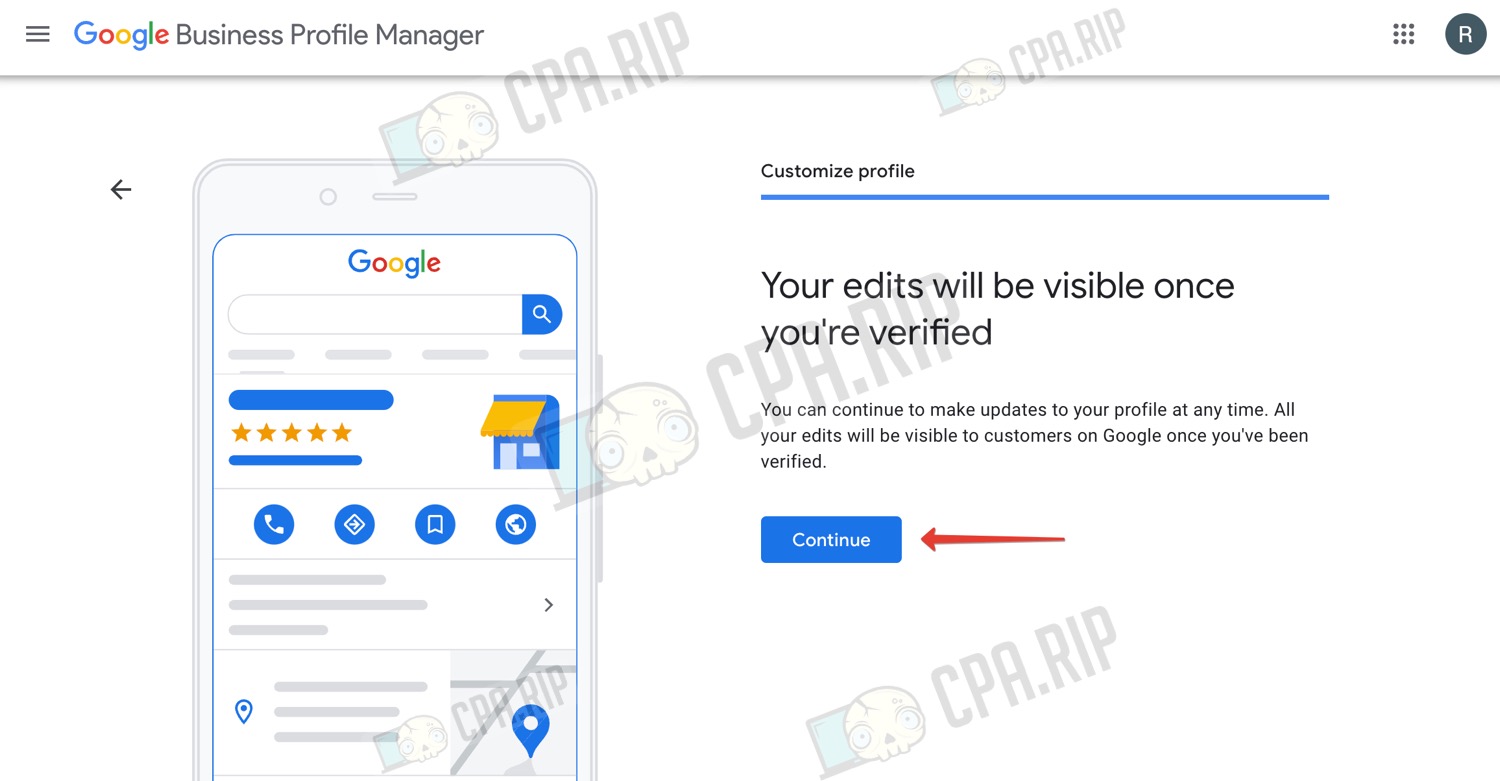
Next, skip all the steps by clicking “Skip” or “Next” until you reach the last step.
- Click “Continue” to complete the business setup.
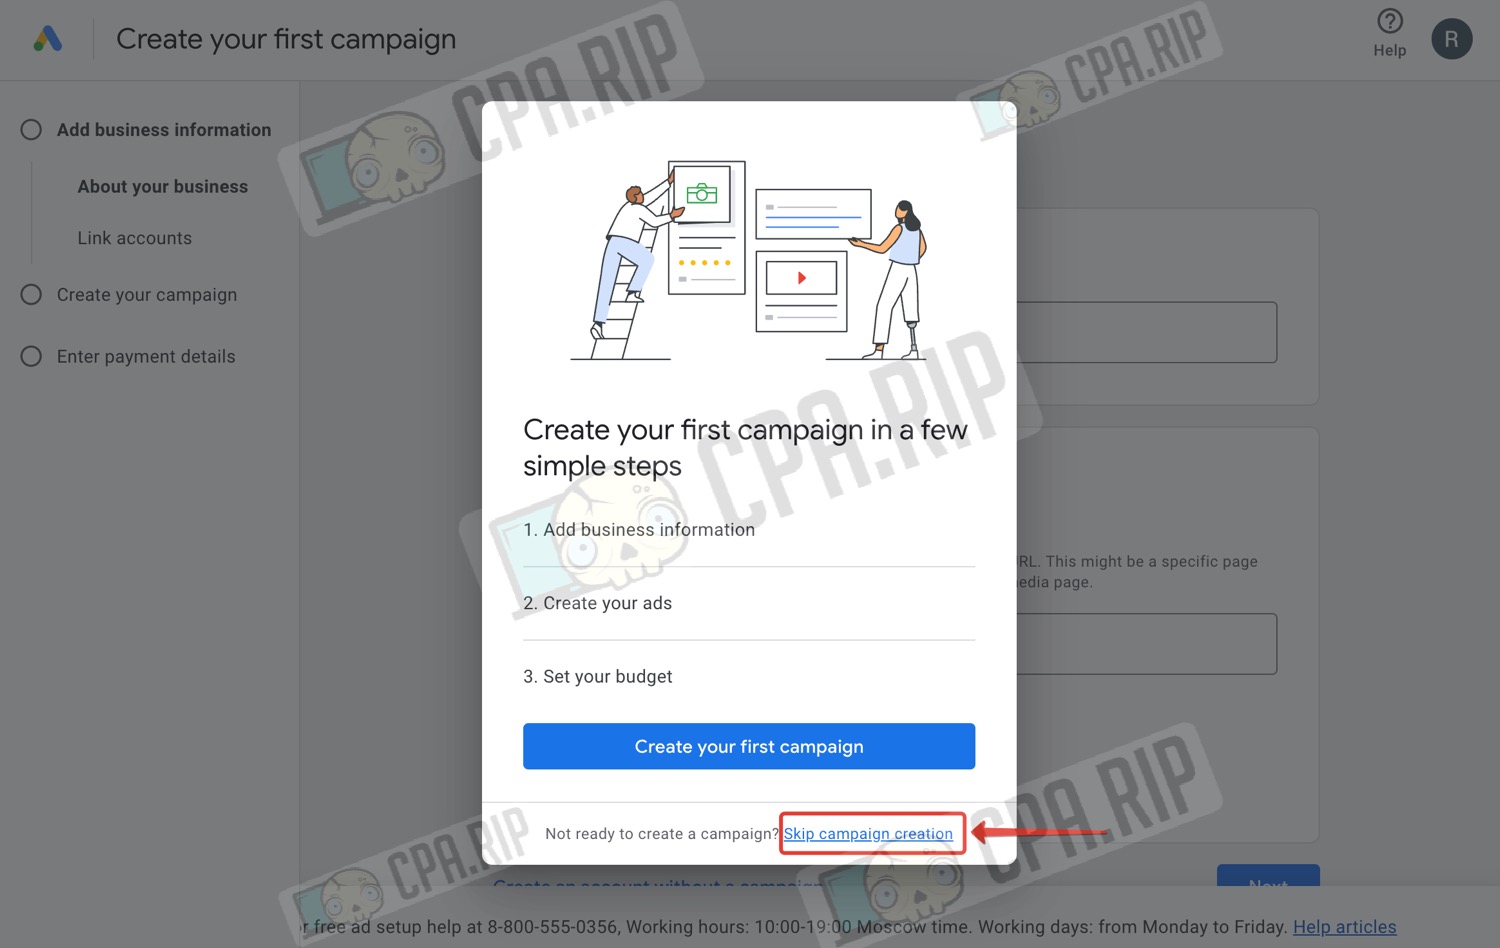
- Now go back to the Google Ads account registration tab.
- Click “Skip campaign creation.” If there is no such option, try moving on and at some point, this option will appear.
That’s it, our business account is created! Next, there are 2 options: either Google will immediately ask us to fill in the payment information and add a payment method, or we will get into the account and add the payment data later manually.
Signing up for a Google account on your Android device
This method is well-established and provides some benefits, but is more time-consuming and requires phones. These accounts are less likely to be Disabled and you don’t have to spend money on SMS services. Plus you’ll have a second device to confirm your PC account login.
- Take your Android phone.
- Do a full factory reset.
Warning. This will delete all data and files from the phone!

- Turn on the phone and begin the initial setup. It is advisable to refuse all data collection requests.
- If you are offered to add a Google account during setup, skip this step.
- Now you have a clean phone:

Before you sign up for a Google account, you’ll need to make some settings.
- Go to your phone’s settings and find where the region changes (the interface and location may vary by phone model).
- Set the required region. You can choose the appropriate language or use English for convenience.

- It is desirable to disable the access of apps to geolocation.

Ideally, you should share Internet access from a router that has proxies for the country you want to connect to. But if there is no such opportunity, you can set up a proxy or VPN on your phone. There may be some difficulties, depending on the model of your phone and the Android version. For example, on Android 13 proxies work without problems, as for the 9 version, you may need Root rights.
We have used the SuperProxy app to connect to the proxy. You need to install it from .apk because you can’t access Google Play before creating a Google account.

After preparing the phone you can proceed to Google account registration.
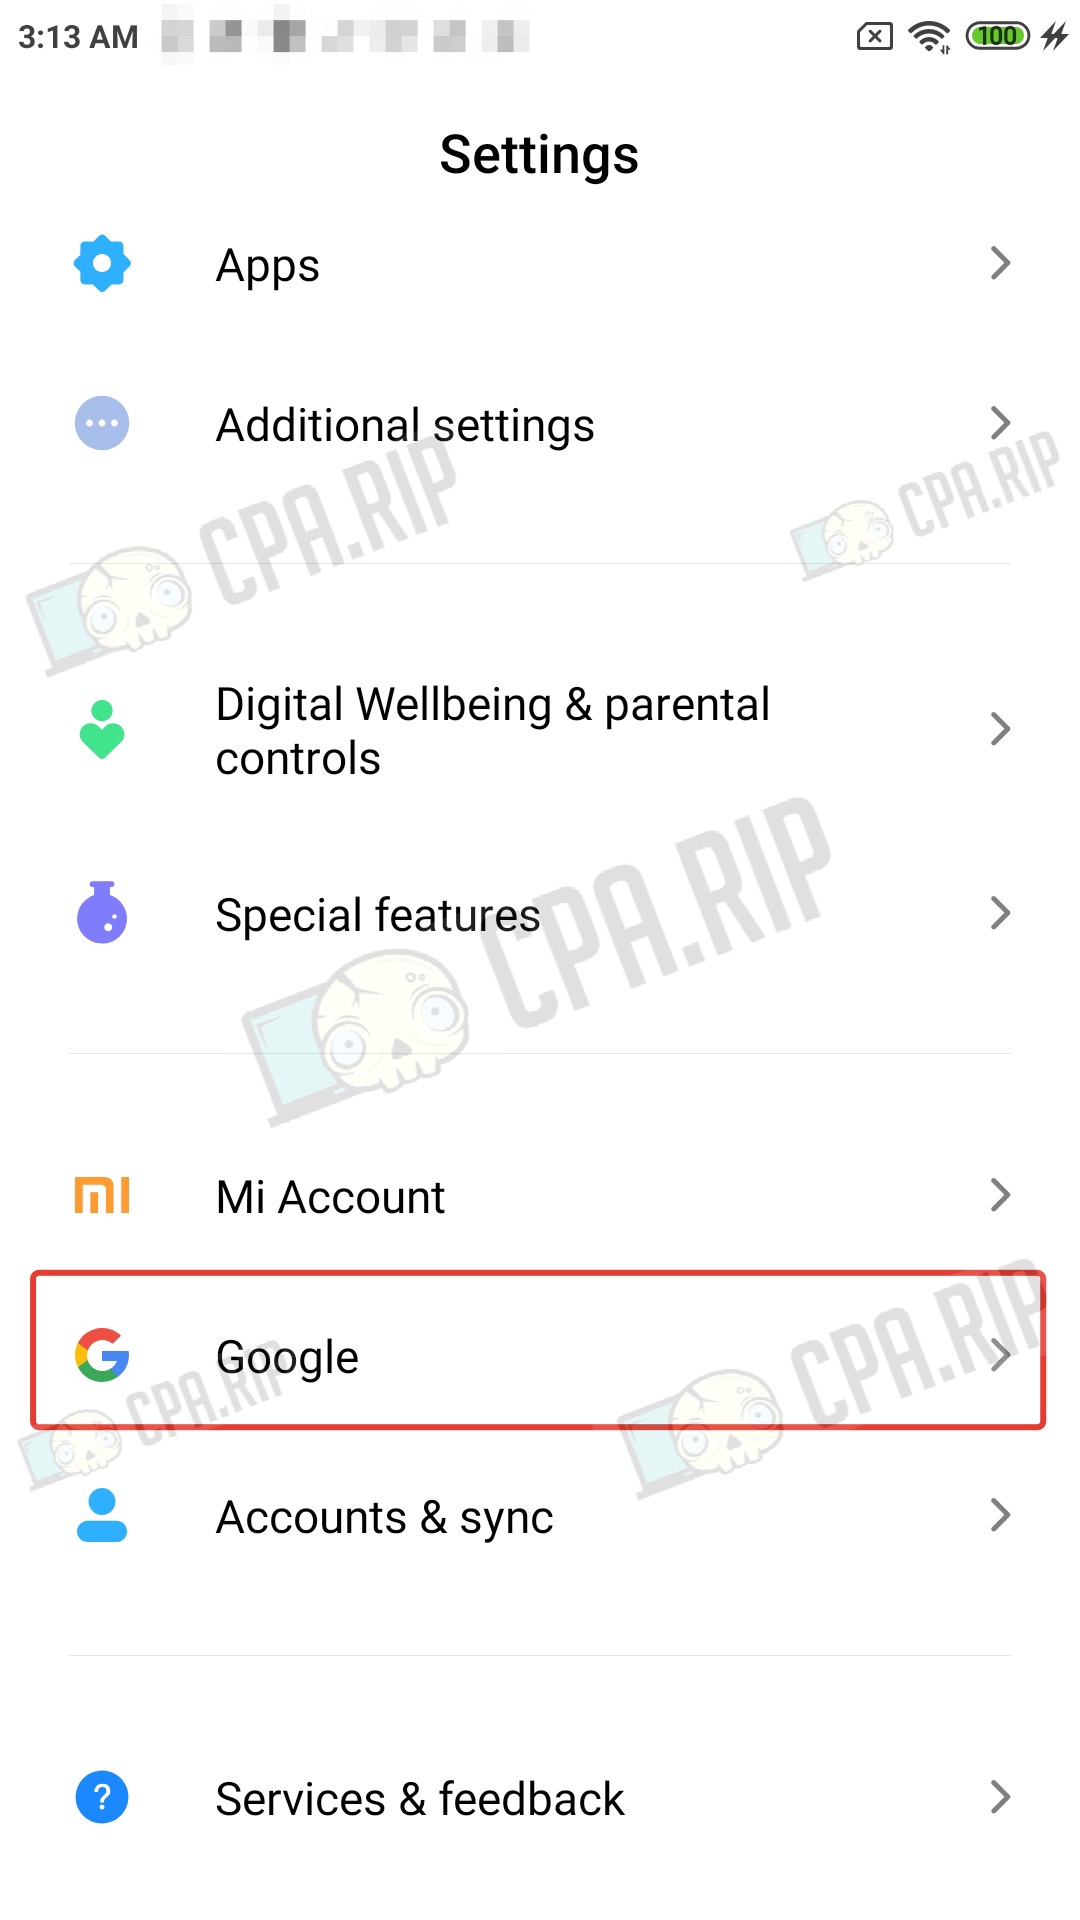
- Open your phone settings.
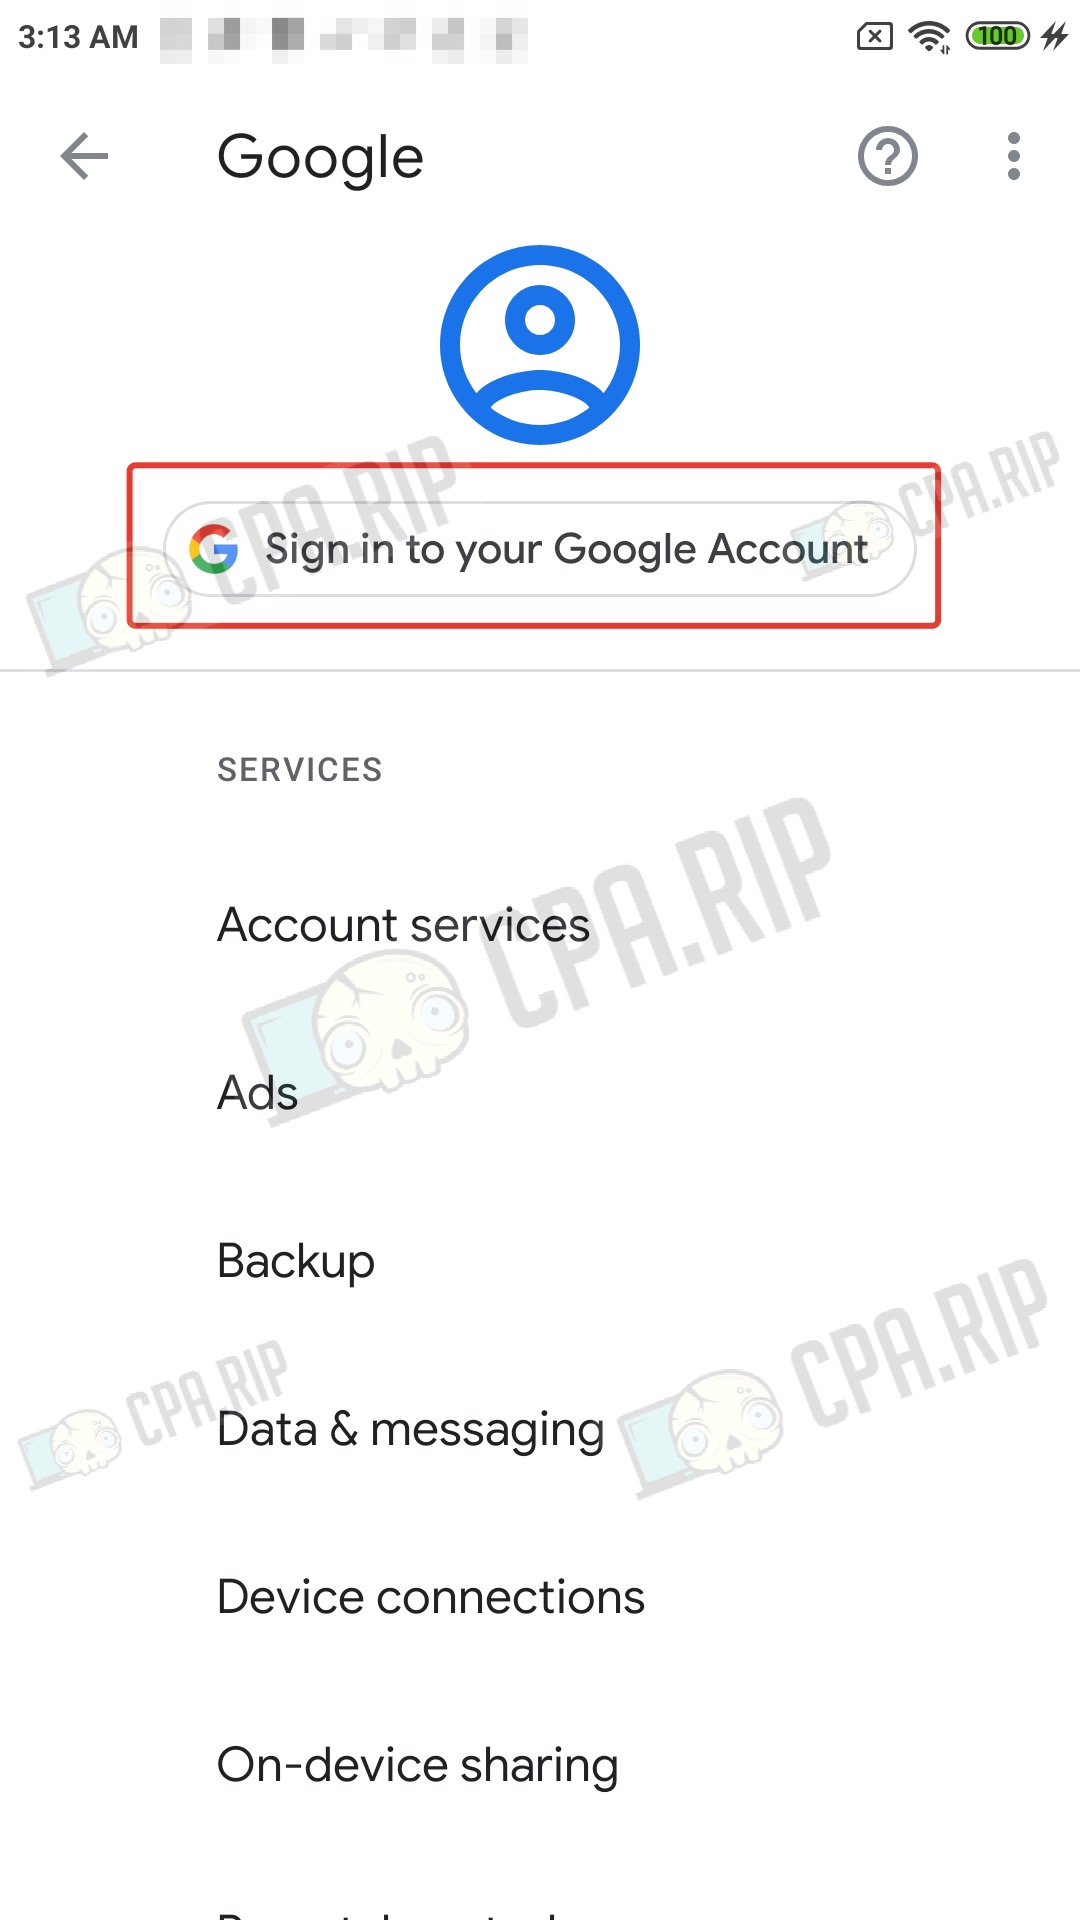
- Next, select the menu to add a Google account
- Click “Sign in to your Google Account”
The next steps are similar to registering a personal account from your computer.
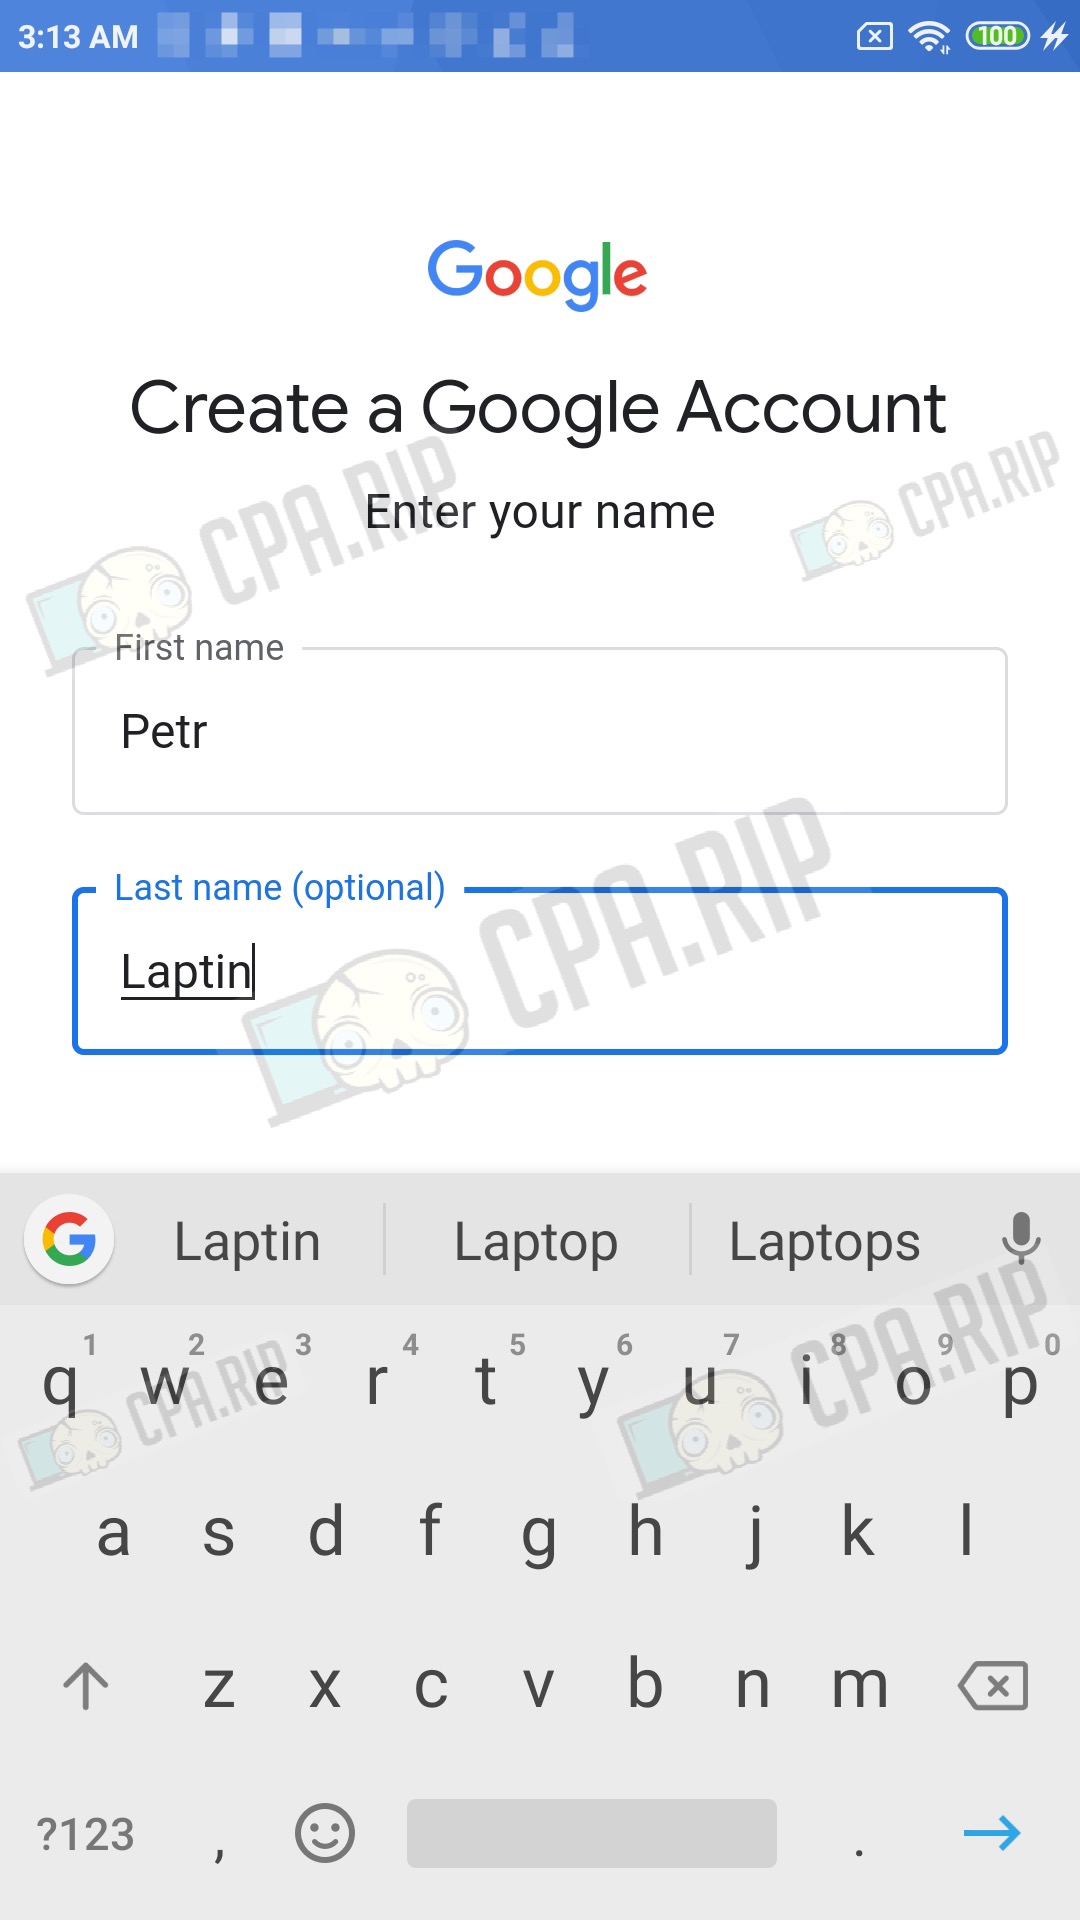
- Click “Create account”
- Select “For my personal use”

- Enter first and last name
- Enter the date of birth

- Choose a login/email address from the suggested ones or your variant

- Make up a password
Don’t forget to write down and save your account email and password!

One of the advantages of this method of registration is that in most cases you won’t have to verify your phone number and spend money on sms-services.
- Skip the step of adding a phone number by clicking “Skip”

- The next step will display the account information. Click “Next” to confirm

Agree to the policy to finalize the Google account registration and add it to your phone.

Well done. You’ll need to transfer this account to your antidetect browser account on the computer later. Don’t rush to create a Google Ads account. It’s better to leave it for a while, and do light farming + you can link a payment card to the account in advance, for example, via the purchase of a Google One subscription. And only then go to the Google Ads account.
Important, do not delete your Google profile from your phone while you are working and driving traffic from this account, so that you have access to login confirmation and other actions.


